|
|
Creating a Clipped View 

Access: Open this function from one of the following locations:
-
Click the
button in the toolbar. -
Select Views > View Creation > Clip View from the menu bar.
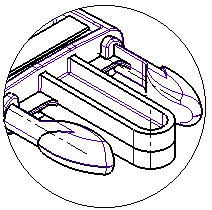
Clip (remove) the portion of a view that is outside the selected contour. A contour must first be defined and then selected as input for the Clip View function, defining the boundaries of the clipping.
Creating a Clipped View
-
Click on the Contour button
 on the Symbols toolbar or select Symbols > Contour from the menu bar. The cursor changes to indicate Contour selection mode.
-
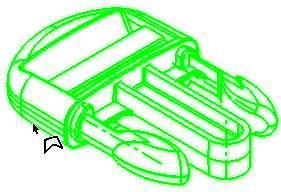
Pick the view from which the clipped view is to be created.
-
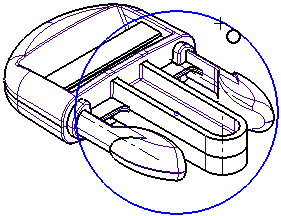
Create the contour which will contain the clipped view.
-
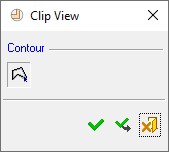
InvokeInvoke the Clip View function. The Clip View dialog is displayed.
-
Pick the newly-created contour.
-
Click OK
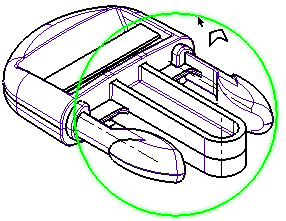
 to execute the function. The clipped view is displayed.
The clipped view is created as a child of the original view and deleting it will reverse the clipping operation. The clipped result can be edited by right-clicking on the item name in the Drawing Tree.
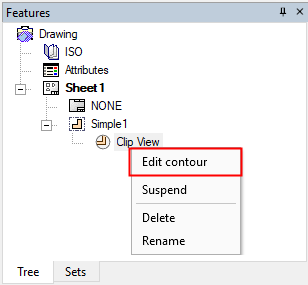
| Edit Contour |
Edit the clipped view contour. |
| Suspend |
Suspend the clipped view. |
| Delete |
Delete the clipped view and restore the original view. |
| Rename |
Rename the clipped view node in the tree. |
|