Local Section View 

Access: Open this function from one of the following locations:
-
Click
in the toolbar. -
Select Views > View Creation > Local Section from the menu bar.
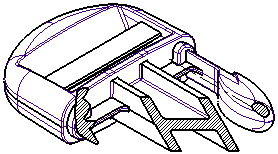
Create a local section view of any part view. Draw a contour to define the area of the local section view.
Creating a Local Section
-
Click on the Contour button
 on the Symbols toolbar or select Views > View Creation > Contour from the menu bar. The cursor changes to indicate Contour selection mode.
-
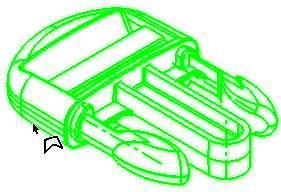
Pick the view from which the local section is to be created.
-
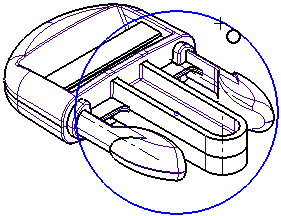
Select a drawing tool for creating the contour which will contain the local section and draw the contour.
-
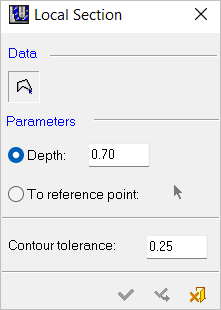
InvokeInvoke the Local Section function. The Local Section dialog is displayed.
-
Pick the newly-created contour.
-
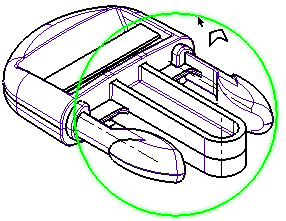
Define the DepthDepth or To Reference pointTo Reference point parameters. Click OK
 to execute the function. The Local Section is displayed.
The result can be edited by right-clicking on the item name in the Drawing Tree.
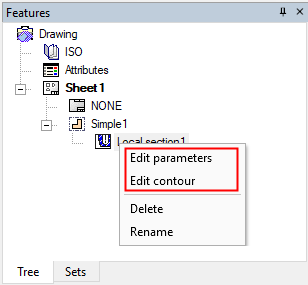
| Edit Parameters |
Edit the parameters. |
| Edit Contour |
Edit the local section contour. |
| Delete |
Delete the local section and restore the original view. |
| Rename |
Rename the local section node in the tree. |