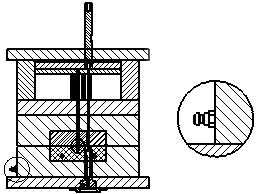
Detailed View
A detailed view of any part view can be easily created. This is done by drawing a contour to define the area of the detailed view.
Notes:
-
Only the geometry of the view will be copied to the detailed view; the drafting annotations will not be copied.
-
The contour is editable and the detailed view will be updated according to changes made in the model, local changes to the sketch in the base view or Contour in the base view.
Creating a detailed view
-
Invoke the Contour function. The cursor changes to indicate Contour selection mode.

-
Pick the view from which the detailed view is to be created. The sketcher is invoked.

-
Select a drawing tool for creating the contour which will contain the detailed view, draw the contour, and exit the sketcher.
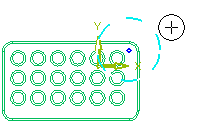
-
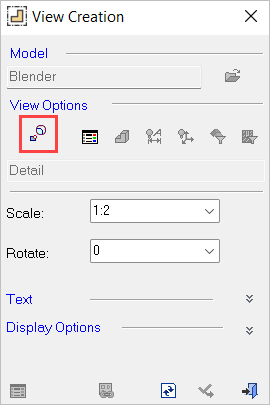
Invoke the View Creation function.
-
Pick the newly-created contour. (The cursor changes to indicate Detail View selection when placed over the contour
 ). The View Creation dialogView Creation dialog is modified to indicate that a contour has been picked.
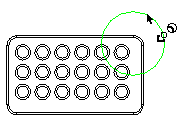
-
Position the cursor where you wish to locate the detailed view.
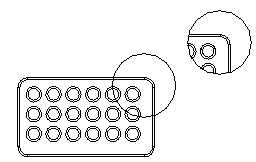
Hatch Example
Hatched surfaces are displayed in Detail View.
