|
|
Changing from Open to Closed Hatch 

Access: Open this function from one of the following locations:
-
Click the
button in the toolbar. -
Select Views > View Creation > Hatch from the menu bar.
-
Select Drafting Symbols > Hatch on the popup menu (right-click the graphics area).
Add a hatched surface to the drawing.
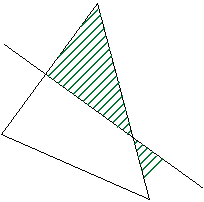
In the following example, an open hatch is changed to a closed hatch.
-
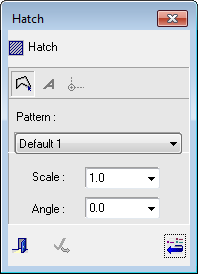
InvokeInvoke the Hatch function. The Hatch dialog and parameters are displayed.
-
Select the One By One dropdown option.
-
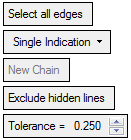
Pick the edges (three) to form the contour of the hatch to be created and <exit><exit>.

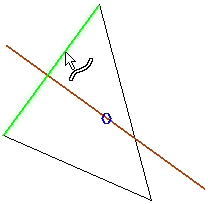
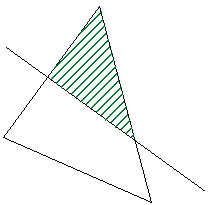
An Open Hatch is created (by default).
-
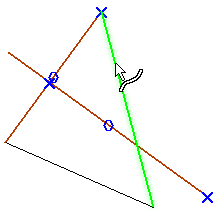
To change the chain to closed, click the Add Geometry to the Contour button
 and click the Activate Chain parameter. The edges forming the contour are highlighted.
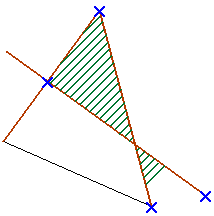
- Toggle the Open Hatch option to Close and <exit><exit>.
A Closed Hatch is created.
|