|
|
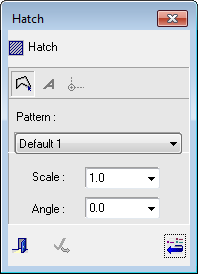
Mixed Hatch picking (Using a Combination of Pick Options) 

Access: Open this function from one of the following locations:
-
Click the
button in the toolbar. -
Select Views > View Creation > Hatch from the menu bar.
-
Select Drafting Symbols > Hatch on the popup menu (right-click the graphics area).
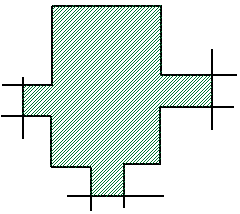
Add a hatched surface to the drawing.
In the following example, a combination of the Free and Trim/Extend pick options are used to create a Hatch on a surface with intersected edges.
-
InvokeInvoke the Hatch function. The Hatch dialog and parameters are displayed.
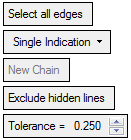
- Select the One By One dropdown option.
- Pick the first group of intersected edges to create a contour.
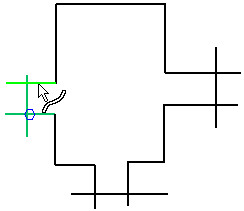
- Select the Free dropdown option and pick the regular edges.
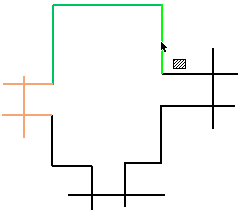
- Select the One By One dropdown option and pick the next group of intersected edges.
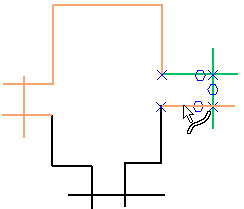
- Continue as above until a contour has been defined and <exit><exit>. A Hatch is created.
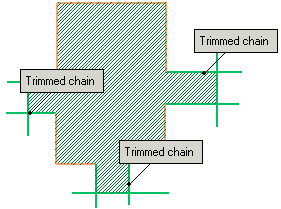
- Click the Add Geometry to the Contour button
 and click the Activate Chain parameter. The trimmed chains are highlighted and can be modified accordingly.
|