|
|
Placing a Group 
Access: Open this function from one of the following locations:
-
Click the
 button in the toolbar.
 -
Select Groups > Groups > Place Group from the menu bar.
-
Select Groups > Place Group on the popup menu (right-click the graphics area).
Load a master group and apply an instance of the group to the view.
The instance can be extensively edited. Since it is only an instance of the master group, the master group remains as is and as many new and varying instances of the master can be created.
Note: It is highly recommended to save the current file before placing created groups into the same or another file.
-
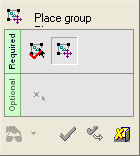
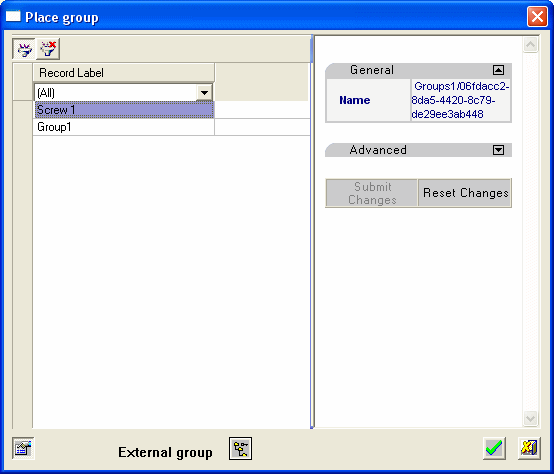
InvokeInvoke the Place Group function. The Place Group feature Tree and dialog are displayed:


Required Step 1 
Select the Master Group to be loaded and click OK. (In this example, the Group Screw 1 is selected). If required, click the External Group button to open the Cimatron Explorer and select an External Master Group.
Required Step 2 
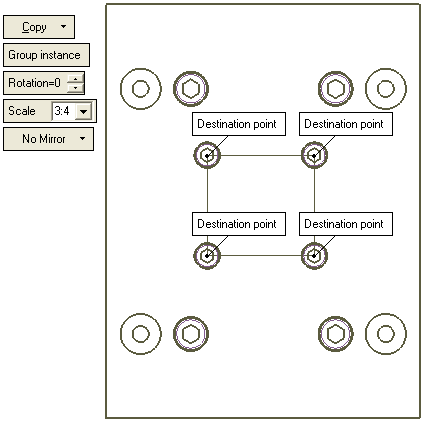
Edit the group's parameters and pick the destination points for each instance. In this example, the screws are placed at the corners of the center square and scaled down to a size ratio of 3:4.

Toggling Group Instance to Explode Instance breaks the grouped entities in the current placement operation into their original curves and symbols. In addition, the entity can be moved, copied. mirrored on the X,Y and Z axes and rotated.
Required Step 3 
Pick the base point for the group. This is a new origin point for the group instance. This is the point from which the group is scaled, moved or rotated.
When you are finished, press OK ![]() or Apply
or Apply ![]() in the Feature Guide to complete the function.
in the Feature Guide to complete the function.
Notes:
-
After exiting the function, any individual group instance can be deleted in the normal manner.
-
To edit a group instance, you can return to Required Step 2 by double-clicking on the group instance in the graphic area or by picking the group instance, right-clicking and selecting Edit This.
|
