|
|
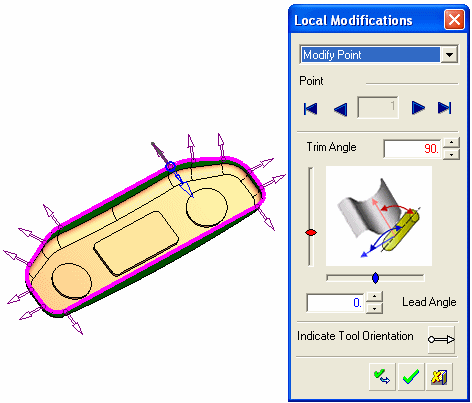
Local Modifications (5X Trimming)
Press SelectSelect to display the Local Modifications dialog.

Use the Local Modifications dialog to:
-
Add, Modify or Delete control points. The Trim and Lead Angles of these local control points can also be set dynamically.
-
Indicate Tool Orientation. This determines the tool orientation throughout the trimming operation.
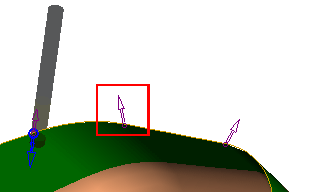
The Local Modifications dialog is displayed and the contour selected to be trimmed is highlighted.
-
Set the Trim and Lead Angles for each local control point. These can be defined either by entering the angle value in the appropriate field, or dynamically, by using the relevant slide controls.
|
Demo: Press the button below to view a short movie demonstrating the function: |
|
|

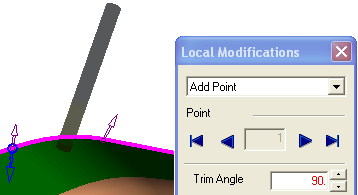
Add Control Points
-
Select the Add Point option from the dropdown menu.
-
Pick a point on the contour where you wish to create a control point.
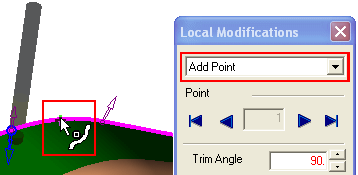
The control point is added and the cutter moves to the new point.
-
Modify the point as required.
-
Press OK
 to accept the new control point.
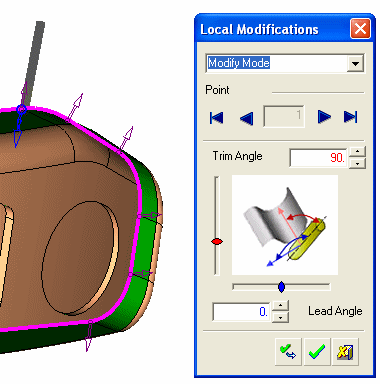
Modify Control Points
Control points can be modified using the following methods:
|
Modify the Trim and/or Lead Angles for a specific point. |
|
|
Modify the Trim and/or Lead Angles for single or multiple points according to a defined plane. |
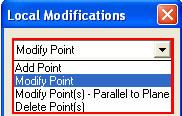
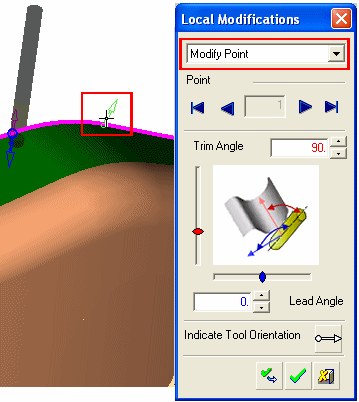
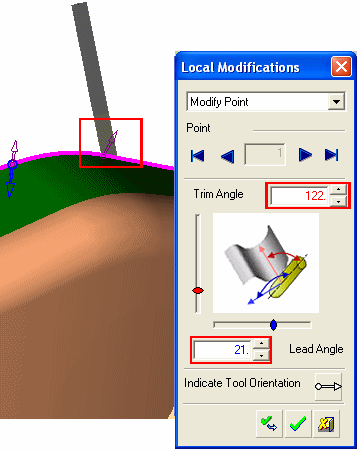
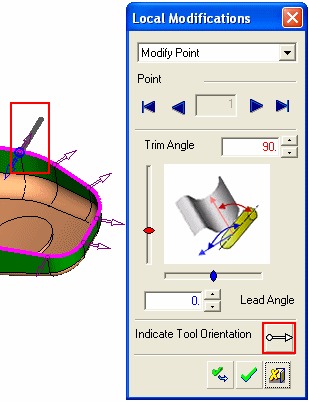
Modify Point
Modify the Trim and/or Lead Angles for a specific point.
-
Select the Modify Point option from the dropdown menu.
-
Pick a control point to be modified.
-
The cutter moves to the picked point.
Change the Trim and/or Lead Angles.
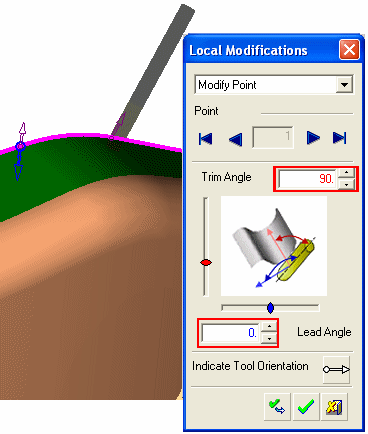
The cutter position changes as the angles are modified. The position of the control point arrow does not change at this stage.
-
Press OK
to accept the changes. The control point arrow now moves to the new angle.
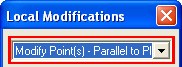
Modify Point(s) - Parallel to Plane
Modify the Trim and/or Lead Angles for single or multiple points according to a defined plane.
For example:
|
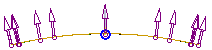
Original orientation of the control points: |
|
-
Select the Modify Point(s) - Parallel to Plane option from the dropdown menu.
-
Pick the plane to which the control point(s) are to be parallel.
-
Pick the points to be modified. Single or multiple points can be selected.
-
Press Apply
 button.
|
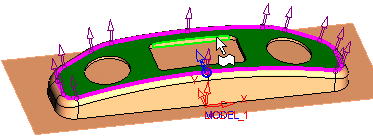
New orientation of the control points, parallel to the picked plane: |
|
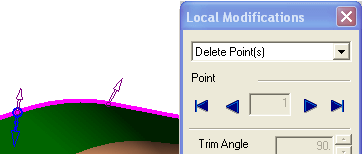
Delete Control Points
-
Select the Delete Point(s) option from the dropdown menu.
-
Pick a control point to be deleted.
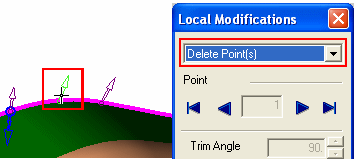
The control point changes color to red.
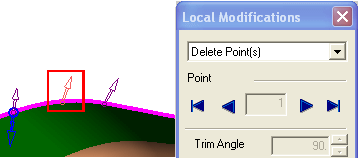
-
Press OK
to delete the control point.
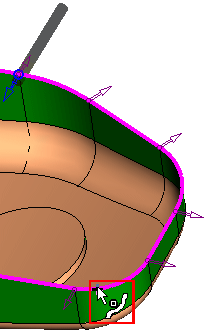
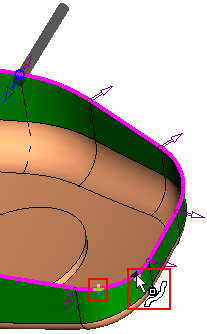
Indicate Tool Orientation
Pick two points to determine the tool orientation throughout the trimming operation. The first point determines the "location" of the tool tip, and the second point determines the orientation of the tool.
-
In the Indicate Tool Orientation section of the dialog, select the Indicate Vector button
 .
.
|
|
Note the current orientation of the tool. |
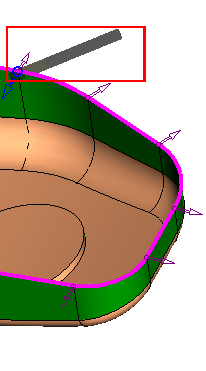
-
Pick the first point.
-
Pick the second point.
The tool moves to its new orientation. It will stay at this orientation throughout the trimming operation, or until it is changed again.
|