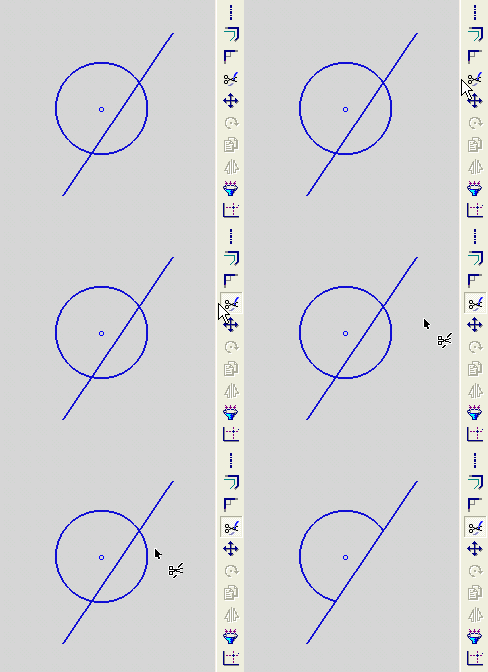
Trimming Entities 
Access: Invoke the Sketcher, define the sketch plane and then invoke this function from one of the following locations:
-
Click the Dynamic Trim button
 in the Sketcher toolbar.
If this button is not displayed in the toolbar, it is displayed in the Trim (Split) / Extend button flyout in the Sketcher toolbar.
The last used function of this group is displayed in the toolbar. -
Right-click the graphics area and select Trim from the popup menu.
Trim line or curve portions that are cut by 2 other entities.
The procedure below describes how to delete an entity segment. Trim can also be used to delete entire entities. When the trimming function is used, the system saves the original dimensions that were created. However, the system does not save the dimensions when trimming free end point segments.
The following examples describe these procedures:
Remember: Trim is an immediate access function, meaning that you can access it while within any other function. When you press exitexit to leave the Trim function, you will return to your previous function.
|
Demo: Press the button below to view a short movie demonstrating the function: |
|
|
Trim an entity or segment, or a dimension
-
Click the Trim
 button from the Sketcher toolbar. The cursor appears as a pointer-and-scissors symbol
  .
. -
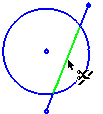
Move the cursor to the entity segment you wish to delete. The selection appears in green.

-
Click to delete the selected segment.


When you trim a segment of an entity, nodes are added at the trimming points. The remaining segments become separate entities.
-
When you have finished, remember to deselect the Trim option to avoid unintended deletions.
Note: You can also use the Delete key or the Delete popup submenu option to delete entire entities. See Deleting an Entity.
Example 1: Dimensions Saved After Trimming
The following example shows how the system saves the original dimensions of the rectangle after the trimming procedure.
-
Create a rectangle containing the following dimensions:
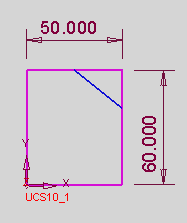
-
Click the Trim
 button from the Sketcher toolbar. The cursor appears as a pointer-and-scissors symbol
  .
. -
Trim the rectangle as follows:
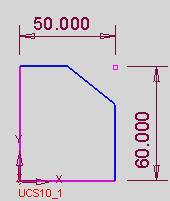
The dimensions are saved in the system, saving the user the time and effort required to re-create the dimensions.
Example 2: Dimensions Lost After Trimming
The following example shows how the system does not save the original dimensions when trimming end point segments.
Create the following end point segment:
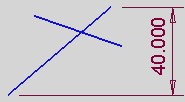
Click the Trim ![]() button from the Sketcher toolbar. The cursor appears as a pointer-and-scissors symbol
button from the Sketcher toolbar. The cursor appears as a pointer-and-scissors symbol ![]() .
.
Trim the end point segment as follows:

The dimensions are not saved in the system.


