Step 1 - Unfold
Notes:
-
The Unfold option creates flattened faces out of a given 3D model (which contains planar and cylindrical faces).
-
The flat forming shape of the model is one of the first shapes in the die strip.
-
The order for creating die forming shapes is very flexible. You can start with a final part (on the left side), then create the first forming shape (on the right side), and finally continue from left to right, or vice versa.
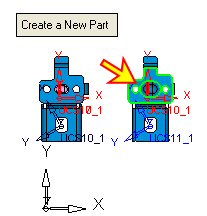
We'll now add a new part and unfold it to create a flat form of the model.
-
Click Die Design Guide > UnfoldUnfold
 .
.
The default option, Create a New Part, is displayed. (This option adds a new forming shape and flattens the model in one operation.) -
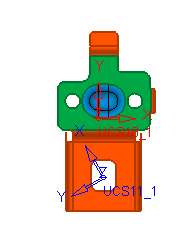
Select the skin forming shape (Master#1).
-
Click the Middle Mouse Button to Exit and enter the third stage.
-
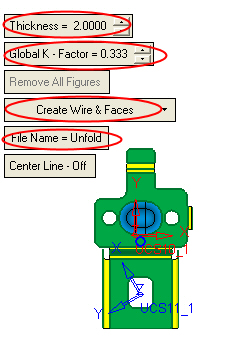
Set the Thickness value to 2.
-
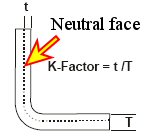
Set the Global K - FactorK - Factor value to 0.333.
The K Factor determines the neutral face. The length of the neutral face (sheet) is the total length of the unfolded model (meaning with flat faces).

-
Select the Create Wire and Faces option.
-
Enter the File Name = Unfold.
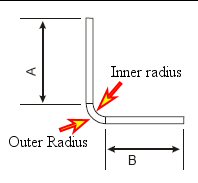
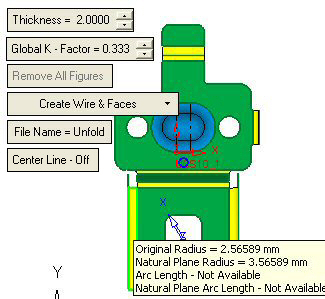
The cylindrical faces are colored in YELLOW. Move the mouse over these faces. The information regarding the Original Radius and the Natural Plane Radius is displayed as follows:
-
You can change the K-Factor of each of these faces by clicking the required face and applying a different K-Factor value as follows:
