Dimension Dialog 

Access: Open this function from one of the following locations:
-
Click
in the toolbar. -
Select Symbols > Textual > Dimension from the menu bar.
-
Select Dimension on the popup menu (right-click the graphics pane area).
Any view entity can be dimensioned. The Dimension dialog that is displayed and the subsequent dimension type displayed on the view are dependent on the type of view entity selected to be dimensioned. For example, if a line is selected, the Linear Dimension dialog is displayed and a linear dimension type is displayed on the view.
The Dimension dialog example below is for a linear dimension.
Dimension dialog
A Dimension dialog is displayed when an entity is selected to be dimensioned. If the selected entity has a special attribute attached to it (such as Automatic Tap), additional dimension options are displayed in the dialog; see Entity Specific Options below. The examples below are for linear and radial dimensions.
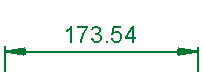
Linear Dimension
See Linear Dimension for more information.
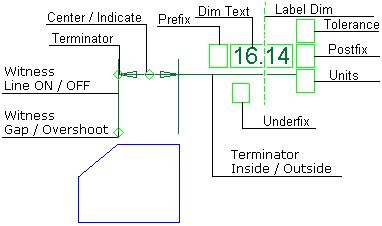
The Dimension dialog displays the relevant labels and values.
|
Linear Dimension dialog Click on an item in the dialog for a description. |
Example linear dimension labels Click a label for a description. |
|
|
|

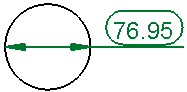
Radial Dimension
See Radial Dimension for more information.
The Dimension dialog displays the relevant labels and values. In the Radial Dimension dialog, the Jog option is displayed as standard.
|
Radial Dimension dialog Click on an item in the dialog for a description. |
Example radial dimension labels Click a label for a description. |
|
|
|


Additional Dimension dialog options
Additional dimension options are displayed in the Advanced Area ![]() of the dialog. They are also shown if the entity selected to be dimensioned has a special attribute attached to it, see Entity Specific Options further down the page.
of the dialog. They are also shown if the entity selected to be dimensioned has a special attribute attached to it, see Entity Specific Options further down the page.
Advanced Area options
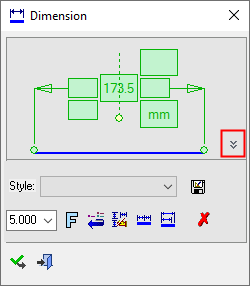
All Dimension dialogs have an Advanced Area where additional dimension options are available. Click the Expand toggle button ![]() on the Dimension dialog to show the Advanced Area parameter(s).
on the Dimension dialog to show the Advanced Area parameter(s).
The Inspection Dimension option appears in all the Dimension dialogs; however, additional options may also appear here depending on the entity selected to be dimensioned.
|
Linear Dimension – Advanced Area hidden |
Linear Dimension – Advanced Area displayed |
|
|
|
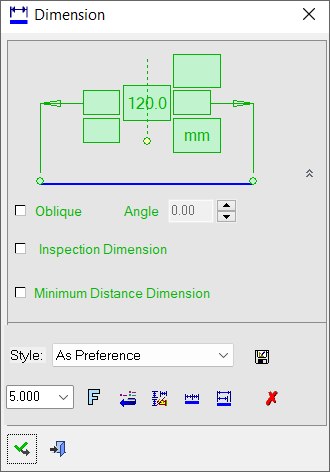
For descriptions of the Oblique and Minimum Distance Dimension options, see Linear Oblique and Linear Dimensions, respectively.
The Inspection Dimension option is described below.
|
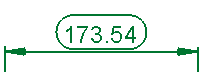
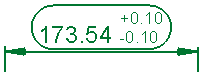
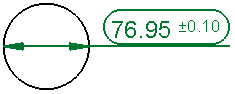
Inspection Dimension |
Surround dimensions with a rounded outline. This means that it is a dimension that should be inspected/verified after production.
|


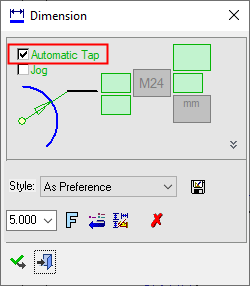
Entity Specific Options
If the selected entity has a special attribute attached to it (such as a thread/tap attribute), additional dimension options are displayed in the dialog.
In the example below, a Radial Dimension dialog is displayed when a tap attribute is attached to a selected hole.
See Radial for additional parameters that may be displayed when attributes are attached to selected entities.