Text 
![]()
![]()
Access: Open this function from one of the following locations:
-
Click the
button in the toolbar. -
Select Symbols > Textual > Text from the menu bar.
-
Select Text on the popup menu (right-click the graphics area).
When adding a symbol, the creation order of the symbol location and leader are defined as follows:
Adding a free symbol: When adding a symbol (without first selecting an entity), the first click defines the symbol location and the second click creates the leader.
Adding a symbol to a selected entity: When adding a symbol to a selected entity, the first click creates the leader and the second click defines the symbol location.
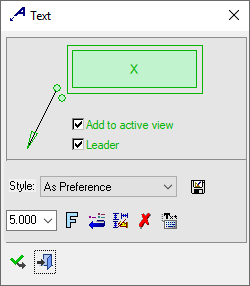
When the Leader checkbox is
OFF  (unselected),
the next picks will define the text location. When you switch from Leader OFF
to Leader ON
(unselected),
the next picks will define the text location. When you switch from Leader OFF
to Leader ON
 (selected) and the text is already located, a leader will be created at
the next pick.
(selected) and the text is already located, a leader will be created at
the next pick.
Two kinds of text may be applied to an entity:
|
The Text dialog displays
|
Below is an example of the symbol:
See Entity Overview for a general description. |


Note: Some of the parameter values you select are saved. The next time you access this tool, the last selection is displayed as the default. See Keep Last Parameter Value.
See Entity Overview for a general description.
Add Regular Text to an entity
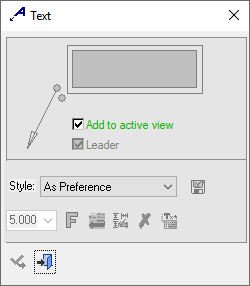
InvokeInvoke the Text function. The dialog is displayed:
Click the text field to display the Drafting Text Editor dialog. For descriptions of common parameters, see the Text dialog in Modeling.
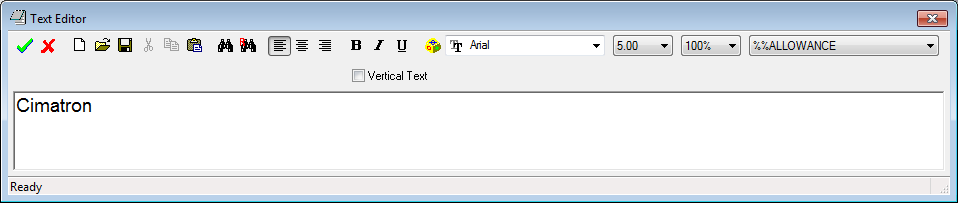
Enter the required text, set the parameters and click OK ![]() .
.
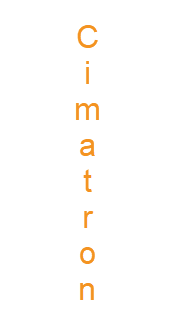
Note: Vertical text can be displayed by clicking the Vertical Text checkbox ON. This is also supported in PMI Text. The last used status of the dialog is saved. When using vertical text, only the first line is displayed vertically; any additional lines are not displayed.
|
Horizontal text: |
Vertical text: |
|
|
|

Pick a point on the geometry to which to attach the arrow-head of the text, as follows:
|
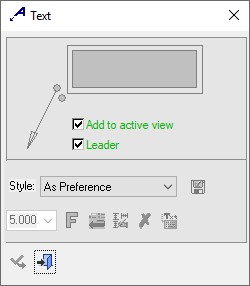
The Text dialog changes, as follows: |
|
|
|
|
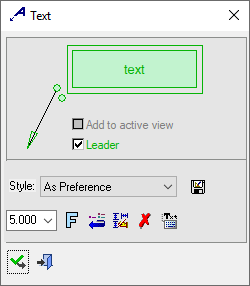
Picking a point on the screen defines the new position of the entity when no leader is used. (The entity will jump to the picking point).Place the cursor where the text is to be positioned and enter the text.
|
The Text dialog changes to display the text entered, as follows: |
|
|
|
|
Edit its parameters with the help of the hot spots and tips either directly in the graphic area or on the popup submenu. Change font style ![]() and character size also, if required.
and character size also, if required.
To complete the current operation and remain in the dialog, press the Apply ![]() button or <exit><exit>.
button or <exit><exit>.
To exit the function, press the Close ![]() button.
button.
Notes:
-
Right-click the entity itself to access the entity-specific (for editing) and general functions from the popup submenu.
-
Double-click the entity to edit it.
-
Hebrew and English characters can be used together in the Text Editor while maintaining the correct direction.
-
Double-click on the Text symbol then right-click in the graphic area to access the "Attach text to view option" in order to attach text to a different view.
-
Creating PMI text symbols (in the Modeling environment) is very similar to text annotation in the Drafting environment.
-
Some of the parameter values you select are saved. The next time you access this tool, the last selection is displayed as the default. See Keep Last Parameter Value.
-
See the Symbol notes for additional information.
-
See Symbolic Text for additional information.