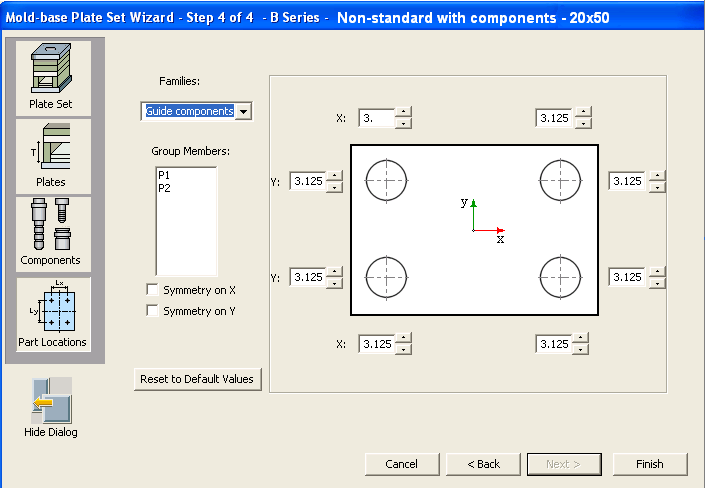
New - Part Locations 

Access: Open this function from one of the following locations:
-
Select Mold Design > Mold Base > New Mold Base from the menu bar.
-
Select Mold Base > New Mold Base from the Mold Design Guide Toolbar.
Define the part locations within the mold, as part of the process of defining a mold configuration.
The available types of components are based on the initial parameters that you set while defining the Plate Set.
The following dialog is displayed:
-
Decide whether or not you wish to add components to the mold configuration.
Use the checkboxes to include or exclude components.
In some standard configurations, some of the components are mandatory and others are optional.
In non-standard configurations, the plate is displayed without holes and all the components are optional. -
Press Finish to complete the mold configuration process.
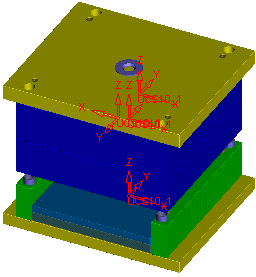
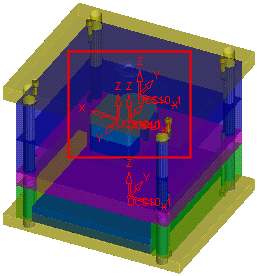
Once you have finished defining the plate set, the results are twofold:
-
The core and cavity components are encased in the mold base.
|
The mold base |
The mold base in transparent view, showing the core and cavity components |
|
|
|
-
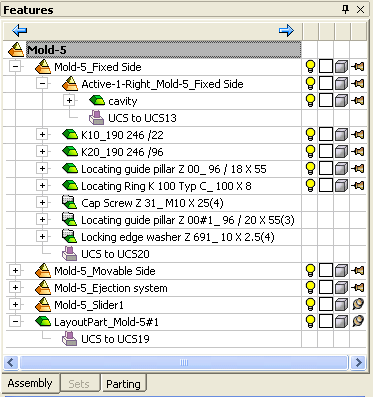
The assembly tree is updated to show the newly added mold plates.
|
The assembly tree before adding the mold plates |
The assembly after adding the mold plates. |
||||||
|
|
Note that the new plate entries consists of:
|
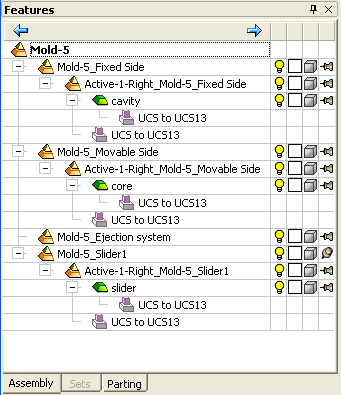

The active parts now need to be protruded from the cavity plate (K 20).