|
|
Save Configuration: Set Components Locations
Select Family of Components

Access: Select MoldDesign > Mold Tools > Save Configuration from the menu bar.
Select a family of components (Family Name) and set the number of holes in each family of components (Family Type).
-
Select a family of components from the Family Name dropdown menu. For example:
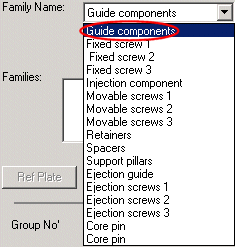
In this case, the Guide components family consists of the Leader pins and the Leader pin bushing.
-
Set the number of holes in each family of components, from the Family Type dropdown menu. For example:
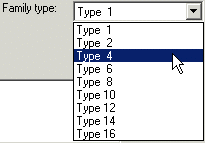
In this case, Type 4 is the amount of holes that are created in each plate, i.e. four holes - one for each of the components.
-
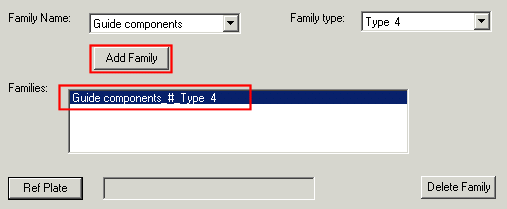
Click Add Family to add the selected family of components into the Families window.
-
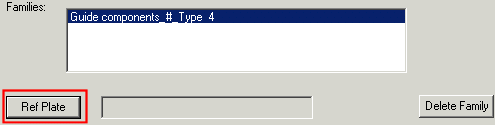
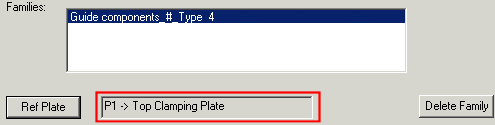
A reference plate now needs to be selected. The data of the reference plate will be used as default values, while modifying the families values while loading the configuration.
Click Ref Plate and pick a plate.
In the example below, the top plate of a mold plate is picked.
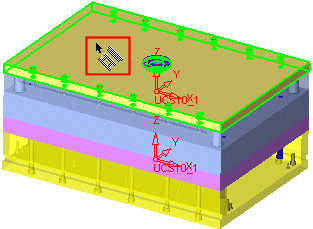
The data of the top plate is displayed in the dialog.
Continue the Set Components Locations process by defining the location of holes for each component (Group No.).
|