|
|
Save Configuration: Set Components Locations
Define Location of Holes

Access: Select MoldDesign > Mold Tools > Save Configuration from the menu bar.
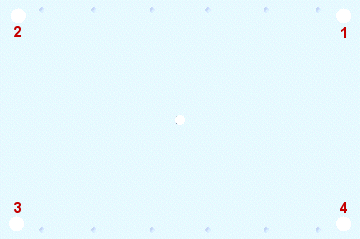
Define the location of holes (groups) for each component (Group No.). In the Family Type dropdown menu, Type 4 was selected (four holes or groups) - one for each of the components.
This means that, in our example, there are four groups, corresponding to the corner holes in the plates. The holes are picked from the top right corner in an anti-clockwise motion as shown below.
-
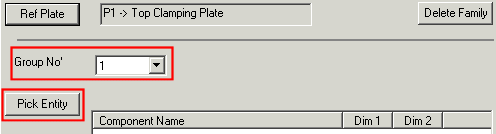
Select Group No. 1 and click Pick Entity.
-
Zoom into the area by hole 1 and first pick the hole's X dimension and then pick the Y dimension.
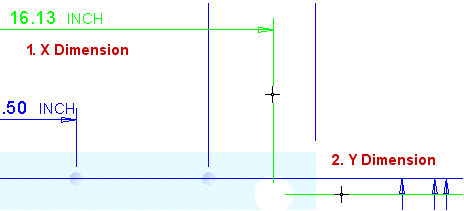
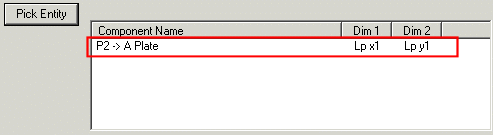
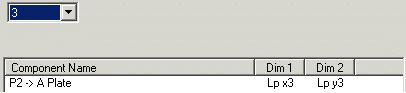
The dimensions appear in the table in the order they are picked. They appear in the table as the Lp (Leader pin) x1 and Lp y1.
-
Repeat the selection process for:
Hole 2:

Hole 3:
Hole 4:

-
Repeat the process for Plate B.
Click the Plate B Group 1 X dimension and then the Y dimension.

Repeat this for the other three holes.
-
If required, repeat this process for any other plate.
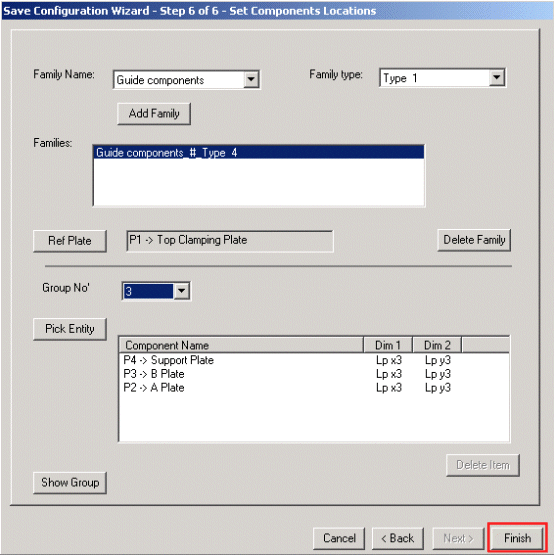
At the end of the hole definition process, the dialog would look as follows:
-
Now pick the hole associated with Group 1 - hole 1 shown above.
Double click the edges of a hole to show the plate's dimensions. Only one group member can be selected for each plate. This means that Group number 1 can contain one hole in the A plate and one hole on hole in the B plate. When relocated, the group's holes will move together.
-
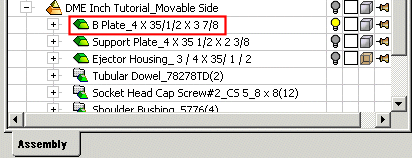
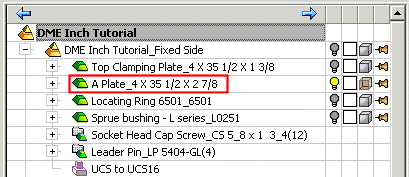
Show only Plate A:
-
-
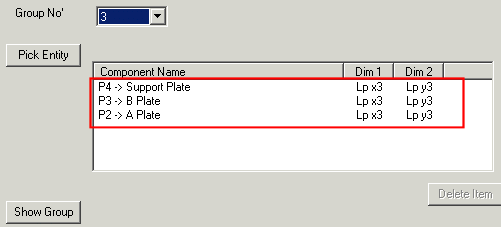
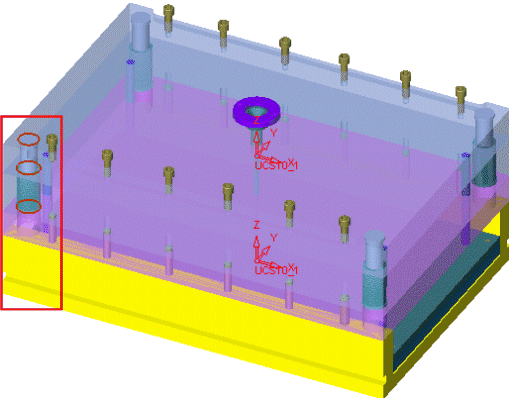
To view a group, press the Show Group button.
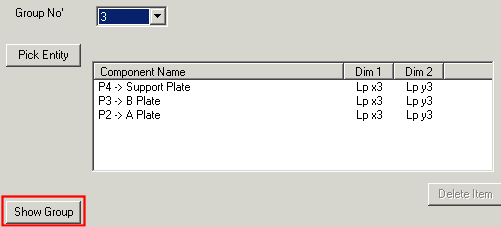
In this case, the edges for Group 3 are highlighted.
-
At the end of the component location process, press the Finish button to define a new mold base configuration.
|