|
|
Save Image 

Access: Open this function from the following location:
-
Select File > File Tools > Save Image from the menu bar.
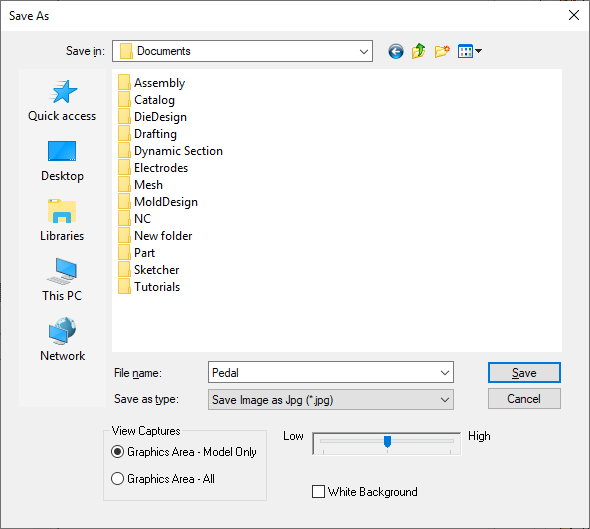
Save a picture of the current display.
The Save As dialog is displayed.
-
Scroll to the folder where you want to save the image file.
-
Set the required parameters:
|
File name |
Name of the saved image file. |
||||
|
Save as type |
Set the image file format. The available formats are shown here:
|
||||
|
View Captures |
Define which entities are saved to the image file:
|
||||
|
Low / High |
Use the slider to set the image quality. A Low setting results in a smaller file size. |
||||
|
White Background |
Set the background color. This can either be white or the default color
in the current display. This option is displayed if the View Captures / Graphics Area - Model Only option is selected. |

-
Click Save.
|