|
|
Cutter Libraries and Cutter Locations 

Access: Invoke this function from one of the following locations:
-
Add a cutter(s) from the Cutters and Holders dialog.
-
Select Tools > Libraries > Cutter Library from the menu bar.
Manage all your cutter libraries and their locations. Numerous cutter libraries can exist in various locations, on your local computer and also on local networked computers. This tool enables you to manage all of them from one dialog, listing the full path names of all files (libraries) that contain cutter definitions. For each file, all cutter definitions saved in that file are displayed.
The Cutter Library - Cutter Locations Manager dialog is displayed.
|
|
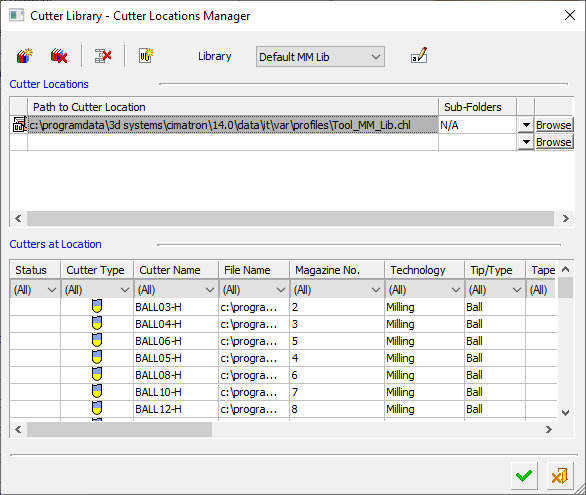
Upper Table
The upper table of this dialog contains the full path locations of the defined cutter libraries. This can either be to a specific cutter library location or to a folder (which may contain other libraries or NC files).
Each unique cutter library location is represented by a row in the table. If a folder is defined as a location, all files in the folder and in any sub-folders (according the sub-folders parameter setting) that the cutter library works with will be used. Each such folder is represented by one row. All the cutters in the library or folder path defined here are displayed in the lower table.
Click the HistoryHistory button ![]() to display a list of the last twenty different locations used. Select a location to display its cutter definitions in the lower table.
to display a list of the last twenty different locations used. Select a location to display its cutter definitions in the lower table.

Click the BrowseBrowse button ![]() to display the Cimatron Explorer to select multiple files (pre-filtered to the relevant file types) and also multiple folders. If multiple files/folders were selected in the Cimatron Explorer, multiple rows (representing the multiple locations) are displayed in the upper table of the Cutter Library - Cutter Locations Manager dialog.
to display the Cimatron Explorer to select multiple files (pre-filtered to the relevant file types) and also multiple folders. If multiple files/folders were selected in the Cimatron Explorer, multiple rows (representing the multiple locations) are displayed in the upper table of the Cutter Library - Cutter Locations Manager dialog.
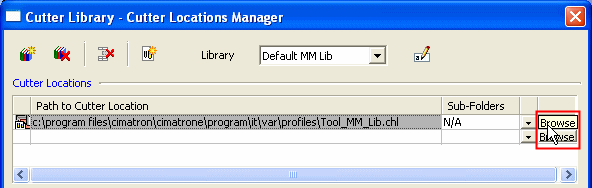
If the connection to a path in a row cannot be established (due to deletion of the location or the connection through the local network is broken), the text in the row is dimmed and the row cannot be deleted.
Lower Table
The lower table of this dialog shows all the cutters in the selected library path (or if a folder was selected, the cutters from all the NC files in the selected folder) and displays their parameter values—This is similar to the Cutter Table in the Cutters and Holders Dialog and uses the same filtering mechanism.
Operation buttons
The Cutter Library dialog contains the following operation buttons.
|
|
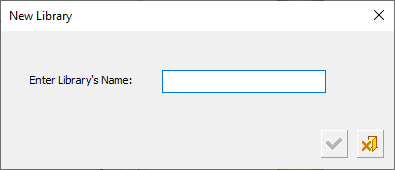
Create a New Cutter Library The New Library dialog is displayed, prompting the name of the new library.
Click the OK button |
|
|
Delete the Current Cutter Library |
|
|
Delete Selected Rows |
|
|
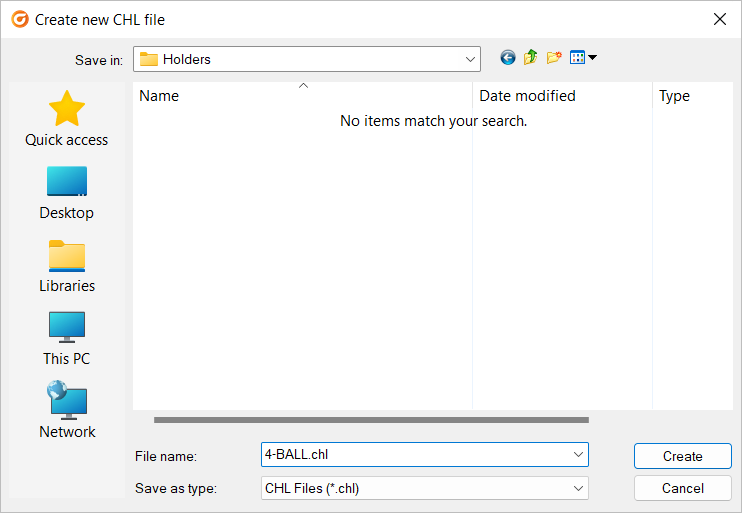
Create a New CHL File
When the new file is saved, a new row is then added in the upper table of the Cutter Library - Cutter Locations Manager dialog with the newly created CHL file. |
|
Library |
Select a Cutter Library from the dropdown list of libraries |
|
|
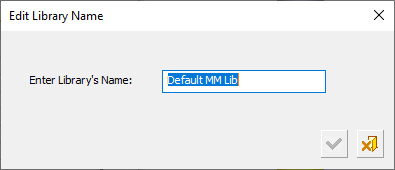
Edit the Library Name
Click the OK button |
|