Twist  : Options and Results
Access: Open this function from the following location:
Access: Open this function from one of the following locations:
-
Select Solid > Warp > Twist from the menu bar.
-
Select Die Design > Geometry Manipulation > Twist from the menu bar.
-
Select Geometry Manipulation > Twist from the following Die Design Guide: Die Process Design Guide (Forming).
Twist objects around an axis according to specified angles.
The twisting affect may be global or limited between two planes (normal to the axis). This includes the following options:
-
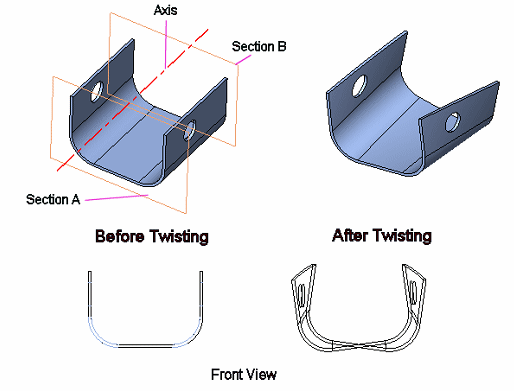
Global Twist: In this case the twisting operation is performed for the entire object globally, as illustrated in the example below:
-
Limited Region Twist: In this case the twisting operation is performed on a limited defined area of the object, as illustrated in the example below which shows how to create a screw using the Limited Region Twist option. In this case, Sections A and B intersect the part and a limited twist region is applied. The twisting angle in Section A is 0, while in Section B the twisting angle is defined at 360 * 2 degrees.
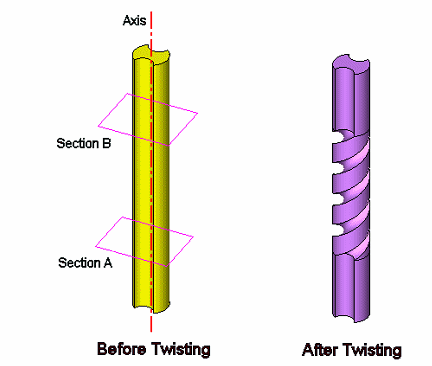
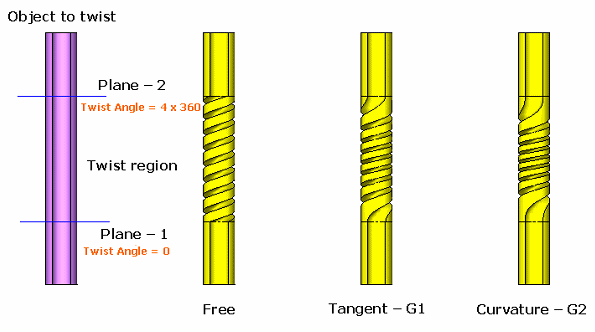
The Limited Region Twist includes the following options (illustrated in the example below):
-
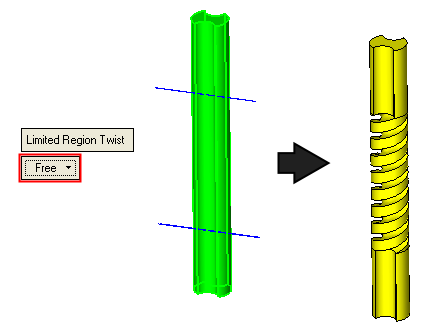
Free: No continuous is accomplished between the faces in the twisted area and the untouched area.
-
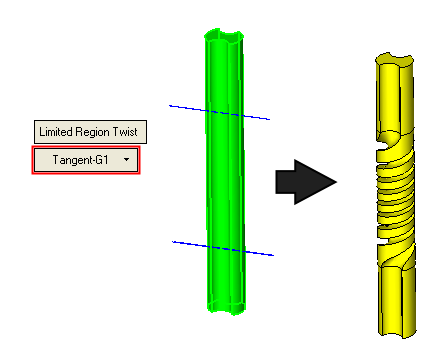
Tangent G1: Creates a smooth (G1) continuous between the twisted area and the untouched area.
-
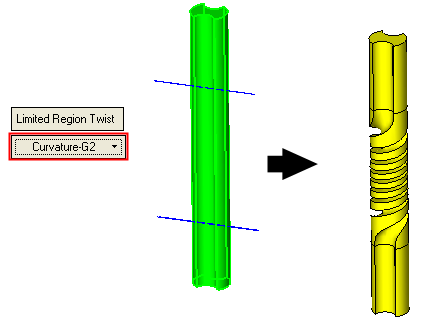
Curvature G2: Creates a smooth (G2) continuous between the twisted area and the untouched area.
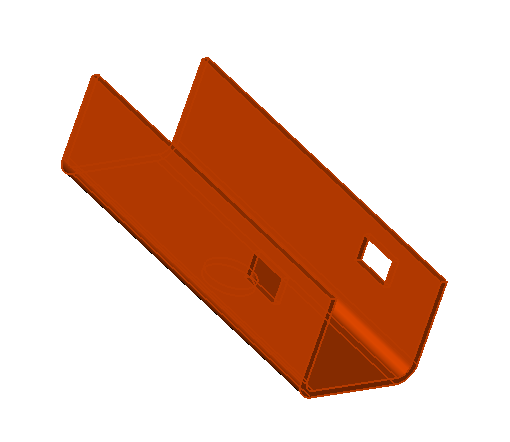
Required Step 1  : Pick the Faces of the Solid Object to be Twisted
Required Step 2  : Pick the Twist Axes
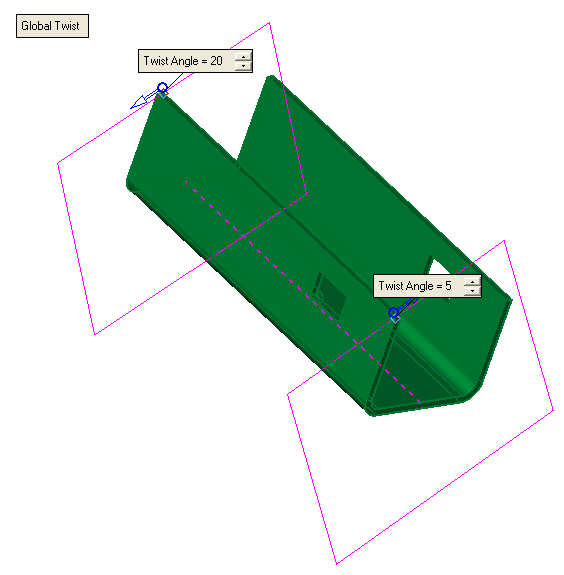
You can twist the above object from two points, each at a different twist angle in a different direction, as required.
Required Step 3  : Select Twisting Points and Define Angles
In this step you define whether to apply a global twist or to define a limited twisting area. You can then select the twisting points and define the angles.
Select the required option, as follows:
Global Twist
In this case the twisting operation will be performed for the entire object using the Global Twist option.
To apply a global twist:
-
Ensure the
 toggle button is selected and enter the required Twist Angles in the relevant fields, as shown below:
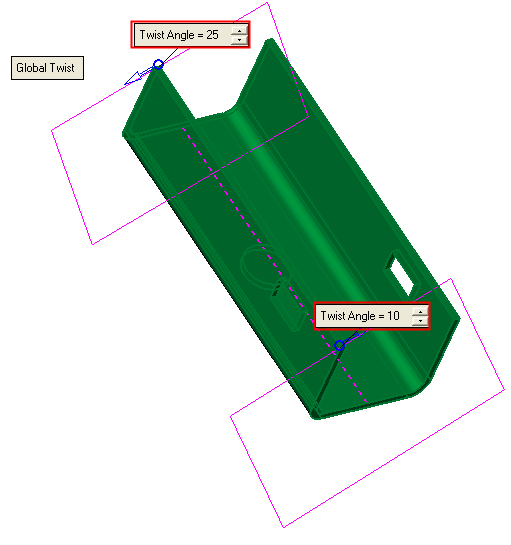
-
Click the blue directional arrows to define the direction of the twist.
-
Click OK
 or Apply
  in the Feature Guide to complete the function, as follows:
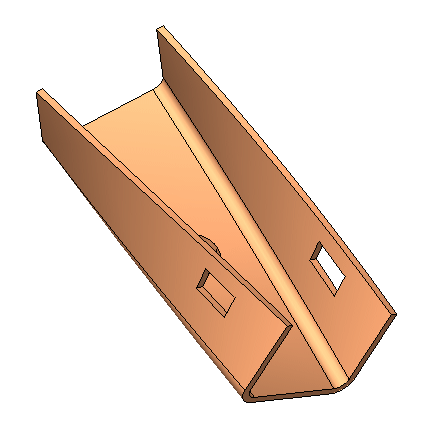
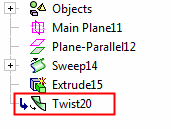
When completed, the new Twist feature will appear in the Feature Tree as follows:

Limited Region Twist
In this case the twisting operation is performed on a limited defined area of the object. A different example will be used for this operation, as shown below:
To define a limited twisting region:
-
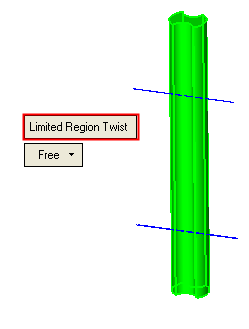
P nsure the
 toggle button is selected, as follows:
-
Select the required option,as follows:
-
Free
-
Tangent G1
-
Curvature G2
Each of the these options and their results are illustrated below:
-
 : When this option is selected, no continuous is accomplished between the faces in the twisted area and the untouched area.
-
 : Creates a smooth (G1) continuous between the twisted area and the untouched area.
-
 : Creates a smooth (G2) continuous between the twisted area and the untouched area.
-
Click OK
 or Apply
  in the Feature Guide to complete the function. The result of each option is shown above.
When completed, the new Twist feature will appear in the Feature Tree as follows:
