Progressive Copy  : Options and Results
Access: Open this function from one of the following locations:
-
Select Die Design > Strip Tools > Progressive Copy from the menu bar.
-
Select Progressive Copy from the following Die Design Guide: Die Strip Design Guide.
Copy geometry from forming shapes to the strip and progress it to the different stations.
Use this feature to create multiple entities, such as dimples on the strip. You can copy the selected geometry either to the entire strip or to specific locations on the strip, as shown in the examples below.
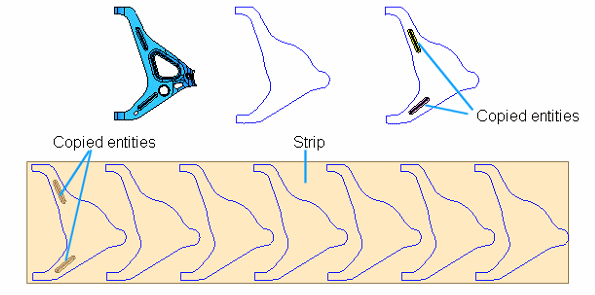
Copied to Entire Strip
In this case the system displays all the instances of the copied entities up to the end of the strip.

Copied to Specific Locations on Strip
In this case you will be able to select the first appearance and the number of steps to follow. The result is displayed,

Required Step 1 
- Pick the entities to be copied to the strip.
- Select the required forming shape (highlighted in red), using the Filter Objects
 icon,
icon,
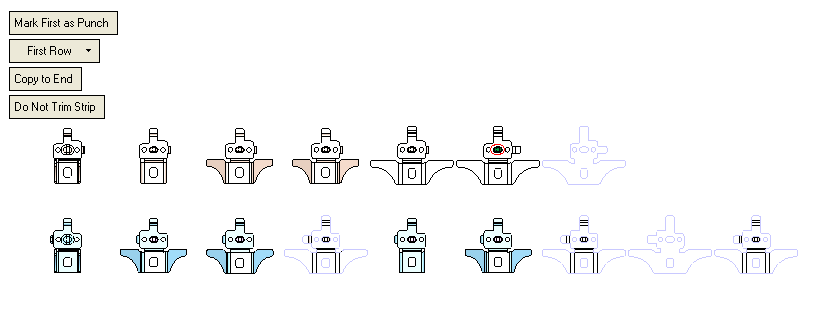
- ExitExit the step.
Required Step 2 
Define the parameters.
In this example, the selected object will be marked as a punch. The object is copied to the first row to the end of the strip, as shown below:
-
Ensure the required parameters are selected,
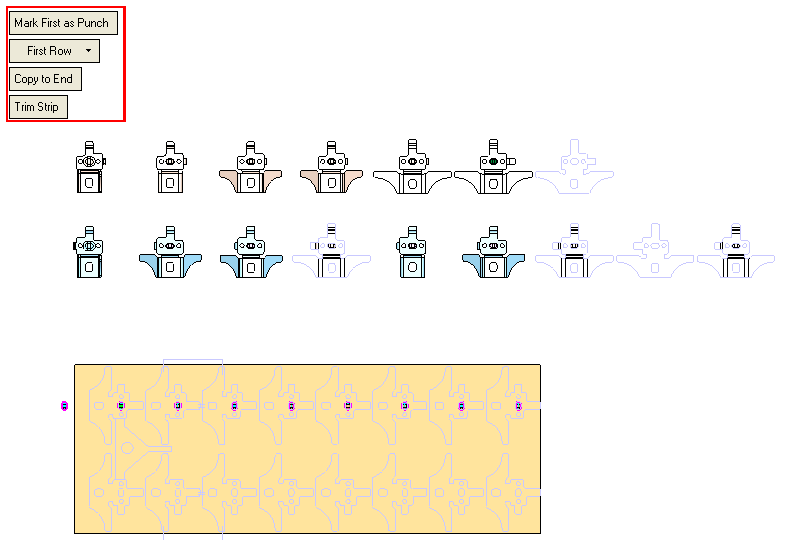
-
Click OKOK or ApplyApply in the Feature Guide to complete the function.
-
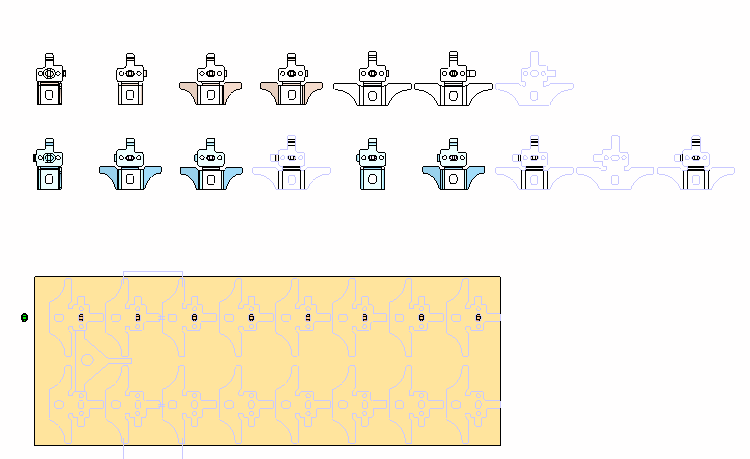
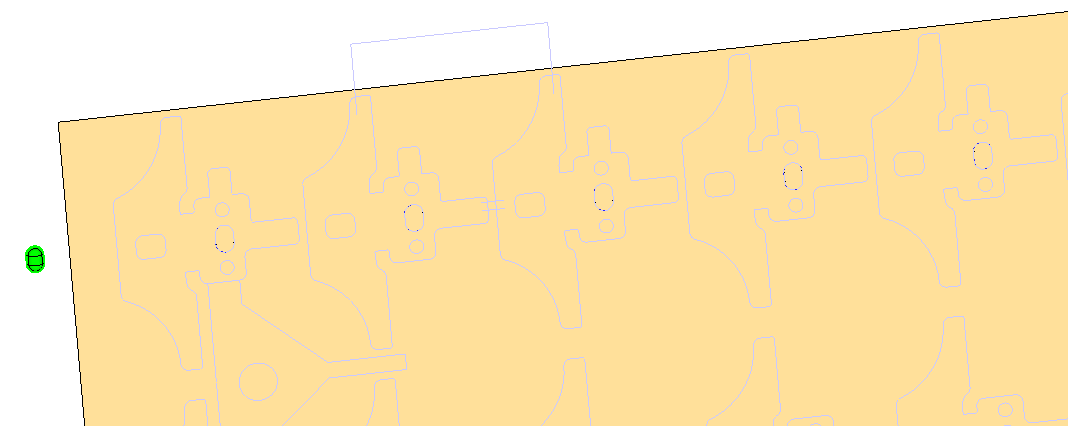
You can now rotate the image as required. Because the
 option was selected in this case, the selected face has been trimmed from the strip,

When the
 option is selected, the selected face will not be trimmed from the strip,
-
The selected item has been copied to both rows in the strip, as required.
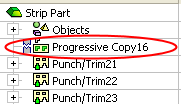
When completed, the Progressive Copy feature will appear in the Feature Tree
Additional Examples
Example 1: Copy By Number of Progressions
Use the  option to define how many times want the copied object to appear in the strip.
-
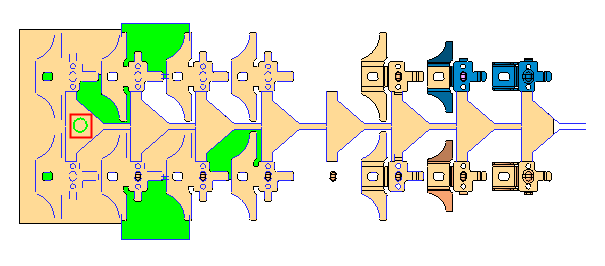
Select a circle from within the strip (highlighted in red),
-
-
Click the Copy to End button to toggle the value to
 and enter a value of 3 in the displayed
  field,
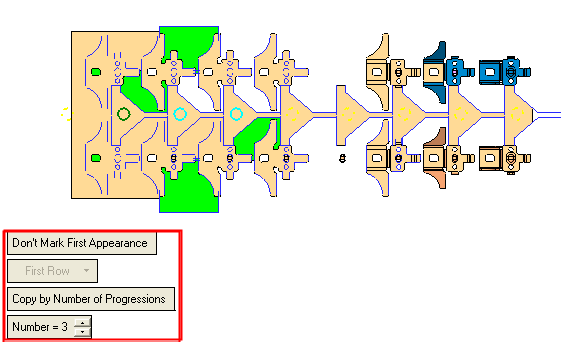
In this case the first circle is marked in yellow dotted lines (number 1 in image below) to indicate the first appearance is not marked as a punch. Then three instances are marked in full circles (number 2 in image below) based on the value that was entered in the
 field. In this case three circles are selected. The other circles in the strip (number 3 in image below) are marked with yellow dots, as shown below:
-
Click OKOK or ApplyApply in the Feature Guide to complete the function.
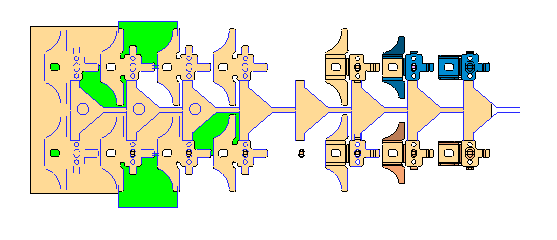
The selected circle appears three times in the strip, as defined in step 2.
Example 2: Mark First as Punch
Use the  option to define the first appearance of the copied object as a punch.
-
Select the circle (highlighted in red) to copy to the end of the strip.
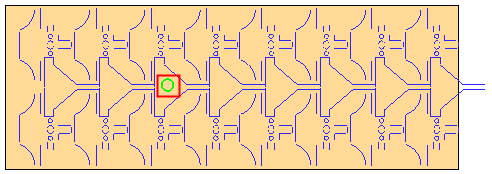
-
ExitExit the step.
-
Click the
 button to toggle the value to
  .
. -
Ensure the
 button is selected. The following is displayed:
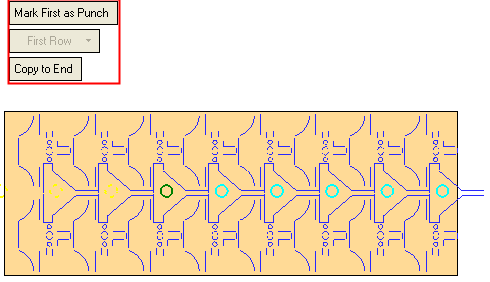
In this case the circle that appear before the selected circle (marked in green) are marked in yellow dotted lines to indicate they will not be taken into account. Then all the instances after the selected circle to the end of the strip are marked in full circles (marked in cyan).
-
Click OKOK or ApplyApply in the Feature Guide to complete the function.
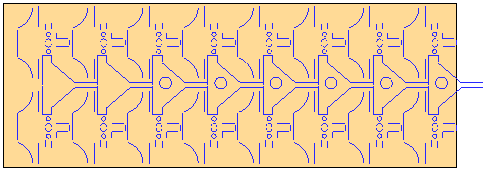
The selected circle is copied to the end of the strip and the first instance will be used a punch.

