2D Drawing
Activate
A view must be activated before you can work with it. This is done by either picking the view and selecting Activate View from the popup menu (by right-clicking) or by selecting the view name in the Drawing tree and selecting Activate View from the popup menu (by right-clicking). The activated view is highlighted for clarity.
- Create a derived view to the right of Section B-B.
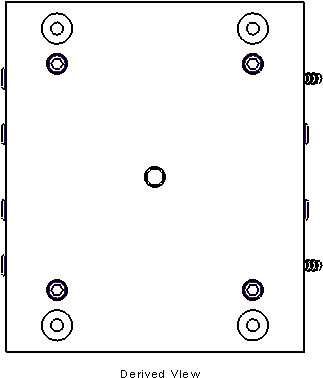
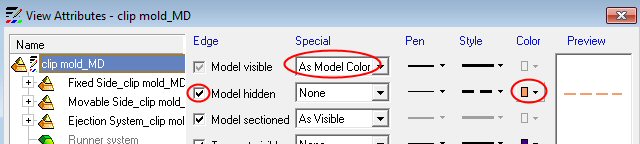
- Show the views As Model Color and Hidden LineAs Model Color and Hidden Line and View Attributes.
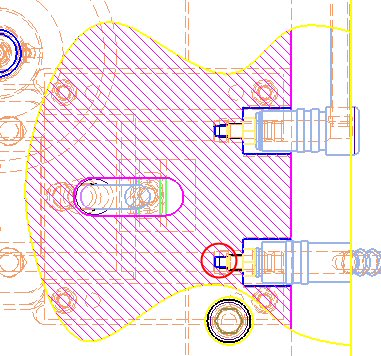
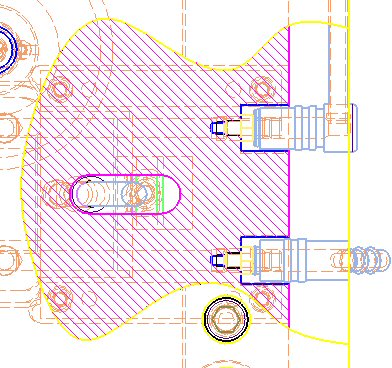
- At the bottom right of the view, create the local section shown to a depth of 122122.
Use the same method as shown in the Local Section step.
The hidden lines are shown to locate the precise location of the cooling channels.
2D operations will now be performed on this view.
The 2D Drawing toolset allows you to manipulate the view geometry as well as add 2D geometry to existing views.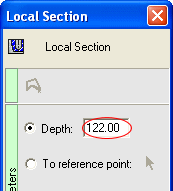
- Activate this view.
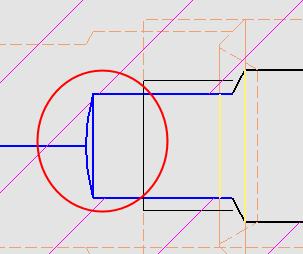
- Zoom-inZoom-in and delete the blue lines that are circled below: