|
|
Edit Direction
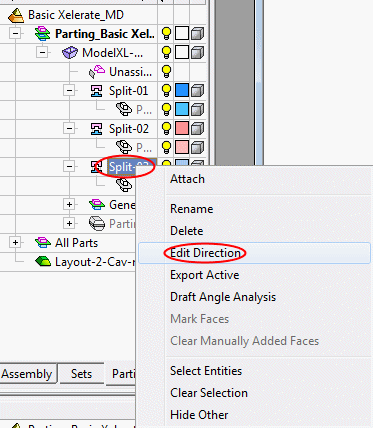
We will now edit the slider direction to add the split faces and additional faces.
-
In the Parting tree, right-click the third split set and select Edit Direction:
-
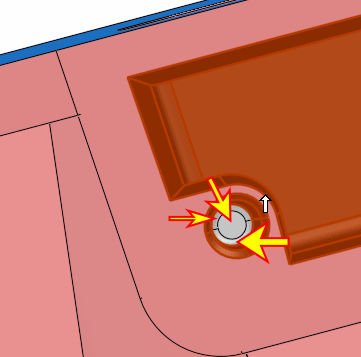
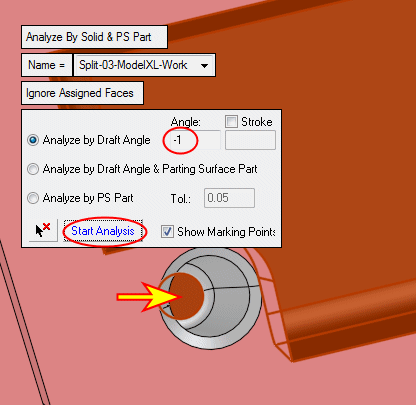
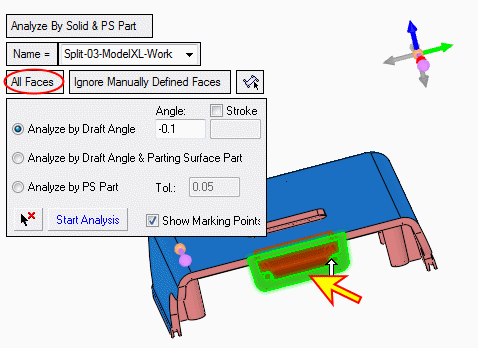
Select the cylindrical face and click Start Analysis.

All relevant neighbor faces were selected. The reason that these faces were not selected during the first creation of the split set is due to the fact that these faces have no common edges to the first selected group. This means that a gap exists between these two groups of faces. They can also be added in the beginning when creating the split set by selecting an additional face and pressing the Start Analysis button once more.
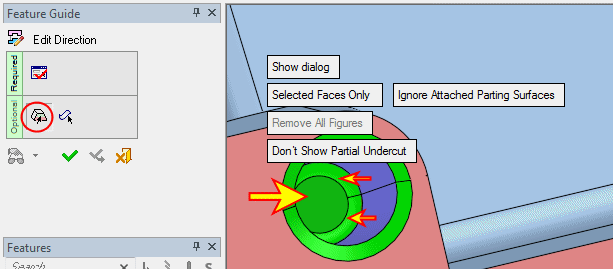
Notice that three faces were not selected.
-
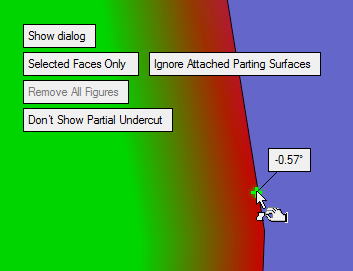
Select the three faces and enter the first Optional stage in the Feature Guide. Notice the small undercut.
-
We will not fix the undercut in this exercise so deselect the faces.
Change the angle to -1.
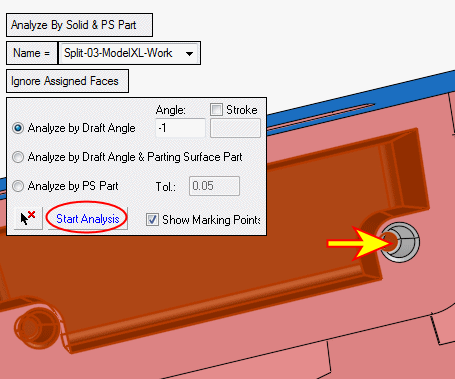
Reselect the face indicated by the arrow in the following image, and click Start Analysis.
-
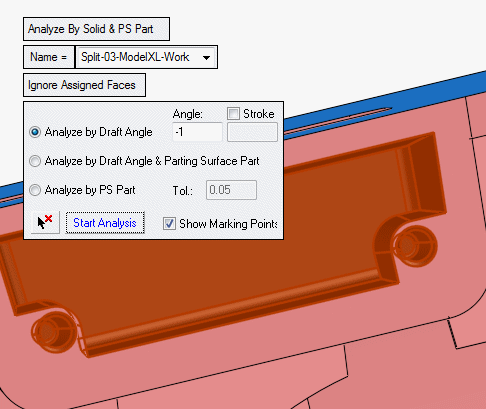
Select another face on the other side and click Start Analysis.
-
Toggle the Ignore Assigned Faces option to the All Faces and pick this face.
Click OK to add the already assigned face (the front face is indicated by the arrow in the following image).
-
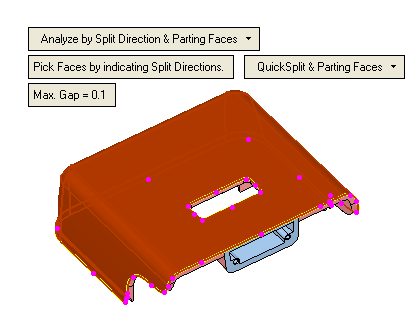
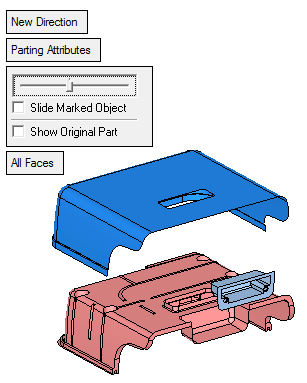
Click Parting > QuickSplit from the Guide and drag the bar to view the result of the split direction sets.
-
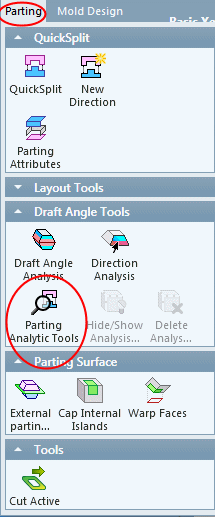
Click Parting > Parting Analytic ToolsParting > Parting Analytic Tools to use the Parting Analytic Tool to check the validity of the result.
-
Set the option as follows, then select a face of the upper split set and click Preview.
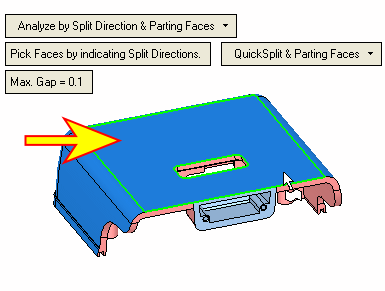
No problematic areas were found and the boundaries are correct and smooth. You can repeat the analysis on the other split sets.