|
|
Automatic Contour 
Access: Open this function from one of the following locations:
-
Select Electrode > Geometry > Auto Contour from the menu bar.
-
Select Auto Contour from the Electrode Guide.
Automatically create a contour for extensions.
Look for the open boundary of an electrode and automatically create a contour on it. This contour can later be used for the creation of extensions.
Note: The Auto Contour function appears together with the Composite function in the Electrode Guide.
|
|
Create a contour from a series of curves and edges. Create
a single 2D or 3D contour (from the electrode edges) by joining two or
more curves. The contour can later be used for the creation of extensions.
The new composite curve is also displayed in the Feature
Tree. |
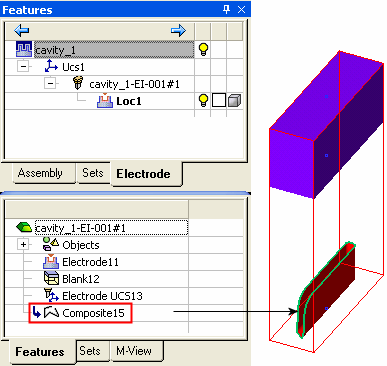
The new (automatically created) composite curve is displayed in the Feature Tree, as shown below:
|
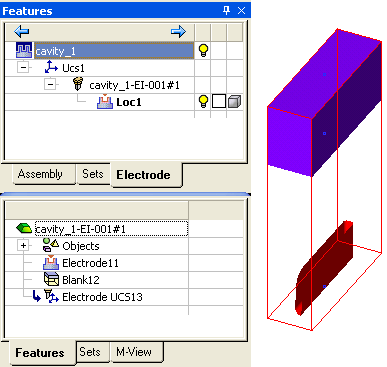
Before running Auto Contour: |
After running Auto Contour: Notice the new composite curve in the display area and also in the Feature Tree. |
|
|
|
Note: This function is only available when an electrode is active in an assembly environment.
Usage Example
The Auto Contour function results in faster work and reduces the need for manual intervention, especially when working with templates.
|
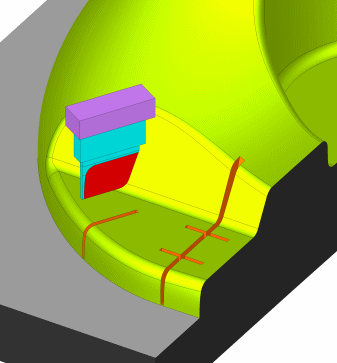
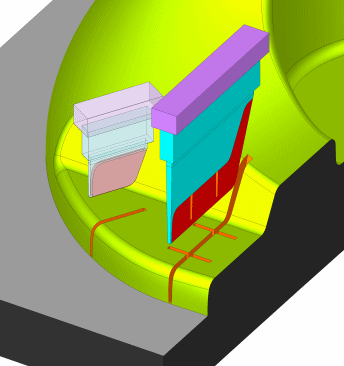
1. In the example below, a simple electrode has already been designed for this part. Now, a complex electrode for the area with the crossing slots needs to be created. |
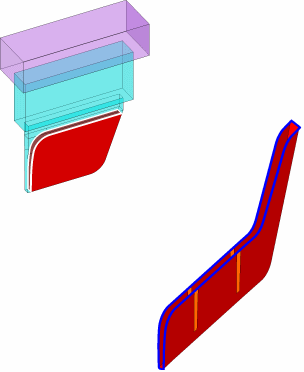
2. These are the burning surfaces of the new electrode. Even though the orange capping surfaces were manually created to close the gaps made by the crossing slots, the blue contour was automatically created. |
|
|
|
|
3. The complex electrode was automatically created by using the simple electrode as a template. |
|
|
|
|

