Close Mesh Gaps: Options and Results

Access: Open this function from one of the following locations:
-
Select Mesh > Mending Operations > Close Mesh Gaps from the menu bar.
-
Select Close Mesh Gaps from the Mesh Guide Toolbar.
Close holes and gaps in mesh bodies.
Required Step 1 
Select:
The type of mesh geometry to be closed and then pick the relevant geometry.
The method of closing the geometry.
The following parameters are displayed:
|
1. |
|
|
|
|
|

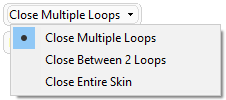
1. Type of mesh geometry to be closed
Select the type of mesh geometry to be closed. The following options are available:
The geometry to be picked depends on the option selected.
|
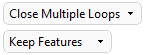
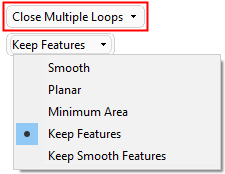
Close Multiple Loops |
Pick one or more open edges / loops to be closed on the mesh and then define the closing method.
|
||||||
|
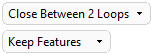
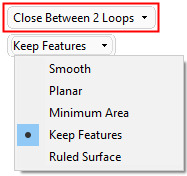
Close Between 2 Loops |
Pick 2 open edges / loops to close the mesh between them and then define the closing method.
|
||||||
|
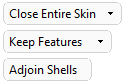
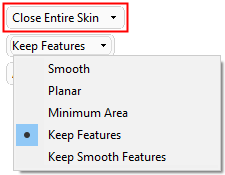
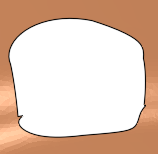
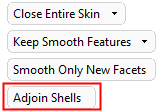
Close Entire Skin |
Pick a single open skin mesh object to close and then define the closing method. This option is useful where there are many open edges / loops that cannot be easily selected.
When the Close Entire Skin option is selected, an additional toggle option is available; see Adjoin Shells Options, below. |

2. Closing Method
Select the method of closing the geometry. The options available depend on the type of mesh geometry to be closed:
|
|
|
|
|
|
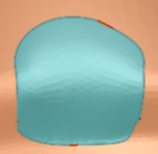
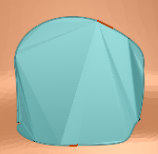
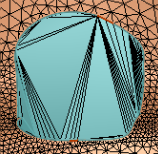
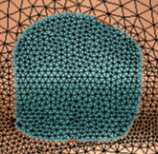
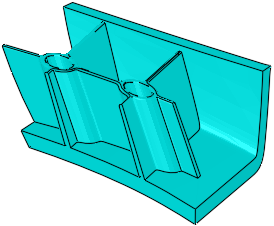
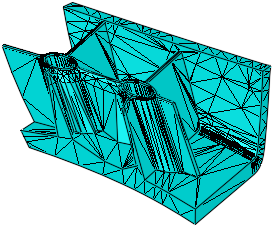
In the examples below, the resulting geometry is shown with Mesh Facets displayed OFF and ON.
|
Smooth |
Close the gaps by a triangulation using the least amount of break points.
When this Smooth option is selected, an additional toggle option is available; see Smooth - Additional Options, below. |
||||||
|
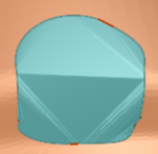
Planar |
Close the gaps by a triangulation using as many planar areas as possible.
|
||||||
|
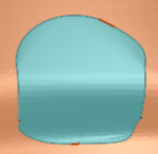
Minimum Area |
Close the gaps by a triangulation using the minimum required area.
|
||||||
|
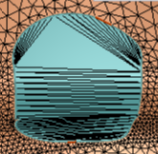
Keep Features |
Close the gaps by a triangulation while connecting the features across the gap. No new vertices are added.
|
||||||
|
Keep Smooth Features |
Close the gaps by a triangulation while connecting features across the gap in such a way that they best match the adjacent geometry. Many new vertices may be created within the gap.
When this Smooth option is selected, an additional toggle option is available; see Smooth - Additional Options, below. |
||||||
|
Ruled Surface |
Close the gaps by creating a ruled surface.
|
||||||


See Facet Selection for a description of the various facet selection options.
Smooth - Additional Options
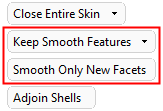
If any of the Smooth options above are selected (Smooth or Keep Smooth Features), an additional toggle option is displayed; Smooth Only New Facets / Smooth New and Adjacent Facets.
|
|
|
|
|
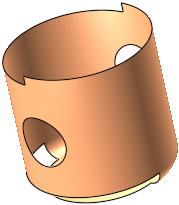
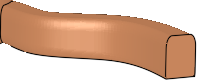
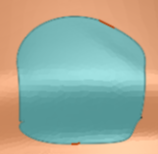
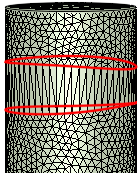
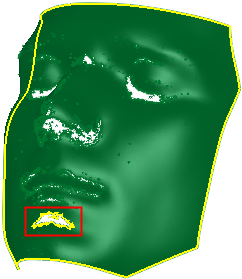
The object to be smoothed: |
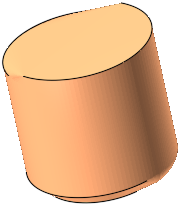
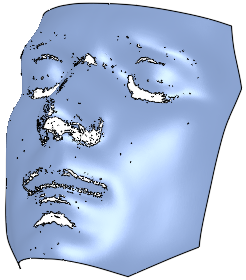
The selected gaps to be closed: |
|
|
|
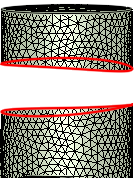
Toggle options:
|
Smooth Only New Facets |
When closing the mesh gaps, smooth only the new facets.
|
||||
|
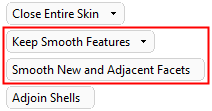
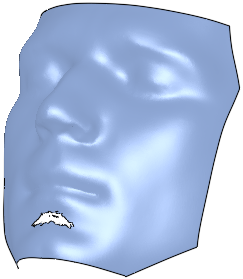
Smooth New and Adjacent Facets |
When closing the mesh gaps, smooth new and also any adjacent facets.
|
||||

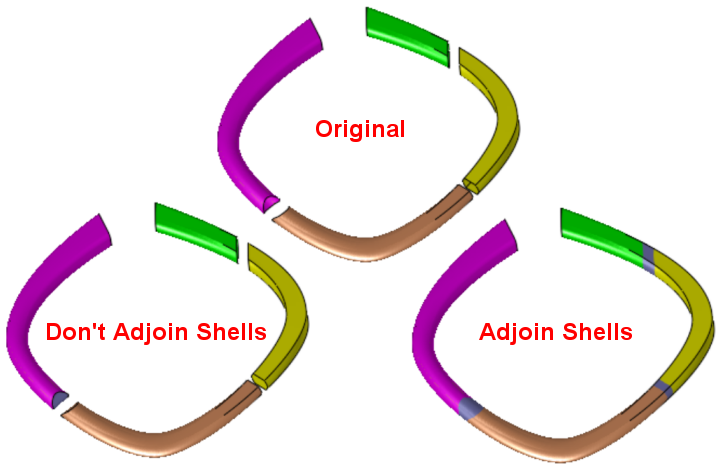
Adjoin Shells Options
If the Close Entire Skin option is selected, an additional toggle option is available; see Adjoin Shells / Don't Adjoin Shells.
|
|
|
Toggle options:
|
Adjoin Shells |
Close the gaps and also adjoin all shells. |
|
Don't Adjoin Shells |
Close the gaps, but don't adjoin the shells. |
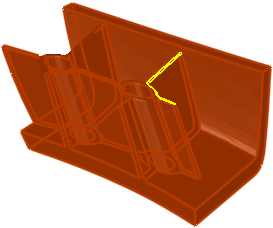
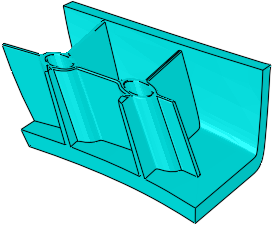
Optional Step 1
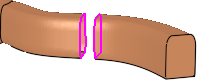
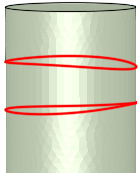
Pick open edge(s) / loop(s) to remain open. The selected loops will not be closed.
By default, the longest open loop is automatically selected, however, multiple loops may be manually selected.
This option is only available if the option Close Entire Skin was selected in step 1 and if a mesh object has been selected.
|
Entire object to be closed: |
Highlighted loops to remain open: |
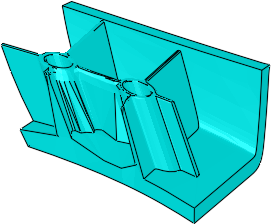
Object closed with selected loop remaining open: |
|
|
|
|
Press OK ![]() or Apply
or Apply ![]() in the Feature Guide. The mesh object is closed.
in the Feature Guide. The mesh object is closed.
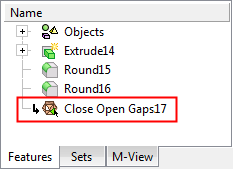
When completed, if a close operation occurred, the Close Open Gaps feature will appear in the Feature Tree as follows: