|
|
Composite Face  : Options and Results
Access: Open this function from the following location:
-
Select Faces > Modify Faces > Composite Face from the menu bar.
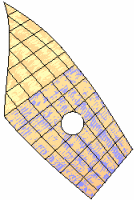
Combine groups of smooth faces into a single face (one face for each group). A group can either be a sequence of adjacent faces with a smooth connection between them, or a sequence of adjacent faces of the same type (planar, cone, cylinder, torus, sphere, etc.).
If necessary, smooth the required faces using the Faces > Modify > Smoothness function.
Note: When selecting faces where there is a non-smooth connection between two faces, the system will accept the selection (the faces will be regarded as a sequence of smooth faces) ONLY if the supplementary angle to the straight angle is less than 5 degrees. For example:

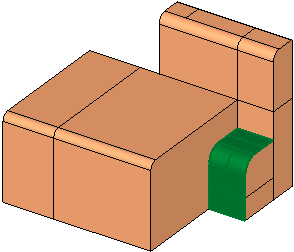
The following part is used in the function explanation:
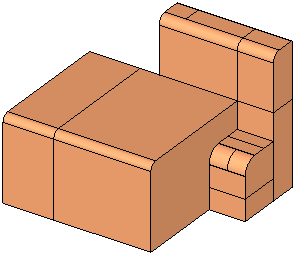
Required Step 1 
Pick a set of faces and then <exit><exit>. The following parameter is displayed when entering this step:
|
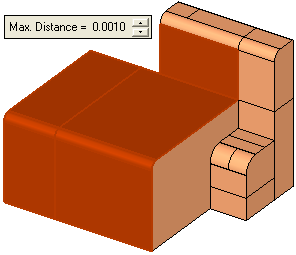
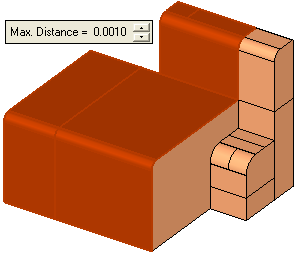
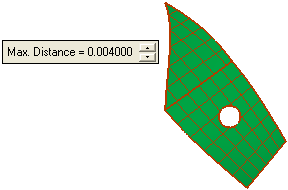
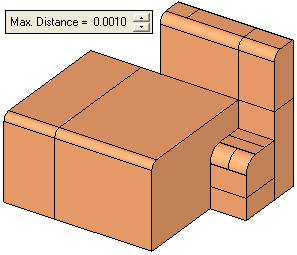
Max. Distance |
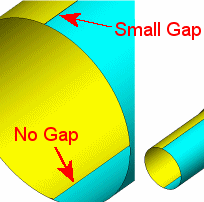
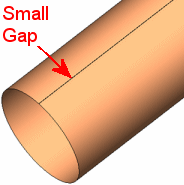
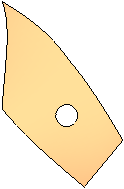
Enter the maximum distance allowed between neighboring groups of faces. In some cases it is required to keep a small gap in the resulting composite face.
|
Note: If a gap larger than the Max. Distance value exists between neighboring faces, a warning message is displayed requesting you to either increase the value, close the gap or discard the face. In addition, if the neighboring faces are not smooth, a message is displayed requesting you to smooth the required faces using the Faces > Modify > Smoothness function. Only valid faces remain highlighted.
Since this function merges groups of adjacent faces, pick at least one pair of smooth adjacent faces. Upon pressing exit, the system checks if the adjacent faces are within the Max. Distance value and that there is a smooth connection between the faces. See the examples below.
Examples:Examples:
|
Faces selected in step 1: |
Message: Unsmooth faces will be ignored. In this example, the vertical face is not smoothly connected to the other selected faces. |
Result when entering step 2. The unsmooth face is ignored and dropped from the selection. |
|
|
|
|
|
Faces selected in step 1: |
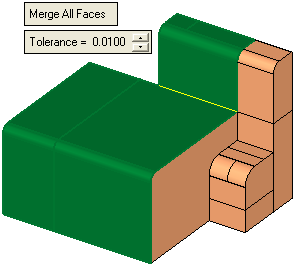
Message: No message is displayed as the system can merge all the groups of selected faces. |
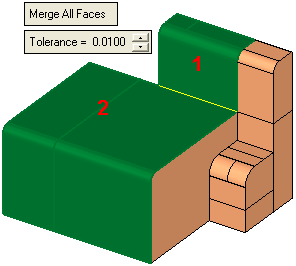
Result when entering step 2. In this example the system merges the faces and creates two groups of faces where the border between them is marked in yellow to show non-smooth edges. |
|
|
|
|
|
Faces selected in step 1: |
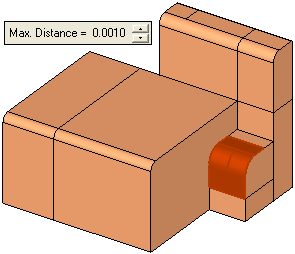
Message: If a gap larger than the Max. Distance value exists between neighboring faces, and the system cannot merge a group of faces, a warning message is displayed requesting you to either increase the value, close the gap or discard the face. In this case, the system does not proceed to step 2. |
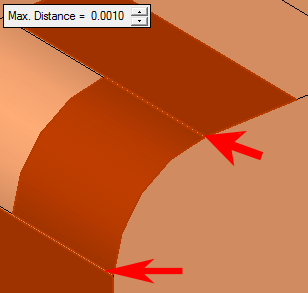
The system cannot enter step 2 until the conditions of the message are met. In this example there is a gap between the cylindrical face and the two adjacent planar faces and therefore the system could not merge any group so you could not proceed to step 2. |
|
|
|
|
|
Faces selected in step 1: |
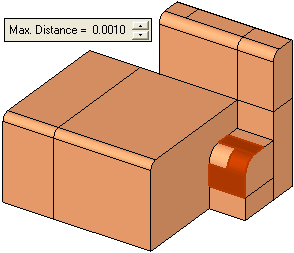
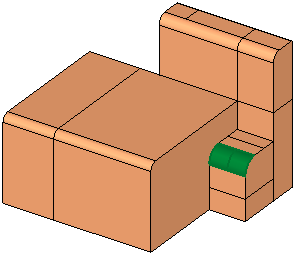
Message: If a gap larger than the Max. Distance value exists between neighboring faces, and the system can merge a group of faces, a warning message is displayed informing you that faces with gaps larger then the Max. Distance value will be ignored. |
Result when entering step 2. The system enables a merge between two adjacent faces (the round faces) and the ignored faces are dropped from the selection. |
|
|
|
|
|
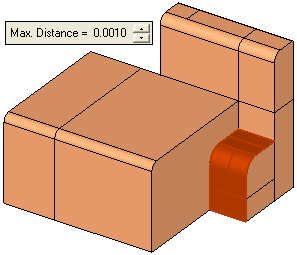
Faces selected in step 1: |
Message: No message is displayed as the system can merge all the groups of selected faces. |
Result when entering step 2. In this case, the system merges the faces and creates three groups of faces (due to the above-mentioned gap between the cylindrical faces and the two adjacent planar faces). In this example (due to the gap), the results when using the step 2 toggle options Merge All Faces / Merge Analytic Same Type Faces Only are the same, three groups of faces are created (these can be seen more clearly when using the Merge Analytic Same Type Faces Only option - as shown below, right). |
|
|
|
Required Step 2 
Set the following parameters.
|
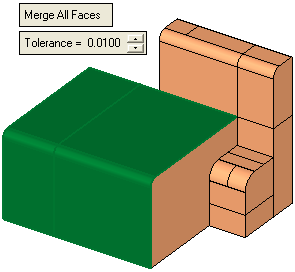
Merge All Faces |
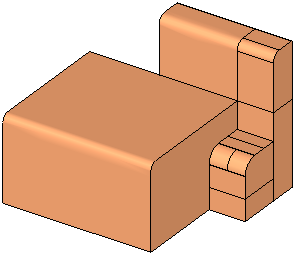
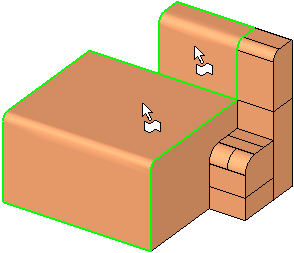
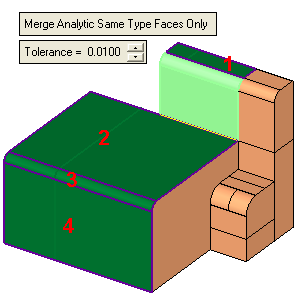
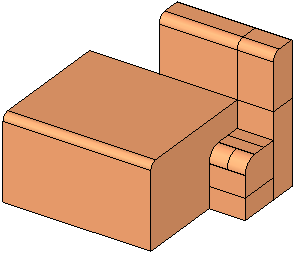
This is a toggle option Merge All Faces / Merge Analytic Same Type Faces Only that enables you to determine how the selected faces are to be merged. To aid in the explanation of these options, the following step 1 situations are assumed:
|
||||||||||||||||||
|
Tolerance |
Set the tolerance value. |
||||||||||||||||||
|
Remove Original |
This is a toggle option: Remove Original / Keep Original. This parameter is only displayed in the following cases:
|
||||||||||||||||||
Click OKOK or ApplyApply in the Feature Guide to complete the function.
When completed, the Composite Face feature will appear in the Feature Tree as follows:

|


