Edit Database
Access: Open this function from the following location:
-
Select Die Design > Material > Edit Database from the menu bar.
Edit the material database.
This enables you to view and edit the properties of materials, and to add or delete materials.
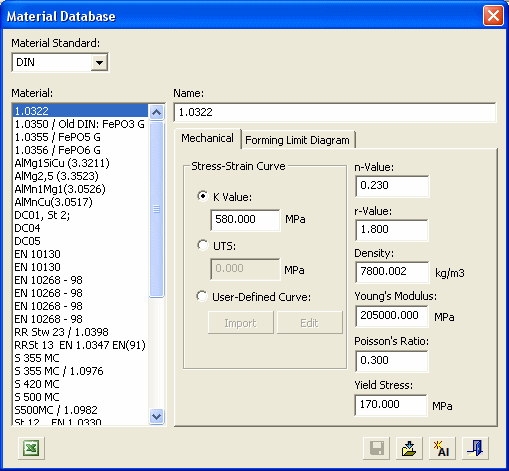
The Material Database dialog is displayed:
|
|
See also: |
This dialog contains the entire information of the defined material (see Additional Information and Material Parameters) and affects the show analysis results (specifically, the Thickness Analysis and Safety Zone Analysis results) when using the following DieDesign functions:
Editing the Material Database
To edit the database:
-
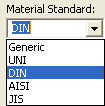
Select the Material Standard from the dropdown list. Edit this list as required (see the Define Standard tool).
-
Select a Material from the list.
You can edit the material list and/or the properties of a specific material.
Editing the Material List
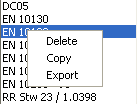
Right-click on the appropriate material (in the list) and select the required option from the popup submenu:
|
Delete |
Delete a material from the list. A prompt is displayed to confirm the deletion. |
|
Copy |
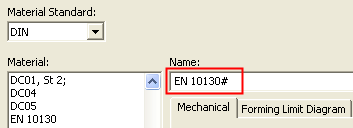
Copy a material, together with all its properties. This is useful if you need to create another material with similar properties to an existing material. The system initially creates a default material name the same as the copied material name, but with a # suffix. You can rename this material as required.
|
|
Export |
Export a material, together with all its properties, to an xml file. This is useful if you need to send a material to another user. The receiving user imports the material using the Import button |
Editing the Material Properties
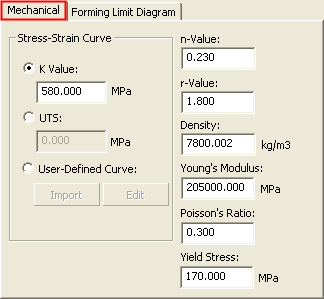
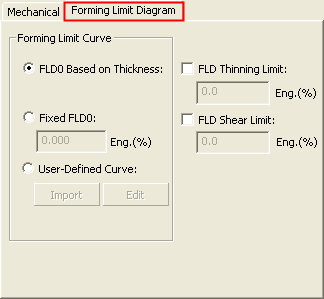
The properties of the material are then displayed to the right of the material list. These properties include the material name and the following parameters displayed under appropriate tabs:
|
Mechanical properties tab: |
Forming Limit Diagram properties tab: |
|
|
|
Edit the properties as required. See Additional Information and Material Parameters.
|
|
Open the file \Data\Die\Materials\Material_Conversion.csv under your Cimatron installation. You can edit this file as required, however, use the Edit Database tool (do not edit the .csv file directly). |
|
|
Save all changes. |
|
|
Import material from an external materials file. |
|
|
Add a new material to the selected standard. In this case, enter the material name and define the appropriate properties. See Additional Information and Material Parameters. |
|
|
Close the dialog. If you made changes and then close the dialog without saving, a message is displayed prompting you to save the changes. |

