|
|
Mesh : Options and Results


Access: Open this function from the following location:
-
Select Faces > Create Faces > Mesh from the menu bar.
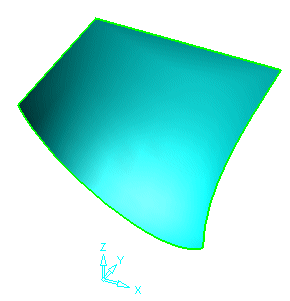
Create a face by defining a mesh of curves/edges (sections and cross sections).
General Interaction
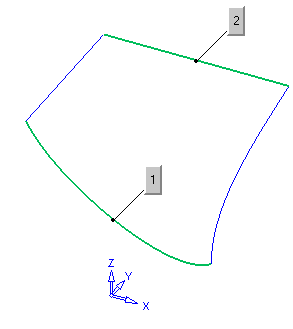
Each edge picked is assigned a serial number. This number appears close to the pick location. All mesh faces created or changed are immediately previewed on the screen. Any edge can be unpicked causing the serial number to update automatically. Alternatively, you can change the serial number by entering a new value which will in turn renumber the mesh sections accordingly. Example:Example:
For example: to enter edge No. 6 before edge 5, change the desired edge (original No. 6) to 5. All the serial numbers will immediately update. Entering a value that is 1 or less sets the edge as the first edge. Entering a value that is greater than the last will set the edge as the last one.
Required Step 1 
-
Pick the edges to define the section curves and <exit><exit>.
Required Step 2 
-
Pick the edges to define the cross-section curves and <exit><exit>.
|
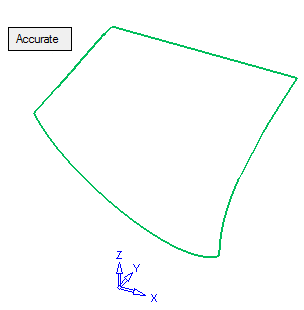
Accurate |
The option Accurate appears which can be toggled to Gap in order to enter the gap tolerance parameter.
|
Click OKOK![]() or ApplyApply
or ApplyApply![]() in the Feature Guide to complete the function.
in the Feature Guide to complete the function.
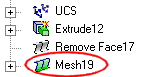
When completed, the Mesh feature will appear in the Feature Tree as follows:

|