Modeling Preferences > Name Generator > Split Direction Name

Access: Invoke this function from one of the following locations:

Navigate to Modeling > Name Generator > Split Direction Name.

Set the options that will define the default split direction names.

The Split Direction Name dialog is displayed.
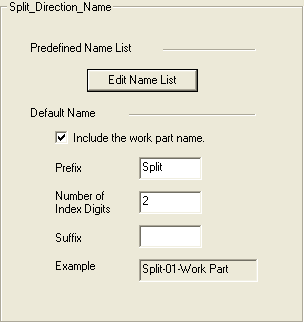
Interaction

  1. Set the parameters that define the default structure and content of split direction names.

Predefined Name List

Create a predefined list of split direction names that is displayed when creating or editing a split direction.

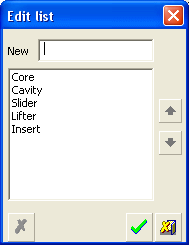
To create the predefined list of split direction names, press the Edit Name List button. In the displayed dialog, enter the direction name and press the CR key or press the OK button to add the name to the list.

Example:Example:

Use the arrow buttons to move a selected item up or down the list.

Move: Move the selected row up or down the list.
Delete: Delete the selected item.
OK. Approve the changes and close the dialog.

Cancel: Cancel all changes and close the dialog/task without saving the settings.

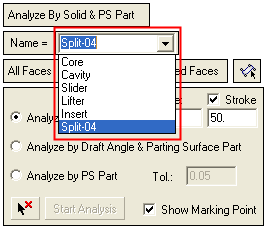
This predefined list is displayed when creating or editing a split direction.
Example:Example:


Default Name

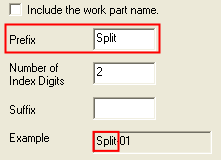
  1. Define a prefix to be added to the split direction name.

  2. Set the number of digits to be added to the split direction name when naming numerous directions.

  3. When creating or editing a split direction, the split direction name is displayed with an index number to identify it (see the second example in the parameter description above). The number of digits in this index number is defined in the parameter, Number of Index Digits.

  4. The Example field at the bottom of this Preferences dialog displays an index number with the set number of digits.

  5. If required, define a suffix to be added to the split direction name.

  6. The Example field displays the structure and content of split direction names based on your definitions.


Examples:

Define a Prefix to be added to the component name.

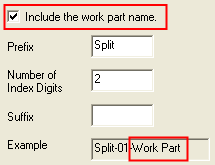
Select the Include Working Document Name to add the file name to the component name.


  1. Press the appropriate approval option.

Some functionality may be dependent on the product package. Contact your Reseller if you require a license.