![]()
Sets


Access: Open this function from one of the following locations:
-
Assembly: Click the Sets tab at the bottom of the upper or lower section of the Tree Pane
-
Part: Click the Sets tab at the bottom of the Tree Pane.
-
NC: Click the Sets Tab button
 on the NC toolbar.
A Set is a group of entities. You can define this group by selecting specific entities and declaring that they are part of a specific set (Selection Set) or by declaring that all entities that have specific characteristics (for example, all red lines) are included in a specific set (Criteria Set). These two types of sets cannot be mixed. Each set is either a Selection or a Criteria set.
|
A set is created in either the Part or Assembly environments or automatically during some import/export operations. In Part, Sets are displayed in a tab in the feature Tree. Right click on the pane to display the popup menu.
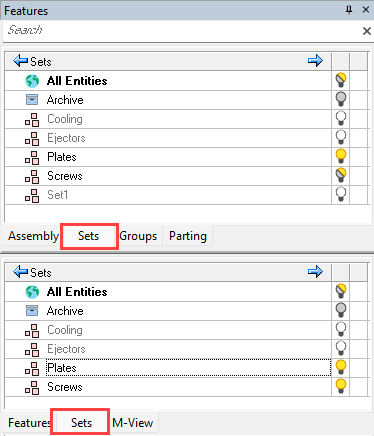
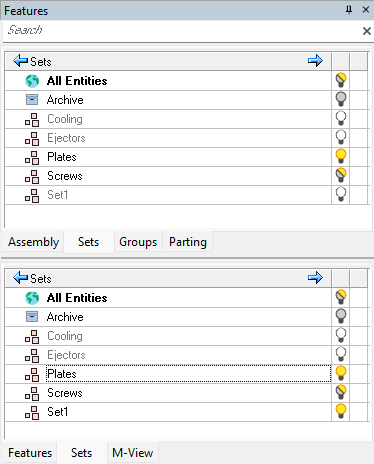
In Assembly, Sets appear in both the upper and lower sections of the paneupper and lower sections of the pane.
|
||||||
|
|
There are different icons for SelectionSelection The sets are displayed in the Sets tab inside the tree pane in all files. Note: Sets are used within NC procedures for selecting geometry by criteria. In NC files you can open sets by clicking the Sets button |
|||||
Active Set
Newly created entities are added to the active set. New faces created on an object that is already part of a set will be attached to the active set; however, as they are also part of the object, they will be hidden and shown with the set of the object as well.
The active set is displayed in bold letters in the Sets tab. To activate a set, do one of the following:
-
Double-click it. This activation mode is set by default in the Preferences; however, it can be blocked.
-
Select Activate Set from the Sets popup menu.
If you do not want any set to be active, double-click the All Entities set. In this situation, newly created entities will not be attached to any set.
Only sets created By Selection sets can be active sets.
Archive Set
The Archive Set is a repository that allows you to temporarily put aside things that you don't need most of the time. This is helpful because things that you put in the archive will not appear when you use the Show command. You can use it when you want to hide Geometry that you don't think you'll use again (for example, reference curves or surfaces), but you don't want to delete altogether.
The system automatically moves lines, curves, sketches, and composite curves to the Archive after they are used in other operations (Extrude, for example). You can also put entities in the Archive set by selecting them and then using the Move to Archive command from the popup submenu of the Archive set. Note that since this is a move operation, the entities will no longer participate in any other set they belonged to before. However, this information is not lost.
To see and use entities that are in the Archive set, click the Hide/Show button  /
/ / next to the set on the Sets tab (the Archive set is hidden by default). The entities will then be shown and you can use them.
To remove entities from the Archive set you must first show the archived entities. Then, select the entities you want to remove from the archive, and select the Retrieve from Archive command from the popup submenu of the Archive set. The entities will now be removed from the Archive set. The entities are put back into the sets they belonged to before they were put in the archive.
Automatic Sets
Automatic Sets simplify the creation of files during import/export operations. For example, during import/export operations from an assembly file, sets can (if required) be automatically created per component or instance with control over the set names. For addition information, see Export to NC.
Automatic Sets are (optionally) created in the following cases:
- Exporting to NC from inside a part or assembly file
- Loading a Model from inside an NC file
- Exporting to a New Part
- Importing from a Part or Assembly
Default Sets
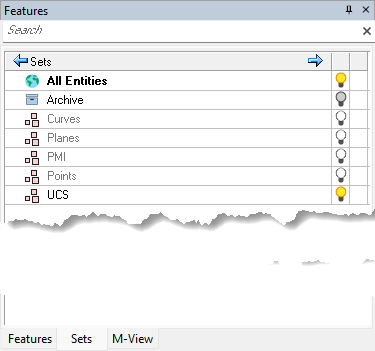
Some Sets are created automatically when you open a new file. This image shows the default Sets created when opening a new Part file.
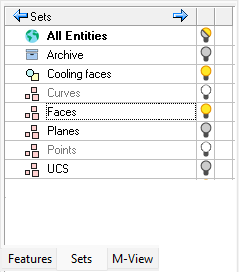
The first two Sets, All Entities and Archive, are mandatory and cannot be deleted.
- The All Entities set allows you to control the visibility of all the entities in the file.
- The Archive set is used to temporarily dispose of entities that you don't need.
The other sets that are created automatically are Criteria sets. Different Criteria sets are created in different types of file. The automatic inclusion of these sets in new files is defined in the Document Template.
The default sets are used to avoid unnecessary work when opening a new file. If there are sets that you use often, put them in by default so that you don't have to recreate them for every new file.
- Open a new file.
- Create the sets you want to have in new files from now on.
- Save a file template (File > Save As > Save as Template).
Icons
![]()
|
|
All Entities. A predefined set containing all entities. |
|
|
Archive Set. This is a predefined set containing auxiliary geometry. |
 |
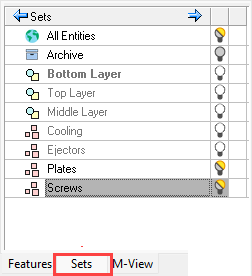
Folder. User defined collection of entities organized into specific subsets. |
| + / - |
Expand All / Collapse All |
|
|
Set created using the By Selection option. |
|
Set created by a user using the By Criteria option. |
|
|
|
Set created by the System using By Criteria settings defined in the Document Template. |
|
Empty Set |
|
|
Shown Set |
|
|
Hidden Set |
|
|
Set containing hidden and shown elements Notes:
|
 , this means that some of the entities defined in the specific set are hidden.
Note: A file template may contain sets. These sets are loaded into files created from that template. To change these sets saved with the template, open a new file from the template, make changes to the sets, and save the template using the Save As > Save as Template option.