|
|
Editing a Segment Row Step 11
-
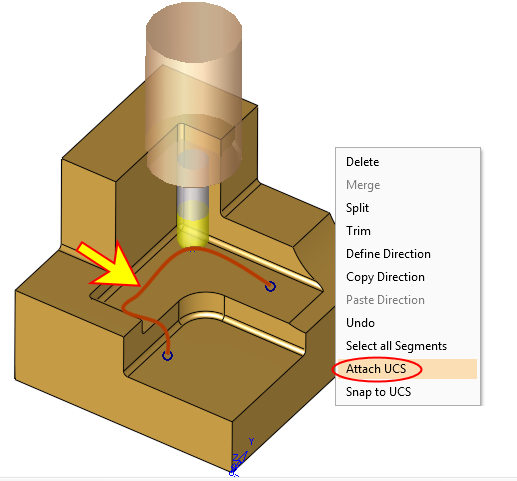
Select the Gouging segment and right-click anywhere on the graphics pane. The Context menu displays all the edit options from the Edit Segments dialog (and more) are available.
-
Select Attach UCS.
-
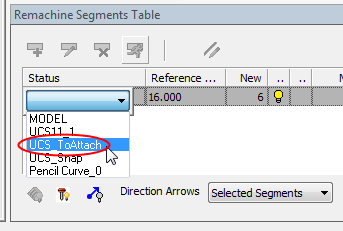
A UCS selection combo is displayed. Select the UCS_ToAttach option.
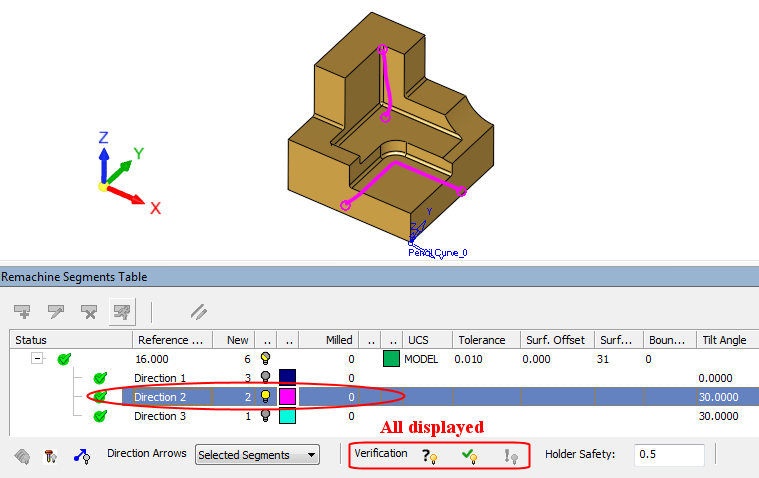
After the attach operation completes, a new Direction Row is added in the Remachine Segment Table and the segment that was selected for the Attach UCS operation is hidden.
The segment was hidden because now its orientation has changed, it is no longer verified as collision-free. It is now a part of the unverified group, and can be seen if this group is shown. Any change to Direction, Mill Cutter, or Holder Safety values, as well as any segment modification cancels the validation. The relevant segments need to be rechecked.

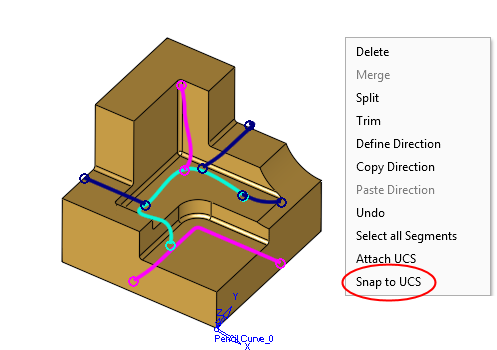
The last command in the Context menu, Snap to UCS, changes the orientation of selected segments to match the orientation of an existing UCS. it is used when grouping many segments together to minimize orientations.
This occurs under two conditions:
- The direction of the segment is free and has not been already attached to any UCS.
- The direction deviation between the segment and the Z direction of the UCS is less than 5°.
Notice that when all Verification segments are shown, if the main segment row is selected, all segments of this row are shown on screen. Selecting any of the direction rows, hides all other direction segments and displays the cutter in the assigned orientation.
In addition, there are Hide/Show bulbs, which can be used, with the standard functionality.
![]()
![]()
![]()