|
|
Quick Split
-
Select Parting > New Direction.
-
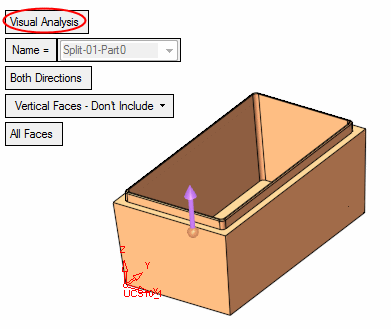
Set the Visual Analysis option. Accept the default parameters, and click OK in the Feature Guide.
-
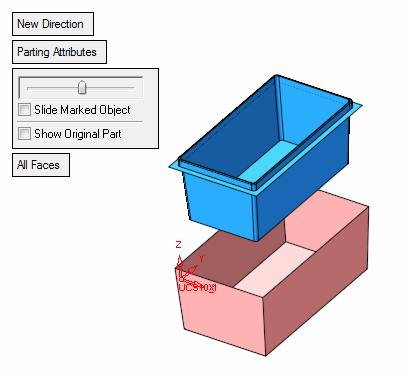
Select Parting > QuickSplit. Using the slider, slide the part to see the parting direction.
-
Click CloseClose
 .
. -
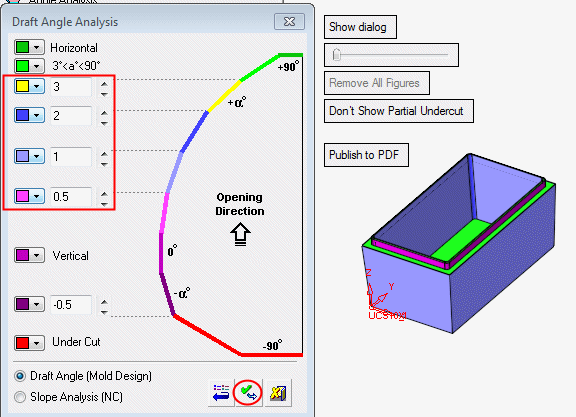
Now select Parting > Draft Angle Tools > Draft Angle Analysis.
-
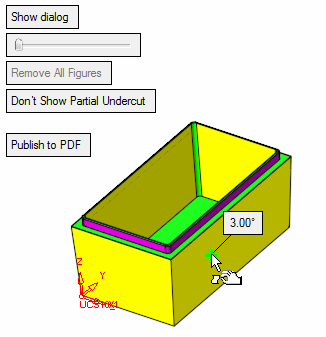
Click on Show Dialog, change the angle's value and color circled below, and click Apply.
-
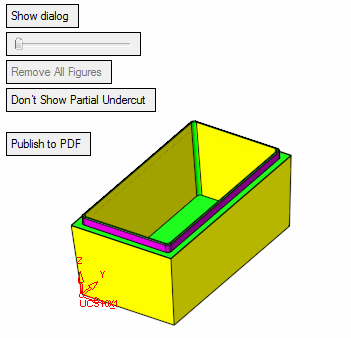
To display the local draft angle at any point on a face, move the cursor over the appropriate face as indicated by the arrow shown in the image below:
-
The presented angle is between the direction arrow and the tangential line on the cursor point. In the picture above, the opening directional arrow is in the +Z direction.
The corresponding color in the dialog (purple) indicates the top rib of the part contains vertical faces (no draft angle).
![]()
![]()
![]()