Send To AutoForm 

Access: Open this function from one of the following locations:
-
Select Die Design > AutoForm > Send To AutoForm from the menu bar. Select the required function.
-
Select Send To AutoForm from the following Die Design Guides: Die Tool Design Guide (Progressive).
Send die design data to AutoForm for analysis. Data preparation for AutoForm is an important step for executing a successful and accurate simulation.
The Send to AutoForm function is an interactive guided dialog that helps in selecting the required information (for example, Pilot, Trimming, Forming, and Cams) for AutoForm integration directly from the Strip. For a safer and faster selection, some entities are automatically selected by the tool and some require manual selection.
Validate the design of a progressive die project before manufacturing the die, using an AutoForm simulation and analysis tool.
You must have an installation of AutoForm on your computer to use this simulation and analysis tool. The installation can either be a full AutoForm license or the AutoForm ProgSim application (which can import data, run the simulation and analysis and then run the QuickLink package to export the results back into Cimatron).
Before usingusing this function, prepare the relevant data.
In Cimatron, complete the strip definition and forming geometry. Prepare the data required by AutoForm, including:
-
Reference Geometry
-
Pilot holes
-
Lifter
-
Trimming wires
-
Punch/Die
-
Cams
-
Borders between two stations
-
Others
We recommended you predefine the groups (Forming Geometry such as Ram Steel, Ram Pad, Bed Steel, Bed Post and Cams) by labeling each group with a different color, or by creating sets or objects for each group.
In Cimatron, Variable "iinvoke" is not defined the Send To AutoForm function and attach geometry to relevant sets:
-
The Send To AutoForm dialog is displayed.
-
Assign (automatically) general data (such as thickness and progression/pitch).
-
Assign/Map (manually) any other geometry and parameters required to prepare AutoForm template items.
-
Add additional reference geometry if required. In the AutoForm ProgSim Simulation tool, new geometry cannot be created, only the existing (imported) geometry is used.
-
Export the data to AutoForm.
Important: All data is exported to AutoForm in MM, the units used for the project are ignored.
The Send To AutoForm dialog is displayed.
Attach geometries to appropriate sets and define the required parameters that will be used in AutoForm. The assign and mapping process can be done automatically, semi-automatically or manually.
The defined data is exported into a zip file containing templates (xml files) and IGES files to run within AutoForm.
|
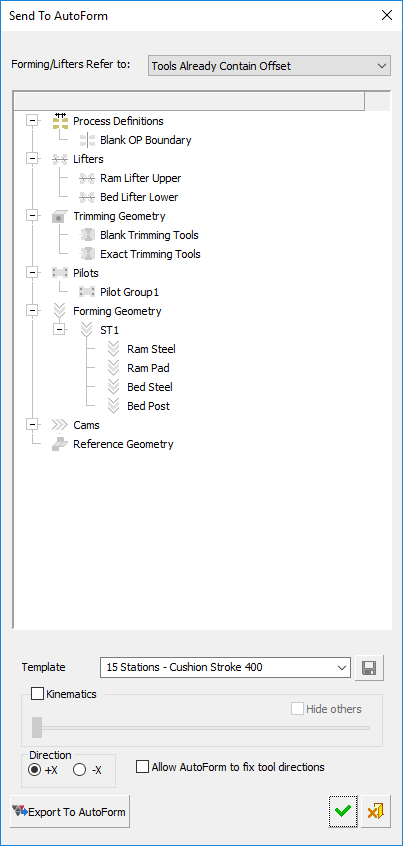
Empty (default) dialog, before geometries are attached to relevant sets in the dialog: |
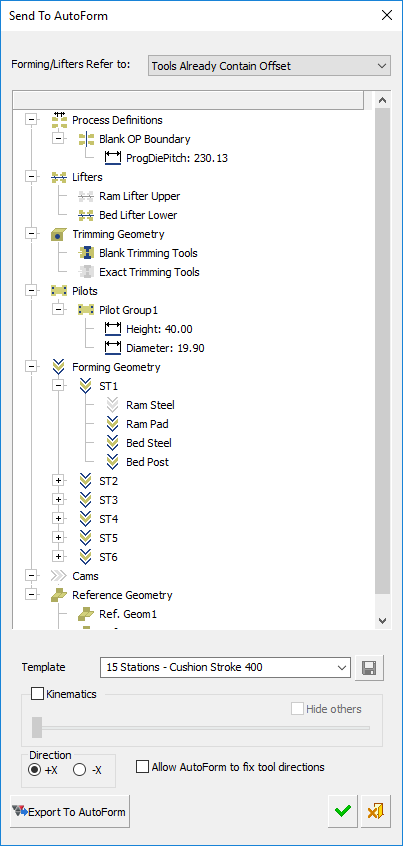
Example dialog with geometries attached to relevant sets in the dialog. This data is later used by AutoForm. |
|
|
|
For more, see: