|
|
Forming Punches  : Options and Results

Access: Open this function from the following location:
-
Die Design > Die Quote > Forming Punches from the menu bar.
Define forming and stamping punches. These Punches are to be milled and are therefore priced according to the required milling strategies of rough and finish, and by the required stock material.
The Forming Punches Table displays the relevant data. This information is used later when generating quoting data.
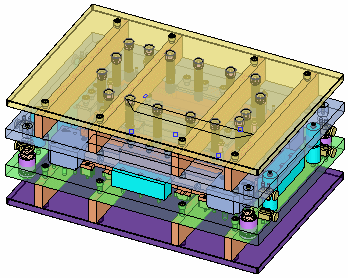
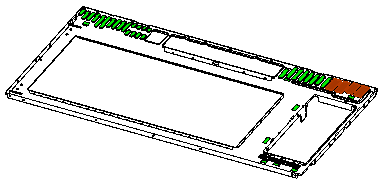
The following assembly is used to describe this function:
When you open this function, the Forming Punches Table (see below) is displayed:
Required Step 1 
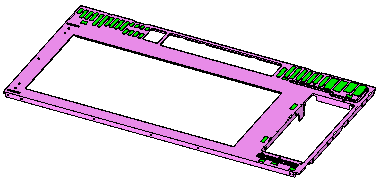
- Pick a component that represents the stock.
The component is displayed in wireframe for clarity.
The function automatically moves to the next step.
Required Step 2 
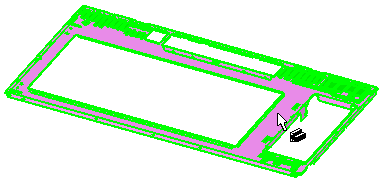
- Pick the relevant punch faces.
- ExitExit the step.
Required Step 3 
-
Define the stamping punch milling volume by creating a new punch set.
An extended and semi-transparent face is displayed in the middle of the bounding box of the selected punch face(s), in parallel with the upper bounding box of the Stock. A directional arrow is displayed in the middle of the face to control the angle of the face (and flip direction). A Z value field (in the Forming Punches Table) enables you to move the face along the Z direction of the stock bounding box.
The following parameters are displayed:
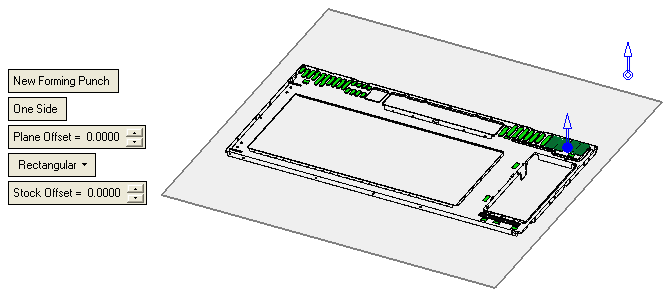
New Forming Punch
Define a new forming punch. A new row is added to the Forming Punches Table (see below) with all the relevant data.
One Side
This is a toggle option One Side / Both Sides that enables you to choose the sides of the strip that are punched.
The following toggle options are available:
One Side
Punch on one side of the strip. When creating a new stamping punch, one row is added to the Forming Punches Table (see below).
Example:Example: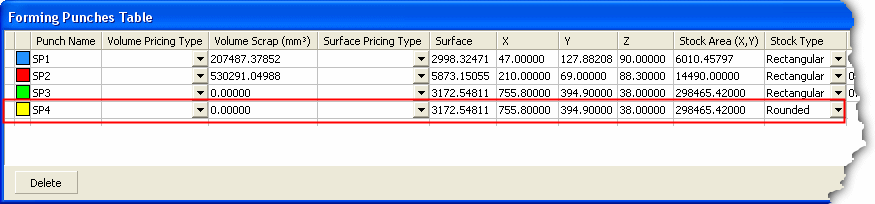
Both Sides
Punch on both sides of the strip. When creating a new stamping punch, two rows are added to the Forming Punches Table (see below).
Example:Example: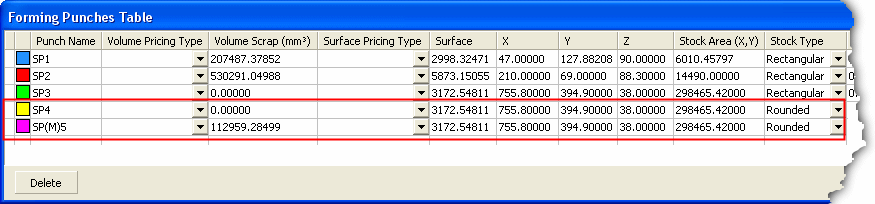
Plane Offset
Define the plane offset.
Rectangular
Select the shape of the punch from the dropdown list. The available options are Rectangular, Rounded or Shaped.
Stock Offset
Define the stock offset.
The following Forming Punches Table is displayed showing relevant data for the punch sets:

A row of data in the table always takes values from the previous row (if available).
Color
The color of the punch sets are defined automatically. Change the color by picking the color icon and selecting the color from the displayed color palette.
Punch Name
The punch name is defined automatically and consists of an automatic numbering sequence (SP1, SP2, etc.).
Prep Pricing Type
Select the required type from the dropdown list.
Volume Pricing Type
Select the required type from the dropdown list.
Volume Scrap (mm3)
The Volume Scrap is automatically calculated based on (Bounding Box Volume) – (Milling Surface Volume).
Surface Pricing Type
Select the required type from the dropdown list.
Surface
The Surface Milling area is automatically calculated for the milling procedure.
Punch Boundary
The Punch Boundary is automatically calculated for the milling procedure.
XYZ
The dimensions of the selected plate. These fields are calculated automatically.
Stock Area (XY)
The Stock Area is automatically calculated based on the X and Y values.
Stock Type
Select the required type from the dropdown list.
Stock Offset
Define the stock offset.
Material
Select the required material from the dropdown list.
Qty.
Define the quantity of stamping punches in the punch set.
Complex Factor
Set the complexity factor.
Comment
Enter a comment as required.
The following appear at the bottom of the table:
Delete
Delete a selected row in the Punch Table. This deletes the selected row (punch set), together with all its calculated data.
-
Click OKOK
 or ApplyApply
 in the Feature Guide to complete the function.
|