|
|
Ejector Trim  : Options and Results

Access: Open this function from one of the following locations:
-
Select Mold Design > Ejection > Ejector Trim from the menu bar.
-
Select Ejection > Ejector Trim from the Mold Design Guide Toolbar.
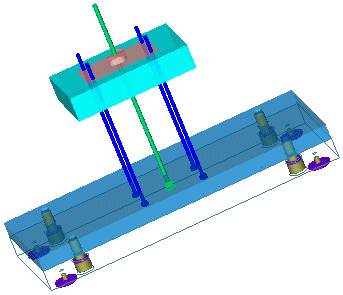
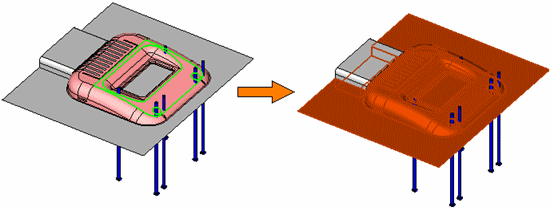
Trim ejectors by active parts or faces.
Notes:
-
It is recommended to trim the ejectors and then create a pocket for them.
-
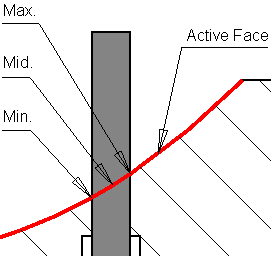
If you want to trim the ejector by the Fixed or Movable Side, this means that the system looks for active faces in the Fixed or Movable Side that will cut the selected ejector. Retainer Pins, for example, do not touch the active faces, so you have to pick the relevant face manually. Only ejectors (or any other objects) that touch the active faces will automatically be cut.
Required Step 1 
Pick the ejectors to be trimmed.
Note: An ejector can only be trimmed once.
Required Step 2 
Define the required trimming parameters.
|
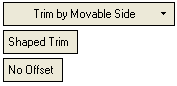
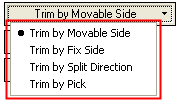
Trim by Movable Side
|
Define the face that will cut the ejector. This is a dropdown list of the trimming options.
|
|||||||||||||||
|
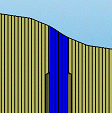
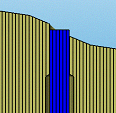
Shaped Trim / Flat Trim |
This is a toggle option that enables you to define the shape of the trim: Shaped Trim / Flat Trim.
|
|||||||||||||||
|
No Offset / Offset |
Define whether to set an offset using the No Offset / Offset toggle button. If you select Offset, an additional option is displayed enabling you to set the offset in the + or - Z direction. |
Press OK ![]() or Apply
or Apply ![]() in the Feature Guide to complete the function.
in the Feature Guide to complete the function.
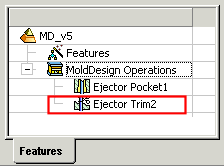
When completed, the Ejector Trim feature will appear in the relevant assembly and part Feature Trees. In the assembly Feature Tree example below, the feature appears under the MoldDesign Operations branch. The trim assembly feature is created in the same assembly as the selected ejector. Note that if the selected ejectors belong to a number of assemblies, the feature will be created in the common parent assembly.
Note: The Ejector Trim feature can be edited or deleted from either of these locations. The Edit returns you to the full functionality of the Ejector Trim function.
|