|
|
Hole Analysis  : Options and Results
Access: Open this function from the following location:
-
Select Die Design > Piercing Design > Hole Analysis from the menu bar.
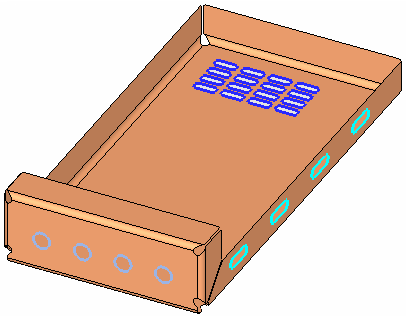
Analyze piercing holes. The holes are analyzed, arranged into groups according to their shape and size, and then marked by a contour on their circumferences.
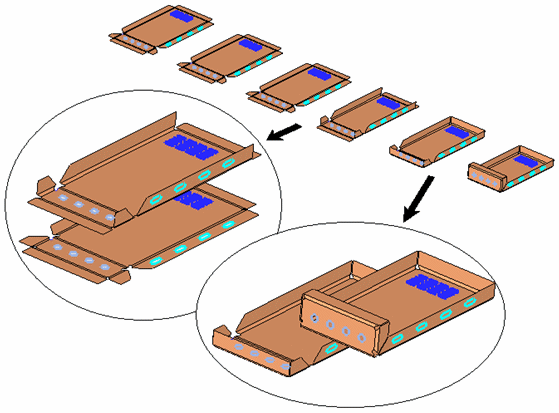
The analysis is performed on the final product (the "master" part); however, the holes get marked not only on the master part but on every forming shape derived from it (since all holes in all forming shapes can be traced back to the master part).
Required Step 1 
- Pick a forming shape, preferably a fully developed shape containing all hole patterns.
- When you have picked the forming shape, the analysis is performed and annotations are drawn on the perimeters of the forming shape holes.

The annotations have different colors according to existing hole groups; each group having its unique color (defined in the Preferences: Tools > Preferences > Die > Hole Analysis Colors).
A hole group is defined as a group of holes having the same shape and size. Only the following shapes are considered:

If a hole or opening with a shape other than the types shown above exists in an analyzed forming shape, then it is ignored and is irrelevant to hole analysis. - Click OKOK or ApplyApply in the Feature Guide to complete the function. Suitable annotations for all relevant holes in all forming shapes are drawn.
Annotations for the same hole in the various forming shapes are linked, based on edge ID.
Annotations also adjust to geometrical modifications. Thus if a flange containing holes was flattened, the annotations are drawn on the hole boundaries in their new position, as shown below:

|

