|
|
![]()
General Preferences > On Screen Controls

Access: Invoke this function from one of the following locations:
-
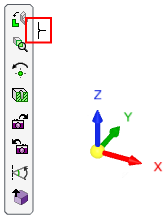
Select the Preferences button
 from the Quick Access Toolbar, or
 -
Select Tools > Main Tools > Preferences from the menu bar.
Navigate to General > On Screen Controls.
Set the default display characteristics of various features.
The On Screen Controls dialog is displayed.
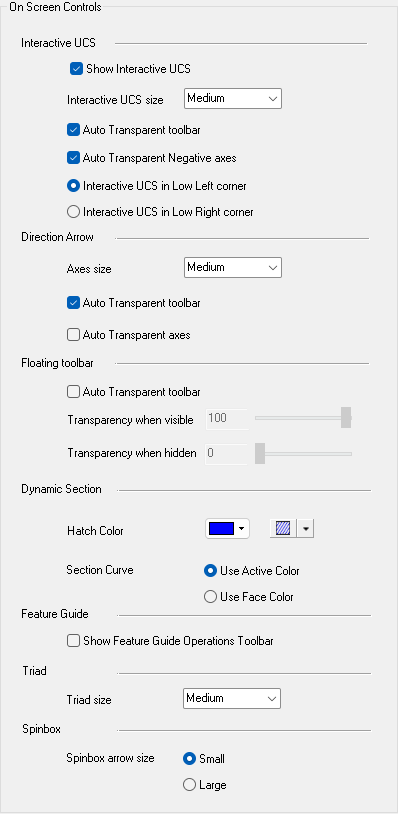
Interaction
-
Set the Interactive UCS parameters.
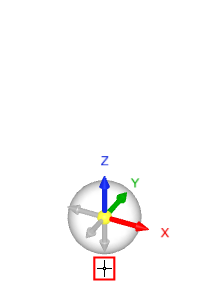
Show Interactive UCS
When ON
 , the Interactive UCS is displayed in the location defined below.
When OFF
 , the Interactive UCS is not displayed.
Default = ON.
Interactive UCS size
The size of the Interactive UCS as it appears at the bottom left corner of the Cimatron display area. Set the required size from the dropdown list - the default size is Medium.
Very Small
Small
Medium
Large
Very Large


Auto Transparent toolbar
Define the display characteristics (opaque or transparent) of the toolbar and rotation controls associated with the Interactive UCS.
 = The toolbar, rotation, and Pan (up/down, left/right) controls are always displayed.
 = The toolbar, rotation, and pan controls gradually become opaque when the cursor is moved closer to them and gradually become transparent when the cursor is moved away. This is the default.
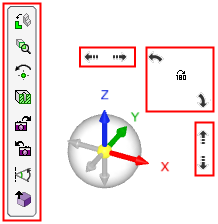
Auto Transparent Negative axes
Define the display characteristics (opaque or transparent) of the negative axes (the gray axes) of the Interactive UCS.
= The negative axes are always displayed. = The negative axes gradually become opaque when the cursor is moved closer to them and gradually become transparent when the cursor is moved away. This is the default.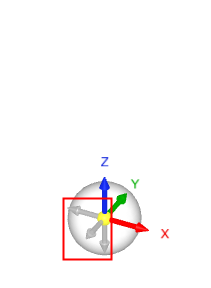
Note: The positive axes (X,Y,Z) are always opaque and colored. When the negative axes are opaque, they are displayed in gray.
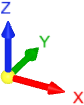
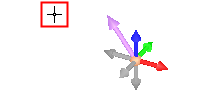
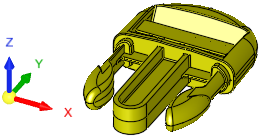
Interactive UCS in Low Left corner
When ON, display the Interactive UCS in the lower left corner of the graphics window.
Default = ON.
Example:Example:
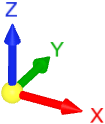
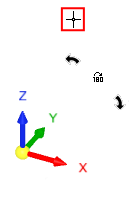
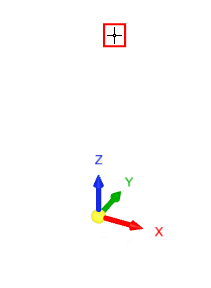
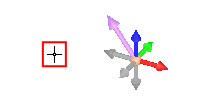
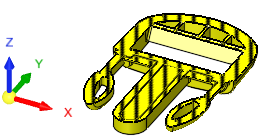
Interactive UCS in Low Right corner
When ON, display the Interactive UCS in the lower right corner of the graphics window.
Default = OFF.
Example:Example: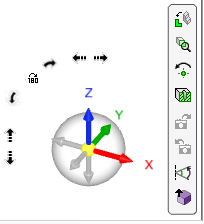
-
Set the Direction Arrow parameters.
Axes size
The size of the Direction Arrow as it appears at the top right corner of the Cimatron display area. Set the required size from the dropdown list - the default size is Medium.
Very Small
Small
Medium
Large
Very Large


Auto Transparent toolbar
Define the display characteristics (opaque or transparent) of the toolbar associated with the Direction Arrow.
= The toolbar is always displayed when the Direction Arrow is invoked.
This is the default. = The toolbar gradually become opaque when the cursor is moved closer to it and gradually become transparent when the cursor is moved away.

Auto Transparent axes
Define the display characteristics (opaque or transparent) of the UCS associated with the Direction Arrow.
= The UCS axes are always displayed when the Direction Arrow is invoked.
This is the default. = The UCS axes gradually become opaque when the cursor is moved closer to them and gradually become transparent when the cursor is moved away.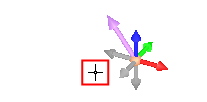
-
Set the Floating Toolbar parameters.
Auto Transparent toolbar
Define the display characteristics (opaque or transparent) of the toolbar associated with the Direction Arrow.
= The toolbar is always displayed.
This is the default. = The toolbar gradually become opaque when the cursor is moved closer to it and gradually become transparent when the cursor is moved away.

Transparency when visible
Set the transparency level when the floating toolbar is visible. This option is displayed when the Auto Transparent toolbar checkbox is ON.
100% = fully displayed.
0% = hidden.Transparency when hidden
Set the transparency level when the floating toolbar is hidden. This option is displayed when the Auto Transparent toolbar checkbox is ON.
100% = fully displayed.
0% = hidden. -
Set the Dynamic Section parameters.
Dynamic Section - Before:
Dynamic Section - After:

Color: Select the hatch color and from the displayed color palette.
Default color = Black.
Hatch: Select the Hatch type from the dropdown list
:
Hatch types: 
Hatch.

50% transparent hatch.

Fully shaded wall.

50% transparent wall

No hatching or shading.
Section Curve
Set the default color for the section curve, either using the active color or the color of the face.
Dynamic Section:
Section curve from section:
-
Set the Feature Guide parameters.
Show Feature Guide Operations Toolbar
When ON, display the Feature Guide approval options in the graphics window, in addition to also being displayed in the Feature Guide.
The Feature Guide approval options are displayed in the top right corner of the Cimatron graphics window.
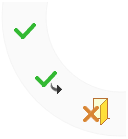
Default = OFF
. -
Set the Triad size.
Select a value in the drop down list. Options are Very Small, Small, Medium, Large, and Very Large. -
Set the spin box arrow size. Spin boxes are controls used to select from a preset list of values by stepping through the list.
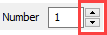
Select Small or Large. -
Click the appropriate approval option.
|