|
|
Validate Holes  : Options and Results

Access: Open this function from one of the following locations:
-
Select Mold Design > Cooling > Validate Holes from the menu bar.
-
Select Cooling > Validate Holes > Validate Holes from the Mold Design Guide Toolbar.
Analyze holes, group them by type and attach them to valid hole sequences. Different hole libraries may be applied for the analysis.
The analysis result is displayed in the Validate Holes Pane.
If analysis data already exists, the Validate Holes Pane is automatically displayed, showing the results of the analysis.
If analysis data does not exist, the Validate Holes function is opened. Set the parameters and click Start Analysis; the Validate Holes Pane is displayed, showing the results of the analysis.
This function enables holes to be grouped in the CAD environment in a similar way to that performed in the NC Automated Drill environment.
Mold makers commonly receive mold design jobs from sub-contractors or receive maintenance jobs on molds they did not design. In these cases, some of the holes may not follow the shop floor standards and require mold makers to change them to fit their drilling standards. The Validate Holes function enables the mold maker to quickly and easily analyse the holes used in the design and to ensure all of them adhere to the standards.
Required Step 1 
Select the objects and faces to be analyzed.
If an assembly or sub-assembly is active, select the entities and press <exit><exit> when finished.
When working in the Part environment or if there is an active part in the Assembly environment, all the objects in the part are automatically selected and the next step in the function is invoked.
Required Step 2 
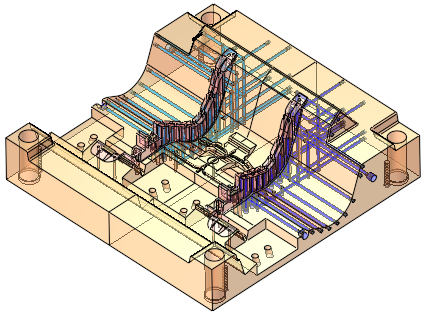
Analyze the holes. The objects/faces selected for analysis in step 1 are displayed as transparent (showing the holes) and the following analysis options are available:
|
|
|
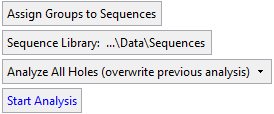

Select the analysis to be performed and set each individual minimum distance value.
|
Assign Groups to Sequences |
This is a toggle option to perform the selected task after the analysis has grouped similar holes.
|
||||||
|
Sequence Library: <path> |
Define the path where sequences are saved. This saves the sequences to the Hole and Sequence Library. The Hole and Sequence Library
consists of a master ELT file and a set of approximately 150 sequences
suggested for handling the holes in the ELT file.
The default sequence library is located in the following folder:
...\ProgramData\Cimatron\Cimatron\2026.0\Data\Sequences This library is also used in the NC (Subtractive Manufacturing) environment when Automating Drilling Sequences. Click the path name to display a dialog enabling you to select a different sequence library location. If the sequence library path is changed and the analysis is started, all previous sequences are removed; all groups become unassigned, and then reassigned according to the sequences of the new folder. |
||||||
|
Analyze All Holes |
This is a dropdown list of the following options:
|
||||||
|
Start Analysis |
Start the analysis to find groups of similar holes. A dialog is displayed indicating the number of groups of holes for which an appropriate sequence was found and attached. The analysis result is displayed in the Validate
Holes Pane.
|
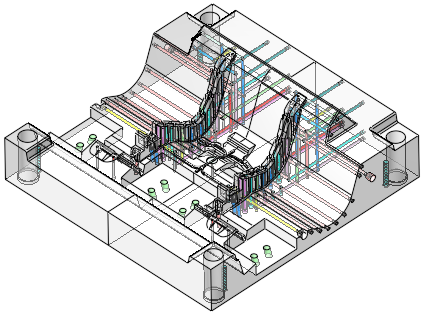
The analysis result is displayed in the Validate Holes Pane.
The objects/faces selected for analysis are displayed in transparent gray, with the groups of holes colored as defined in the Validate Holes dialog (shown on the right). The image below shows holes sorted into groups of recognized hole types.
|
|
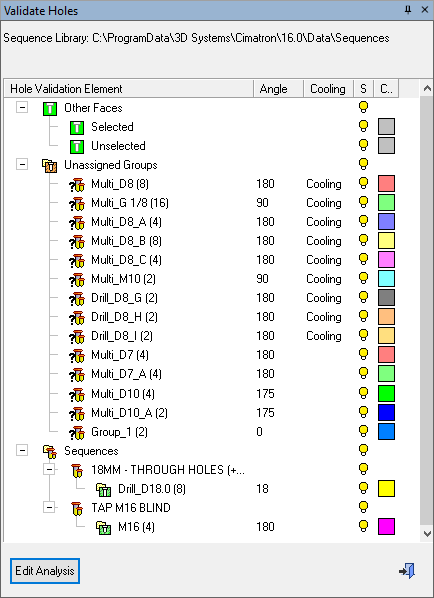
Example of the Validate Holes dialog |
Press Close ![]() in the Feature Guide to complete the function.
in the Feature Guide to complete the function.
|