|
|
Blank Tool 
Access: Open this function from one of the following locations:
-
Select Die Design > Blanking Tools > Blank from the menu bar.
-
Select Blank from the following Die Design Guide: Die Process Design Guide (Forming).
Create or edit the blank for the electrode, using finite element analysis (FEA).
This function uses a finite element enginefinite element engine for blanking a set of adjacent (stitched) faces and creating a flat wire-body. This includes selecting the faces for which to create a wire body result, defining the required parameters, defining the fixed boundaries and transferring entities.
The Finite Element Analysis (FEA) engine used in the DieDesign application is based on technology supplied by the Forming Technologies Inc (FTI) 3rd party engine. For additional information on FTI, see www.forming.com.
The finite element engine is used in the following functions:
Whenever the finite element engine is used, resultant forces are calculated and stored for usage in the Die Forces operation.
Force Calculation: The force calculation employed depends on the type of operation being calculated. For additional information and to define some of the values used in force calculations, see the Die Force Calculation Preferences.
Correction Factor: A Die Preference option enables the setting of a default Correction Factor to manipulate forces calculated by the finite element engine. The forces displayed in the above mentioned functions will be multiplied by this factor.
The blanking result is based on a list of parameters such as, material type, thickness, some 2D boundary conditions and more.
Various rules exist when creating a blank. These rules are defined,
-
When using the transfer entities option, faces connected to planar faces can be transferred, unlike faces connected to 3D faces (which cannot be transferred). In addition, wires on edges that are on a planar face are transferred as is (meaning, no changes are made).
-
Edges and entities on 3D faces are recreated as splines.
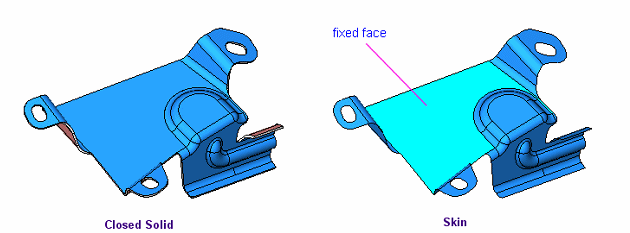
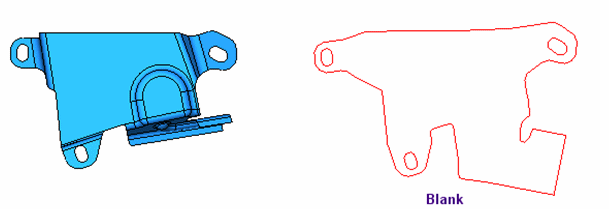
This option enables you to pick a reference face (or a plane) and then a set of adjacent faces to be blanked (the blue faces in the picture below), and then define a set of parameters (and/or constraints), as shown in the example below.


General Interaction
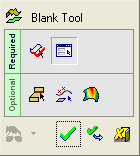
The following is the Feature Guide for Blank.
|
|
|
Required Step 1 ![]() : Pick the faces to blank.
: Pick the faces to blank.
Required Step 2 ![]() : Set the parameters and define the material side.
: Set the parameters and define the material side.
Optional Step 1 ![]() : Define the forming conditions.
: Define the forming conditions.
Optional Step 2 ![]() : Pick additional entities to be transferred or pick point(s) that lie on the highlighted faces.
: Pick additional entities to be transferred or pick point(s) that lie on the highlighted faces.
Optional Step 3 ![]() : Show the analysis results.
: Show the analysis results.
Detailed Interaction
See Options and Results.
|


