|
|
Circle > Tangent to Curve and Point 
Access: Open this function from one of the following locations:
-
Select Wireframe > Create Curves > Circle from the menu bar.
-
Select Curves > Circle from the following Die Design Guides: Strip Design.
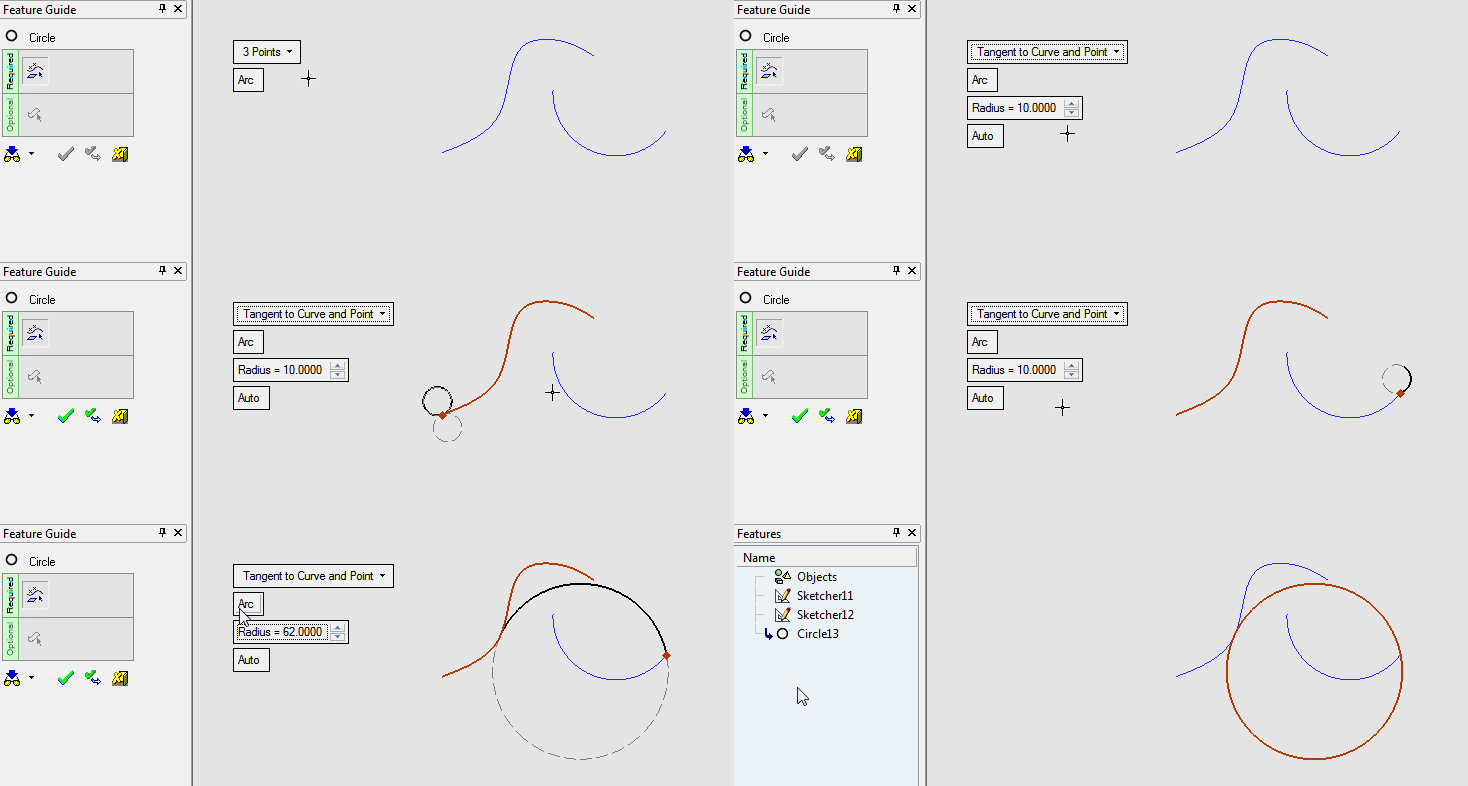
Create a Circle/Arc tangent to a picked 2D curve passing through a picked point.
|
Demo: Press the button below to view
a short movie demonstrating the function:
|
Practice: Press the button below to open Cimatron with a practice ELT file similar to that used to create the movie (if the relevant feature already exists in the ELT file, you can either edit it or delete it and create a new feature). |
|
|
|
Required Step 1 
Select the required parameters and pick the appropriate entities.
The following parameters are displayed for this Circle function.
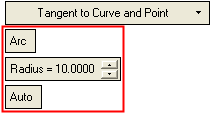
Parameters
|
Arc / |
This toggle option defines whether the result of this operation is an arc or a circle.
|
||||
|
Radius |
Set the radius of the circle/arc. |
||||
|
Auto / |
This toggle option defines how the required entities are picked.
|
Pick the appropriate entities to complete the operation: Manual/Auto:
Manual
-
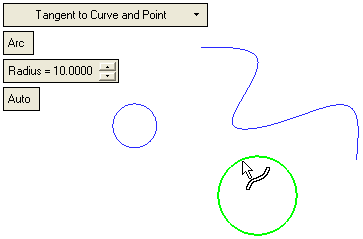
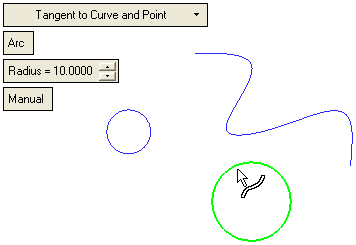
Pick a curve to which the Circle will be tangent.
-
Pick the point through which the circle or arc will pass.
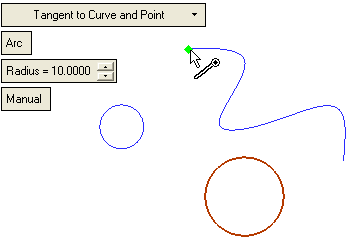
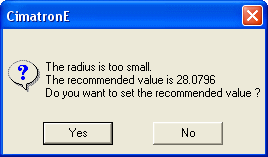
The circle or arc is displayed if the Radius amount permits it. If the Radius amount is too small, an appropriate message is displayed with the recommended minimum radius value and a prompt to change the radius value in the parameters to the recommended minimum value.
ExampleExample
-
Enter the radius of the Circle/Arc.
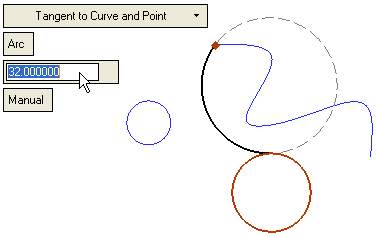
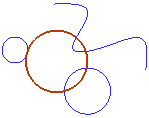
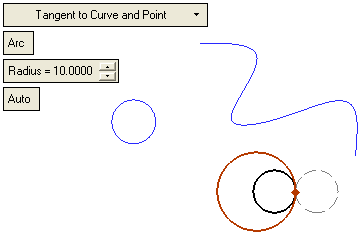
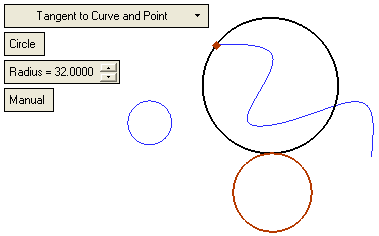
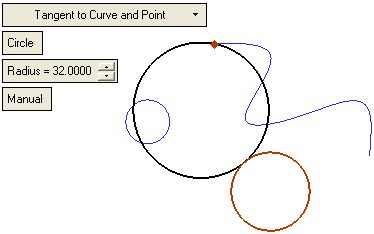
There are 2 possible solutions for Circle. The default solution is the one closest to the picking point on the curve.
 |
 |
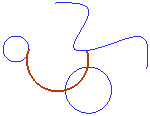
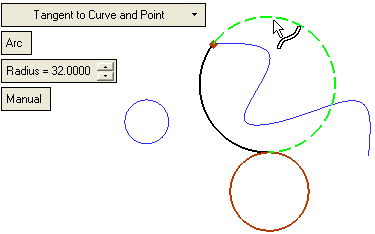
There are 4 possible solutions for Arc. The default solutions are the ones closest to the picking point on the curve.
 |
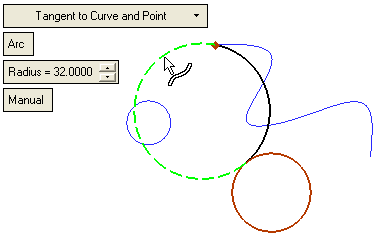 |
Auto
-
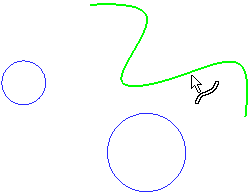
Pick a curve to which the Circle will be tangent:
|
Pick the curve. |
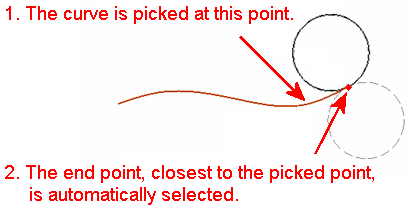
The curve is selected as well as its end point and the circle or arc is previewed. |
|
|
|
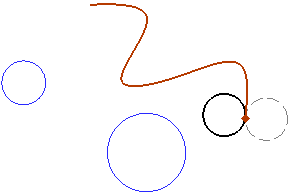
Note: In the Auto option, picking a curve automatically selects its closest end point as well, and in this function, also previews the Circle/Arc.
ExampleExample
|
Pick the curve. |
The closest end point is automatically selected. |
|
|
|
-
Change the radius of the Circle/Arc, as required.
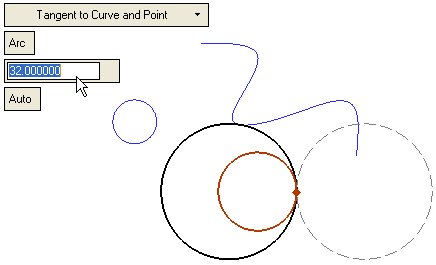
Note: In Auto mode, if you pick a curve and then a point (or vice versa), the system ignores the Auto mode and uses the picked point to calculate the result according to the Manual mode (see below).
-
Pick the point.
-
Pick the curve.
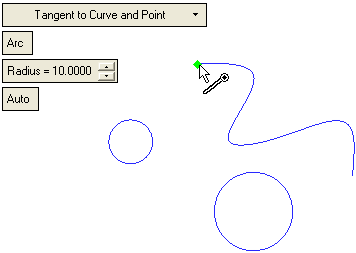
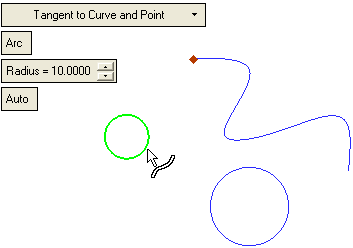
-
If appropriate, a radius warning or prompt message is displayed. See the Manual explanation.
-
The resultant arc or circle is according to Manual mode (tangent to the curve and passes through the picked point).
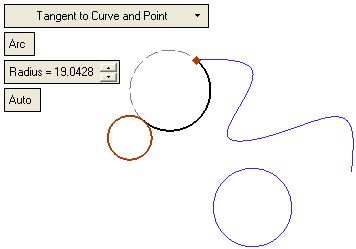
-
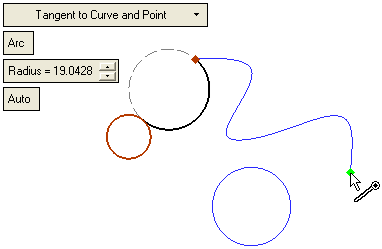
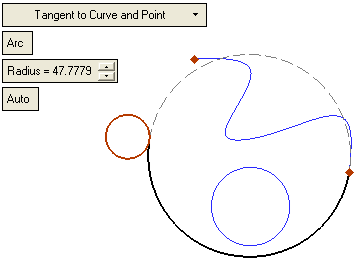
Pick another point
-
The resulting arc or circle is tangent to the curve and passes through the last picked point.
-
Click OKOK or ApplyApply in the Feature Guide to complete the function.
When completed, the Circle feature will appear in the Feature Tree.

|


