|
|
Import by Reference  : Options and Results


Access: Open this function from one of the following locations:
-
Select Die Design > Geometry Manipulation > Import By Reference from the menu bar.
-
Select Geometry Manipulation > Import By Reference from the following Die Design Guide: Die Process Design Guide (Forming).
-
Activate the component (right-click and select Activate Component) and then select File > Import > Geometry and use the Place By Reference option.
Import geometry from another part in the assembly to the active part by defining the origin and axes of two UCSs.
Required Step 1 
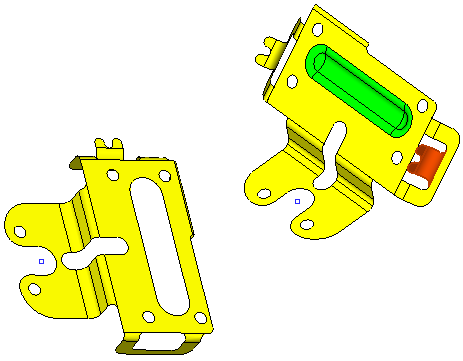
Pick the reference entities to copy.
-
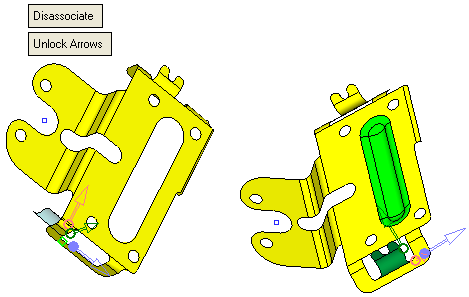
Select the entities from the reference (source) object on the right to copy to the active object on the left. The select faces are selected, as shown below:
-
ExitExit the step. The faces to be copied appear.
Required Step 2 
-
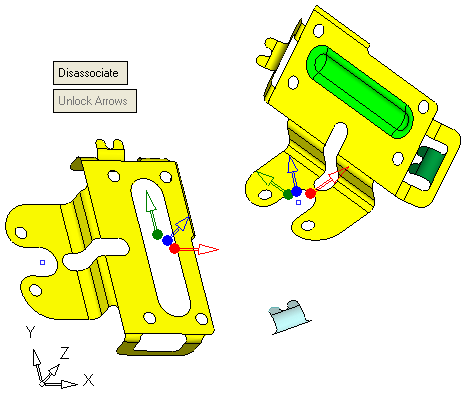
Relocate entities. In this step you select the reference and active starting and end points, to locate the copied components from the reference object to the required location on the active object.
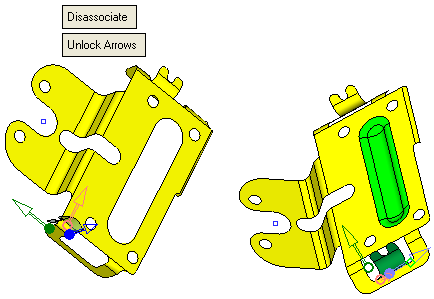
The following options are displayed:Disassociate / Associate
This is a toggle option. By default an Import feature is disassociated; see Associativity. This means that the active (imported) parts are not updated with changes made to the reference (source) parts.
If you use Disassociate, the Import Geometry feature that appears in the Feature Tree (when the function is completed - see below) gets the disassociated icon
 .
.If you toggle to the Associate option, they will affect each other (changes made to the reference parts will affect the active parts).
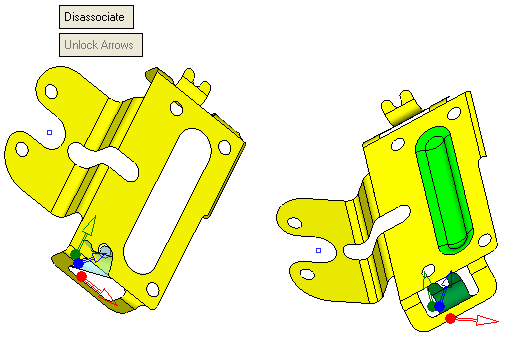
Unlock Arrows
When you pick the entities to copy and then <exit><exit>, two groups of arrows are displayed; one on the reference part and one on the active part. This is a very helpful mechanism to place geometry on bent metal.
Process:
-
Pick the origin for each group of arrows (one on the reference part and one on the active part).
-
Set the orientation of the Red arrow - (once on the reference part and once on the active part).
-
Set the orientation of the Blue arrow - (once on the reference part and once on the active part).
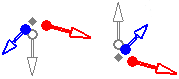
After the direction of an arrow is set, it becomes locked (this means that after you set the directions of an arrow on the reference and active parts, the arrows cannot be changed). The Unlock Arrows toggle button then becomes enabled and you can click it to unlock the required arrow. In addition, when the second (Blue) arrow is in use the first (Red) arrow is locked automatically.
The order of changing the arrows direction is important. The first changed one will be free, the second will define only the plane (with respect to the first one) and the third arrow will not be changeable at all (except flipping).
-
Example
-
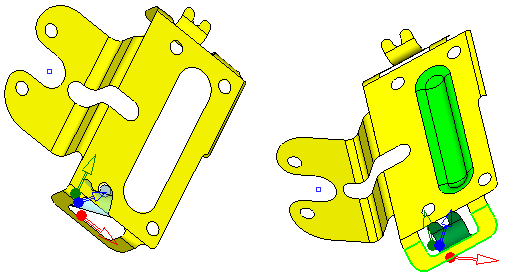
Select the two starting points,
-
One starting point on the reference object on the right
-
One starting point on the active object on the left
-
-
Select the two end points,
-
One end point on the reference object on the right
-
One end point on the active object on the left
-
-
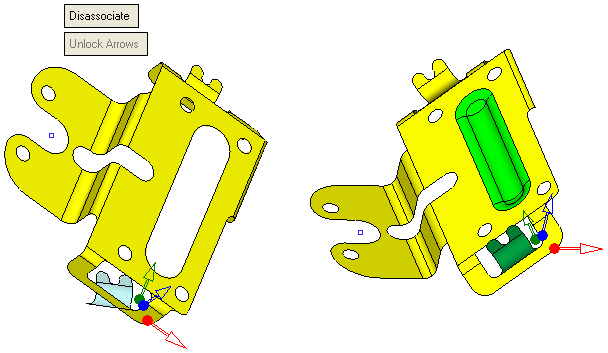
On the Reference object on the right, click on the RED arrow. From the popup menu select Normal to Plane/Face and the select the face,
Note: The selected RED arrow becomes hollow - meaning it is in use.
-
On the Active object on the left, click on the RED arrow. From the popup menu select Normal to Plane/Face and the select the face,
-
On the Reference object on the right, click on the Blue arrow. From the popup menu select Two Points and select two points along the line.
-
On the Active object on the right, click on the Blue arrow. From the popup menu select Two Points and select two points along the line.
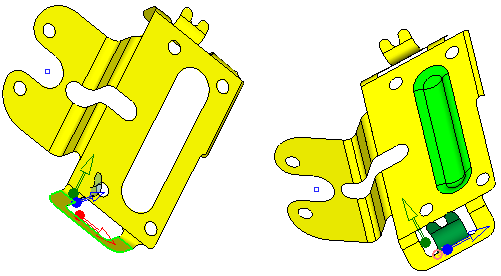
You now change the orientation of the two reference UCSs controlling the correct position of the imported geometry, as required.
tep 1 
- If required, you can define the offset and rotation.
Final Step
- Click OKOK
 or ApplyApply
 in the Feature Guide to complete the function.

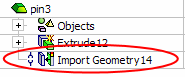
When completed, the Import Geometry feature will appear in the Feature Tree.
|