|
|
Automated Drill: Group and Sequence - Hole Selection

Access: Open this function from one of the following locations:
Select an Automated Drill procedure (from the Process Manager) and choose one of the following:
-
Select Group Manager from the Automated Drill Guide.
-
Select NC Utilities > Automated Drill > Group Manager from the menu bar.
-
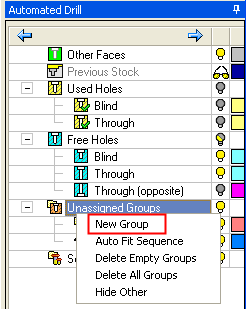
Right-click the appropriate Unassigned Group in the Group and Sequence Manager and select Group Manager from the popup menu.
Pick holes, select similar holes and automatically attach them to groups or detach them from groups.
Defining a group
-
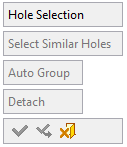
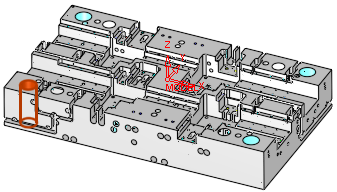
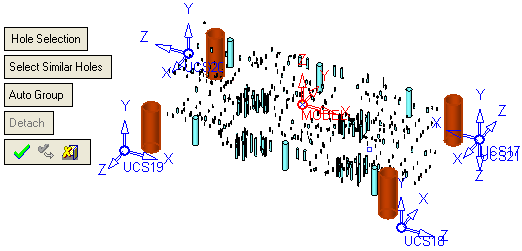
Pick a visible hole. Notice that only the first option is available; the other options are grayed out.
|
|
|

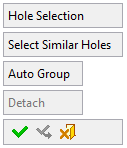
As soon as the hole is picked, other options become available.
|
|
|
-
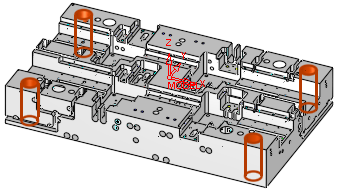
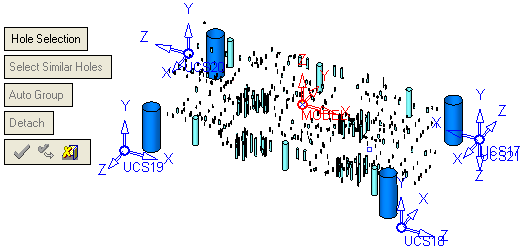
Pick additional holes or to pick all the similar shaped holes, press the Select Similar Holes option. All visible similar holes are selected and highlighted.
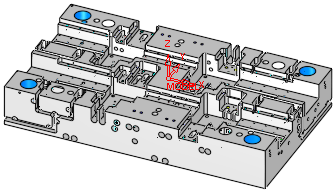
The same part with the Other Faces hiddenhidden.
-
Attach the selected holes to an appropriate group. This can be done automatically or manually.
Automatic
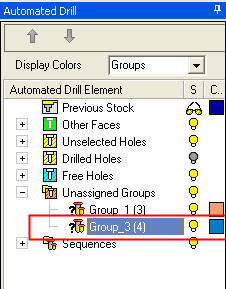
When the selected holes are highlighted (from the previous step), press the Auto Group option to automatically attach the selected holes to an appropriate group.
|
A new group is created in the Automated Drill Tree and it has a color associated with it. |
When Auto Group is pressed, all the selected holes change color to signify to which group they belong, and the options are once again grayed out - for the next hole selection. |
|
|
Same part with Other Faces hiddenhidden.
|
Manual
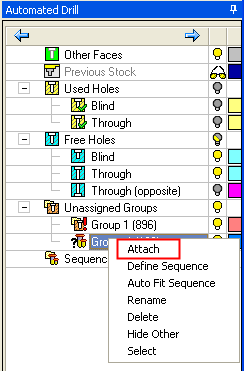
When the selected holes (or drill points, when using Point Selection) are highlighted (from the previous step), right-click the appropriate group name in the Group and Sequence Manager and select AttachAttach from the popup menu. If the required group does not exist, create it first by selecting New GroupNew Group from the Unassigned Groups popup submenu. The attached holes (or drill points) acquire the attributes (geometry, drill sequence and display color) of the group.
Important Note: A group has a certain geometry which is defined by the first hole. All other holes/drill points that are attached manually to this group are given the same geometry as the first hole.
-
To remove a hole(s) from a group, select the hole(s) and press the Detach option.
When finished, press one of the following approval options (these options are initially grayed out):
|
OK: Accept the changes, perform the operation and close the current dialog/task. |
|
Apply: Accept the changes, perform the operation and keep the current dialog/task open. |
|
Cancel: Cancel all changes and close the current dialog/task without saving the settings. |
|