|
|
Trimming Punch 


Access: Open this function from one of the following locations:
-
Select Die Design > Punch Tools > Trimming Punch from the menu bar.
-
Select Trimming Punch from the following Die Design Guide: Die Tool Design Guide.
Create a trimming punch and create pockets for it in the relevant plates.
The system automatically creates the punches according to your specifications, cuts through plates to position the punches, and establishes dimensions of the matrix, die backing plates and die shoes.
Note: When editing the Trimming Punch feature, only the plates that are included in the cut will be shown in the Cutting Objects dialog. See Trimming Punch - Editing.
Usage Example
|
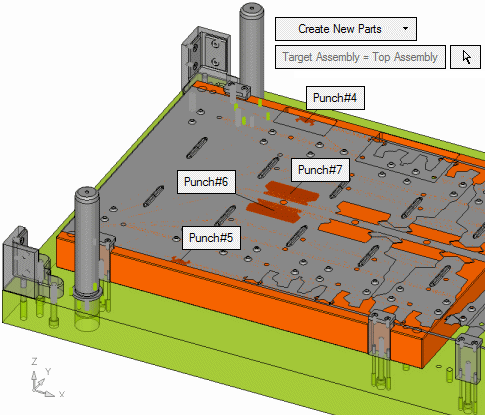
In the example below, four different punches have been selected in the Trimming Punch function, to create the punches and their respective pockets inside the die tool. |
|
|
|
|

General Interaction
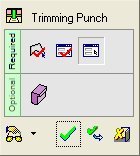
The following is the Feature Guide for Trimming Punch.
|
|
|
Required Step 1: ![]() : Pick a 2D Contour or Face.
: Pick a 2D Contour or Face.
Required Step 2: ![]() : Define the punch parameters.
: Define the punch parameters.
Required Step 3: ![]() : Define the cutting offsets and shapes.
: Define the cutting offsets and shapes.
Optional Step 1: ![]() : Add a wedge body on top of the punch body, for fastening purposes.
: Add a wedge body on top of the punch body, for fastening purposes.
Detailed Interaction
See Options and Results.
|