|
|
Creating an Arc with the Same Diameter of Another Arc

Access: Invoke the Sketcher, define the sketch plane and then invoke this function from one of the following locations:
-
Click the Arc button
 in the Sketcher toolbar.
 -
Right-click the graphics area and select Arc from the popup menu.
Create an arc.
The procedure below describes how to create an arc with the diameter of an existing arc. The new arc and the existing arc are mutually constrained. The new arc can also be constrained by additional entities in the graphics display area.
Note: If the existing arc is not in the current sketch, you must add it to the sketch as a reference entity.
|
Demo: Press the button below to view a short movie demonstrating the function: |
|
|

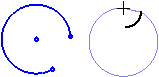
Copy an existing arc
-
Select the Arc tool
.
The cursor appears in the graphics display area as a crosshair-and-arc  .
.
-
Right-click to display the popup menu, and select the Diameter option.

-
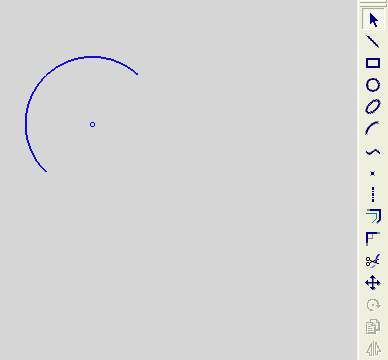
Click on an existing arc and move the cursor away from it.
An arc with the same diameter appears at the cursor position, with the cursor at its circumference.
-
Right-click to display the popup menu, and select the Center option.
-
You can define an additional constraint for the new arc.
-
Move the cursor to create an image of a circle, and click.
-
Move the cursor along the circumference of the image. The portion of the circumference that you trace will change to green. The green segment shows an image of the new arc.
-
Click to define the exact dimensions of the new arc.

Note: Dynamic constraint lines can help you position the new arc relative to the XY axis or other entities.
Note: After an arc is created using the Diameter option, the Pt option is automatically selected again, ready to create an arc from a point. If you want to copy another arc, you must select the Diameter option again.
|