|
|
Auxiliary Contours  : Options and Results
Access: Open this function from the following location:
-
First switch from the NC to the CAD environment, then select Wireframe > Modify Curves > Auxiliary Contours from the menu bar.
Modify an Auxiliary Contour (PolyLinePolyLine) created in the Numerical Control (NC) application. In NC, the PolyLine entity is used as the output contour of the new NC procedures. These contours represent intermediate results of the NC algorithms and can be used as input for other NC procedures.
Required Step 1 
- Pick a single polyline to edit.
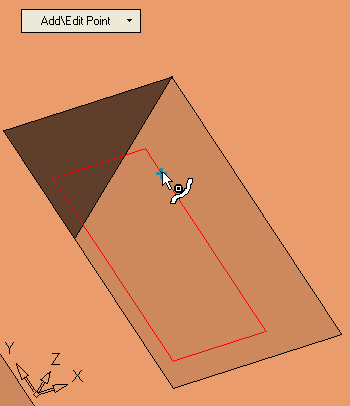
Required Step 2 
-
Add, Edit, Remove, or Move polyline points. The following operations can be carried out in this step:
- Add Point
- Edit Point
- Remove a Single Point
- Remove Multiple Points
- Move a Single Point by a Delta Value
- Move Multiple Points by a Delta Value
Add Point
-
Click on a polyline segment at the desired location.
The additional point is added to the polyline.

Edit Point
-
Click a point on the polyline (pick anywhere on the polyline, the nearest point is selected).

-
Click to pick the new (target) location of the point.
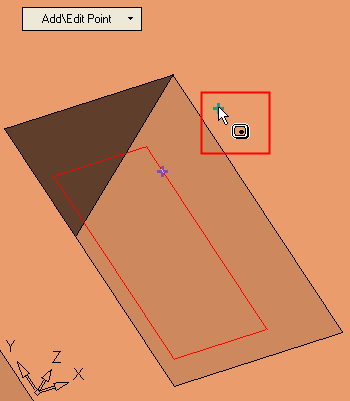
-
The polyline is adjusted to go through the new location of the point.
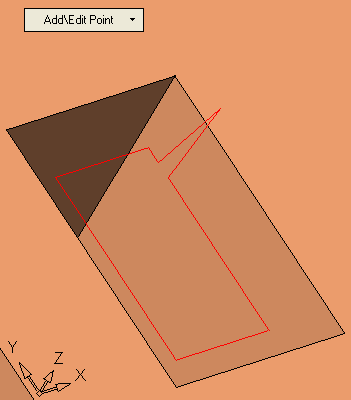
Remove a Single Point
-
Click the polyline point to be deleted.
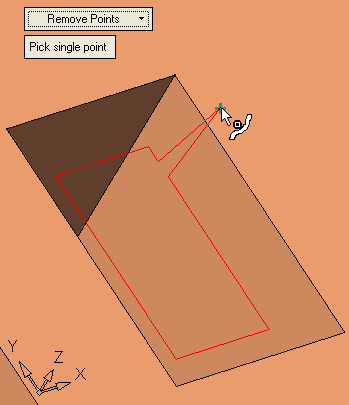
-
The point is deleted and the polyline is adjusted (the ends of the polyline on either side of the deleted point are joined).
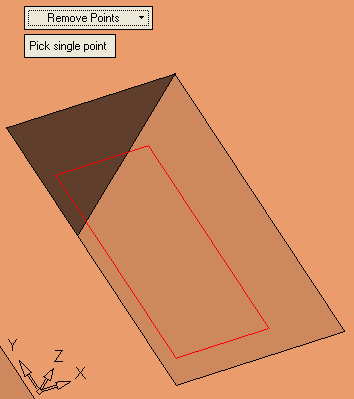
Remove Multiple Points
-
Drag a selection box over multiple polyline points to be deleted (pick the points using the Pick by Box method).
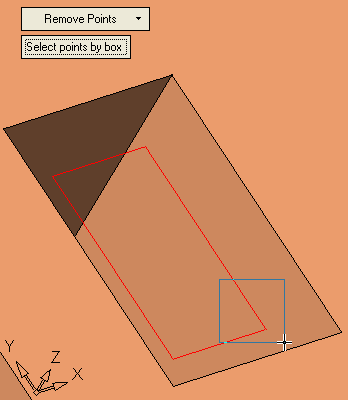
-
The points are deleted and the polyline is adjusted (the ends of the polyline on either side of the deleted points are joined).
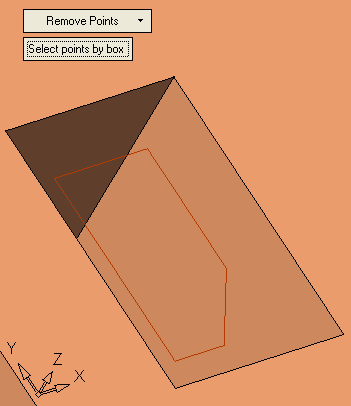
Move a Single Point by a Delta Value
-
Click the polyline point to be moved.
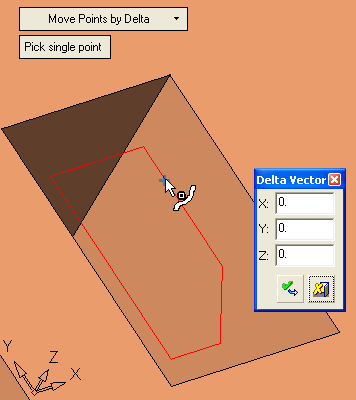
-
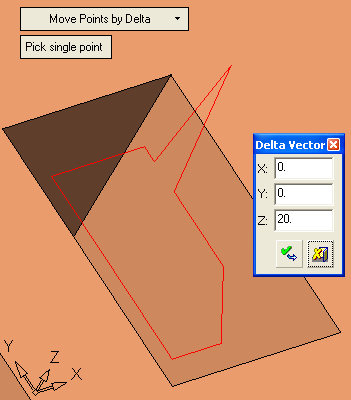
Enter the new delta coordinates of the point and click ApplyApply.
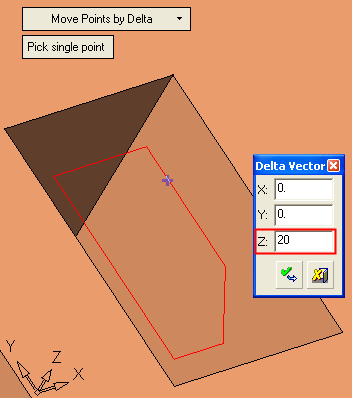
The point is moved and the polyline is adjusted.
Move Multiple Points by a Delta Value
-
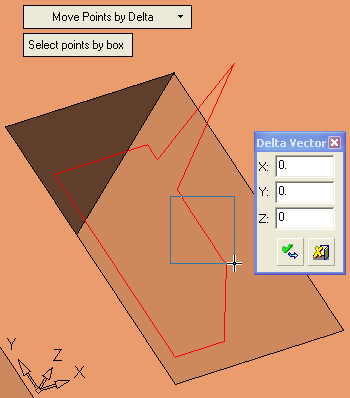
Drag a selection box over multiple polyline points to be moved (pick the points using the Pick by Box method).

-
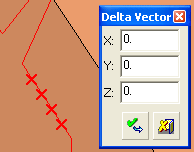
The picked points are displayed.
-
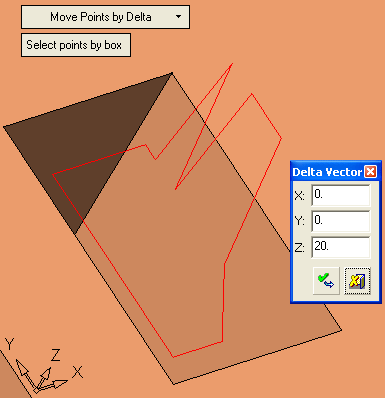
Enter the new delta coordinates of the points and click ApplyApply.
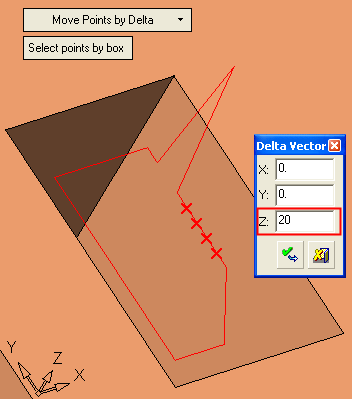
The points are moved and the polyline is adjusted.
Optional Step 1 
-
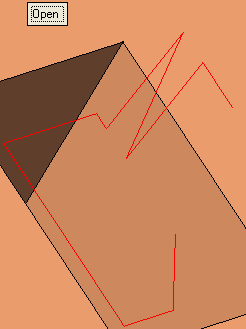
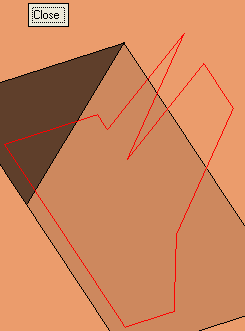
Set the polyline as either Open or Closed. If Open, define the location of the open segment.
An open polyline
A closed polyline
-
Open
Open a polyline and define the location of the open segment.
-
Press the Close button to toggle to Open.
The polyline is now open at a default location.
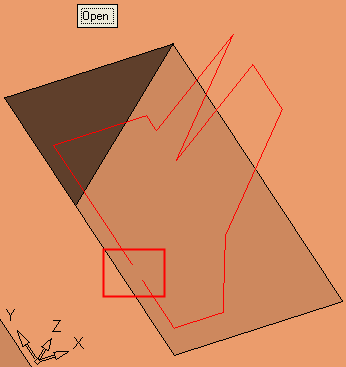
To define the location of the open segment:
-
Pick a closed segment anywhere on the open polyline.

The picked segment is now the open segment.
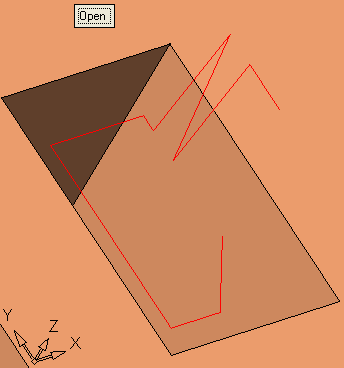
-
-
Closed
The default state of the polyline is Closed.
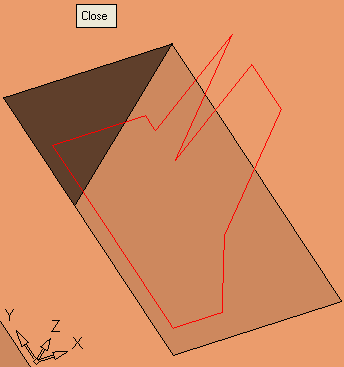
If the polyline is Open close the polyline by pressing the Open button to toggle to Close.


-
-
Click OKOK or ApplyApply in the Feature Guide to complete the function.
When completed, the Auxiliary Contours feature will appear in the Feature Tree.
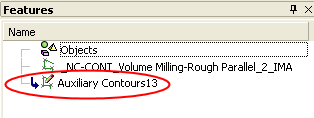
|


