|
|
Shadow Taper  : Options and Results
Access: Open this function from one of the following locations:
-
Click the
 button in the toolbar.
 -
Select Solid > Modification > Shadow Taper from the menu bar.
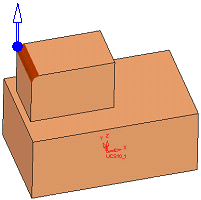
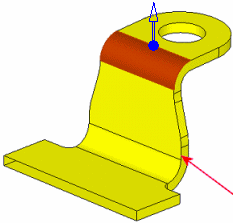
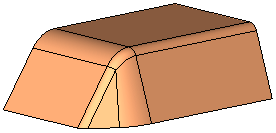
Create a taper face starting from a curved face (round or fillet).
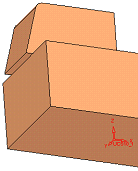
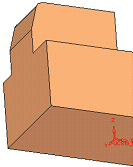
This function tapers selected faces that have a common edge with selected round faces; i.e. it adds draft on features that already have rounds in place.
Required Step 1 
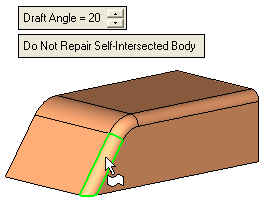
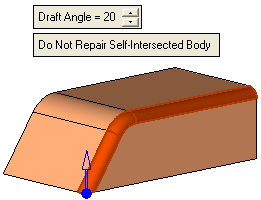
Pick the round faces, define the taper direction and the draft angle. All selected round faces and the faces to be tapered, should be fully stitched (they should not contain open edges).
|
Pick the first round face. All adjacent smooth round faces are automatically selected. |
Set the taper direction and the parameters: |
|
|
|
The following parameters are displayed:
|
Draft Angle |
The taper angle is the number of degrees between the face normal and the draft direction, regardless of the angle of the face before the taper was assigned (the absolute value). The angle direction is defined by flipping the displayed arrow ( Valid input is between 0 and 89 degrees. |
||||||||||||
|
Do Not Repair Self-Intersected Body |
This is a toggle option that enables you to either repair or to not repair self-intersected bodies. The options are: Do Not Repair Self-Intersected Body / Repair Self-Intersected Body.
|
The taper direction is defined by using the directional arrow ( ).
).
When you have set the parameters, click OK ![]() or Apply
or Apply ![]() in the Feature Guide to complete the function. The taper is applied to the faces.
in the Feature Guide to complete the function. The taper is applied to the faces.
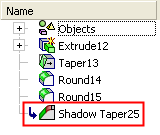
When completed, the Shadow Taper feature will appear in the Feature Tree as follows:
|


 ).
).