|
|
Remove Geometry 
Access: Open this function from one of the following locations:
-
Select Remove Geometry from the Part environment popup menu.
-
Select Edit > Main Tools > Remove Geometry from the menu bar.
Remove the selected geometry.
Remove geometric entities of different types (bodies, faces, composite curves, sketches, points, datum, etc.). Any combination of entities can be removed in a single operation.
Note: In the Part application, the Remove Geometry function is listed in the Feature Tree. If you decide later that you want to return the removed entity, you can delete the Remove command from the tree.
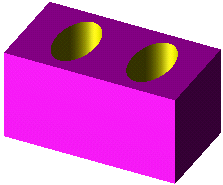
Example: Remove two faces from the object shown below.

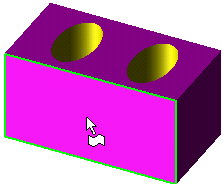
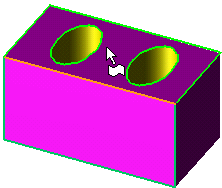
Select the faces to be removed. The cursor will tell you if you are selecting a face.


Select Edit > Remove Geometry from the menu bar. Or within the Part application, right-click to open the popup submenu and select Remove Geometry. Pick or unpick (edit) geometries as required and press OK ![]() or Apply
or Apply ![]() in the Feature Guide to complete the function.
in the Feature Guide to complete the function.
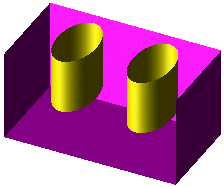
The faces are removed from the object, and the object is now open.

In the Part application, the Remove Geometry command can be seen in the tree as follows:

Editing
Right-click on the Remove Geometry name in the Feature Tree and select Edit Feature.
The Feature Guide will appear. You now return to the same situation in which you performed the removal. Make your modifications, and press OK.
See also:
|

