|
|
Add Binder Part 
Access: Open this function from one of the following locations:
-
Select Die Design > Tools > Add Binder Part from the menu bar.
-
Select Tools > Add Binder Part from the following Die Design Guide: Die Tool Design Guide.
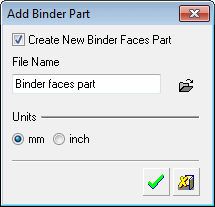
When this function is accessed, the Add Binder Part dialog is displayed:
|
|
A Binder Part can be created in the following ways: Create a new Binder Part. Define an existing part as a Binder Part. |
Create new Binder Part

-
Mark the Create New Binder Faces Part checkbox.
-
Enter the file name of the part.
-
Define the units of measurement.
-
Click OKOK.
The placing options are displayed. Place the part as required.
-
-
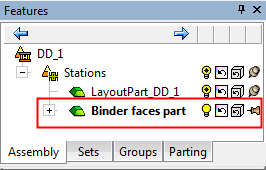
Click OKOK in the Feature Guide to complete the function. The new part is added to the stations sub-assembly and the part is activated.

Define an existing part as a Binder Part

-
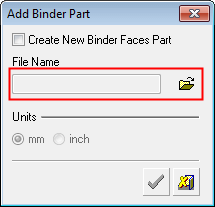
Unmark the Create New Binder Faces Part checkbox. The Open File button
 now becomes available to display the Cimatron Explorer.
 -
Select the required part.
-
Click OKOK.The placing options are displayed.
-
Place the part as required.
-
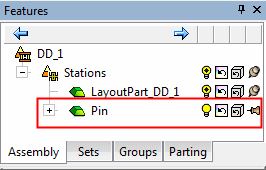
Click OKOK in the Feature Guide to complete the function. The new part is added to the stations sub-assembly.

Binder Faces Part - Placing Options
When placing the part, the Add Component function is run from Required Stage 2 (placing the component) and the placing options are displayed.
Press Required Stage 1 to re-display the Cimatron Explorer to select a different part.
The default placing options for Binder Faces Parts are On Assembly UCS and Same Component (whether for creating a new Binder Part or defining an existing part as a Binder Part). The On Assembly UCS option places the part on the main UCS of the active assembly.
The other placing option is Place by UCS which can be any UCS from the selected sub-assembly.
|
|
|
See the Add Component function for more.
|


