|
|
Extensions : Options and Results
Access: Open this function from one of the following locations:
-
Select Electrode > Geometry > Extensions from the menu bar.
-
Select Extensions from the Electrode Guide.
Create a set of extension faces between the burning surfaces and the electrode base.
Note: This function is only available when an electrode is active in an assembly environment.
Tip: When one extension is completed, it creates the contour for the next extension. Use Apply ![]() to move from one extension to the next, then click OK
to move from one extension to the next, then click OK ![]() when the last extension has been created.
when the last extension has been created.
Required Step 1 
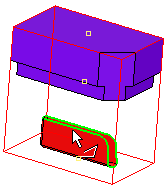
Select a single 2D or 3D contour. The contour should lie on the edges of the faces which should be extended.
Required Step 2 
Select the extension options and set the parameters.
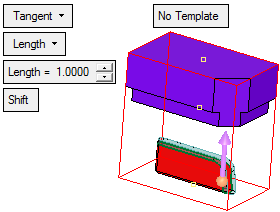
The following options are available from the dropdown list:
|
|
|
|
|
|
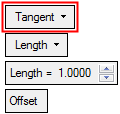
- Tangent: Create faces that are tangent to the faces of the electrode.
- Direction: Create faces that are extended in a specified direction.
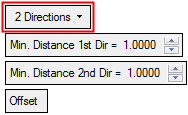
- 2 Directions: Create faces that are extended in two directions.
In addition to defining the length of the extension(s), the following parameters also appear in some or all of the extension options:
|
Offset |
This is a toggle option Offset/Shift that enables you to define the best geometrical extension method for the specific face. |
|
Apply Template |
This is a toggle option Apply Template / No Template that enables you apply a predefined electrode template to the electrode while it is being created. |
Optional Step 1 
Create steps before a direction extension. If all the curves in the contour lie on the same plane, a step may be created. This is a surface between the defined contour and an offset of it.
See Step Extension.
Optional Step 2 
Apply a draft angle to the extension faces, when creating a Direction extension. The draft angle tilts the faces from the extension direction.
Optional Step 3 
Create a filler face. This creates a face which bounds the open edges of the extension faces.
Note: For the Extensions > 2 Directions Extension option, the filler face will be applied only to the second direction.
Click OKOK or ApplyApply in the Feature Guide to complete the function.
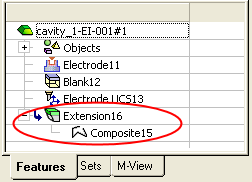
When completed, the Extension feature will appear in the Feature Tree as follows:
|


