|
|
Blank on Binder: Global


Access: Open this function from one of the following locations:
-
Select Die Design > Geometry Manipulation > Blank on Binder from the menu bar.
-
Select Geometry Manipulation > Blank on Binder from the following Die Design Guide: Die Process Design Guide (Forming).
Blank a set of adjacent stitched and skinned faces on the extension of other sets of faces, using finite element analysis (FEA).
This operation uses a finite element enginefinite element engine for blanking (flanging) a given set of adjacent stitched skinned faces and then create a contour on another set of faces, based on the material properties and thickness.
The Finite Element Analysis (FEA) engine used in the DieDesign application is based on technology supplied by the Forming Technologies Inc (FTI) 3rd party engine. For additional information on FTI, see www.forming.com.
The finite element engine is used in the following functions:
Whenever the finite element engine is used, resultant forces are calculated and stored for usage in the Die Forces operation.
Force Calculation: The force calculation employed depends on the type of operation being calculated. For additional information and to define some of the values used in force calculations, see the Die Force Calculation Preferences.
Correction Factor: A Die Preference option enables the setting of a default Correction Factor to manipulate forces calculated by the finite element engine. The forces displayed in the above mentioned functions will be multiplied by this factor.
Various types of Blank on Binder options exist,
-
Global Blank on Binder
Note: The binder object may contain any type of faces but for best results it is recommended that the binder object contains only smooth, planar, and cylindrical faces.
Required Step 1 
-
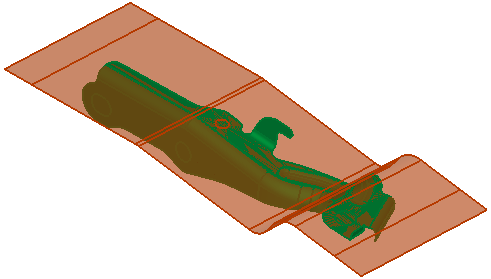
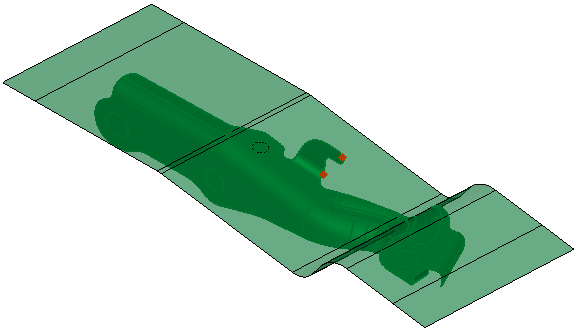
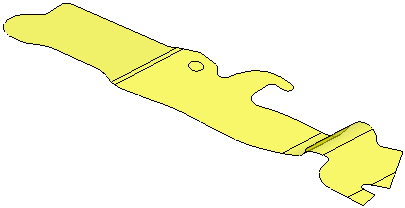
Pick the binder body. In this example the binder body is colored red.
Required Step 2 
-
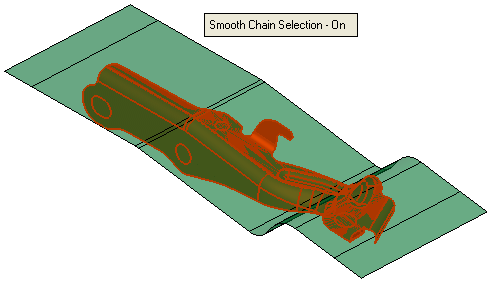
Pick the faces to blank (in this example colored red)
-
ExitExit the step.
Required Step 3 
-
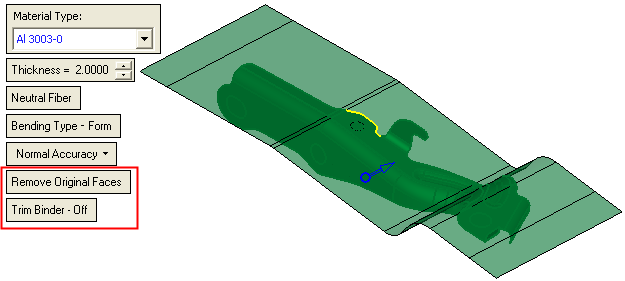
Set the parameters, define the material side.
Some of these parameters are common to other functions. See the parameter explanations of these parameters under the Blank function.
In addition to these parameters, see the explanations for the function specific parameters in Blank on Binder: Local.
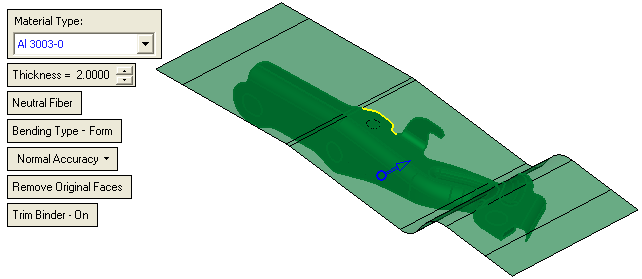
Note: The system automatically creates a constant of the free edges (marked in yellow) in the picture above).
- ExitExit the step.
Optional Step 1 
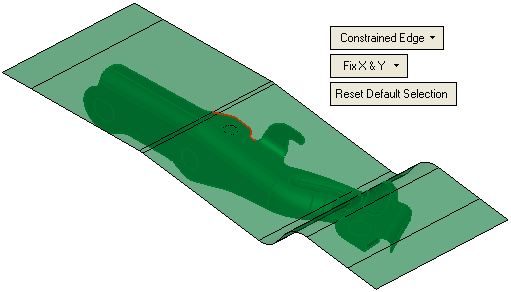
- Define the forming conditions. These parameters (with the exception of Reset Default Selection) are identical to those appearing in the Blank function Optional Step 1.
The Reset Default Selection parameter clears all entities selected in this step.
Optional Step 2 
- Select the points to be transferred.
Optional Step 3 
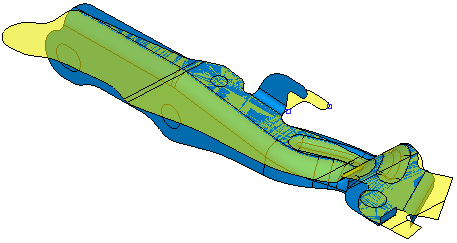
- Show the analysis results. This step is identical to the appropriate options in the Show Analysis function.
Optional Step 4 
-
Change the tipping direction. This option enables you to change the tipping (press) direction. In some cases, the default Z direction is not the required direction.
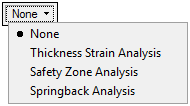
The following dropdown menu options are displayed:
Z - Direction
Set the Z direction as the tipping direction. This is the default option.
If the part is a die forming part, the option Work CS is displayed.
If the part is a non-forming part, the option Z - Direction is displayed.Auto Tipping
If this option is set, the system finds the mean plane according to the binder faces and defines the tipping direction as normal to this plane.
User-Defined
This option enables you to define the tipping direction by using the displayed directional arrow.
-
Click OKOK
 or ApplyApply
 in the Feature Guide to complete the function.
-
Keep Original Faces - example result:
-
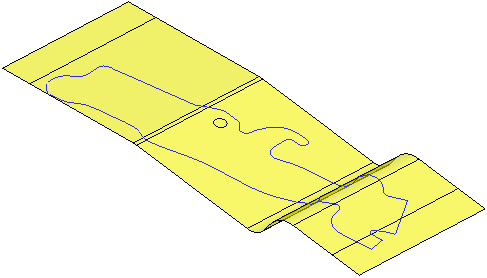
Remove Original Faces - example result:
-

-
-
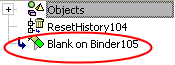
When completed, the new Blank on Binder feature will appear in the Feature Tree,
|